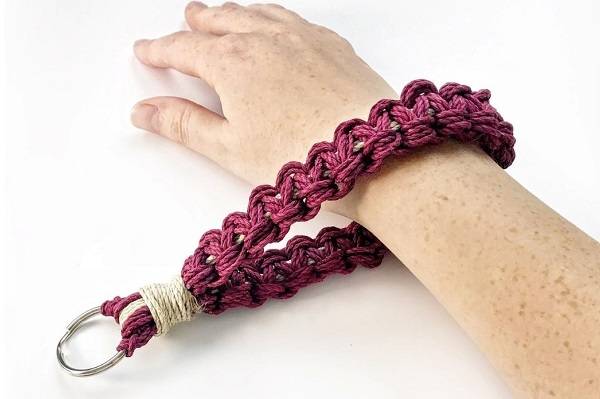
Hemp is a sturdy and resilient material that can be a fantastic alternative to traditional jewelry thanks to its sustainable and eco-friendly production. In addition, it will give you a natural and earthy look that can be personalized and designed to stand the test of time.
HOW TO:
Make a Hemp Bracelet in 10 Minutes
Learn the basics from this step-by-step beginners guide with pictures and video
Innovation & Quality
Developing and supplying premium-quality, sustainably grown, consumer products
100% Natural
Organically Grown and Ethically Sourced
hemp and other natural fiber products
Shipping
We offer fast shipping
Your order out within 1-3 days
Wholesale
Visit our wholesale portal to register or login to your account
Making hemp bracelets has never been more fun. Creating wearable art becomes a pure joy with so many colors, cord thicknesses, knot types and patterns to choose from. If you acquired macrame knots making a hemp bracelet will not be hard at all.
Tutorial below is created with beginners in mind. It includes written description, images and 10 minutes video. The first step is to choose supplies. Luckily, to make DIY hemp bracelet you will need only a cord. We recommend cordage from Hemptique. Hemp is a very popular and affordable material for twine bracelets, being very durable, flexible, and easy to be transformed into charming pieces of jewelry.
Craft with Hemptique: Wholesale and Retail Supplies
Crafting is an art, and we want to ensure you have the right supplies to create your masterpiece. That’s why we offer high-quality hemp cords at affordable prices so you can experiment with all the different styles and techniques. Our premium hemp cords are strong enough for even the heaviest jewelry pieces, yet delicate enough for scrapbooking and other crafts. They’ll never fray or break. We offer wholesale pricing on bulk orders, with fast shipping. The more you buy, the more you save! Apply for wholesale account, or call 760-602-4864. Ext. 403 and 405.
New From Hemptique: Hemp Bracelet Making Kits With Instructions


Explore Tied Together Collection by Hemptique and make your own hemp bracelet with our kit. Great for beginners. Kit includes premium hemp cord, beads and step-by-step making instructions to create 3 hemp bracelets. Available in 6 color variations.
MAKE BRACELETS WITH HEMP CORD STEP-BY-STEP (VIDEO TUTORIAL)
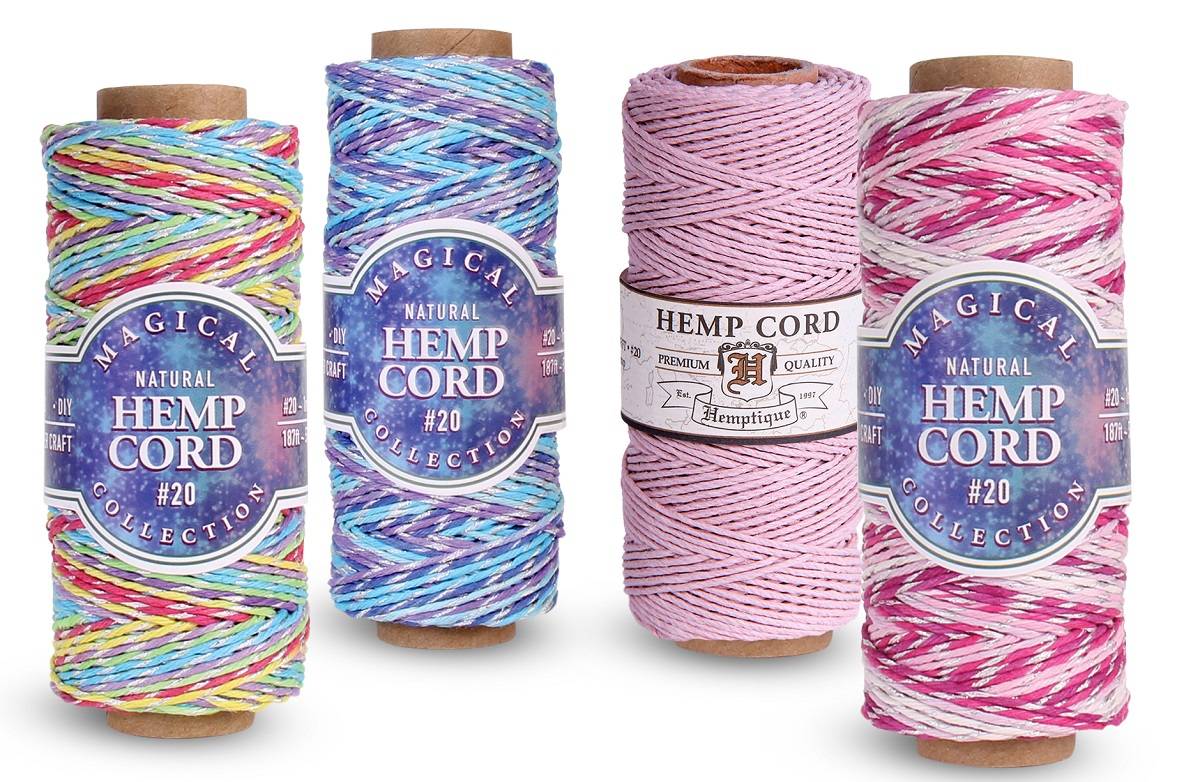
In this tutorial, we used #20 (1mm) Magical Collection
Hemp Cord in Fairy color – you will certainly make your craft
sessions more creative with these pretty metallic colors. We
also used #20 (1mm) Light Pink Hemp Cord
Hemp Cord in Fairy color – you will certainly make your craft
sessions more creative with these pretty metallic colors. We
also used #20 (1mm) Light Pink Hemp Cord
MATERIALS
#20 Magical Hemp Cord - Cut 2 Pieces 50 inches long
#20 Solid Color Hemp Cord - Cut 2 Pieces 20 inches long
#20 Solid Color Hemp Cord - Cut 2 Pieces 20 inches long
YOU WILL ALSO NEED:
Scissors
Ruler
Tape
Ruler
Tape
Step 1
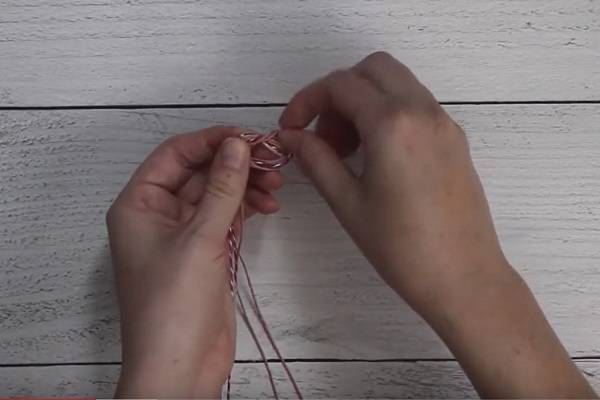
Gather all the cords together and tie them together with an overhand knot. Leave a tail around 6” long. Tighten it firmly.
Step 2
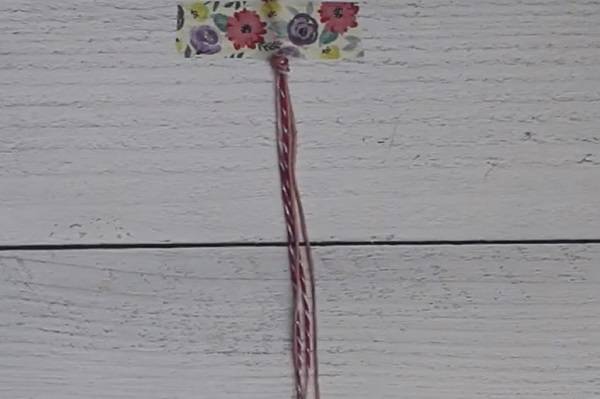
Secure the loose ends on the surface with a piece of tape.
Step 3
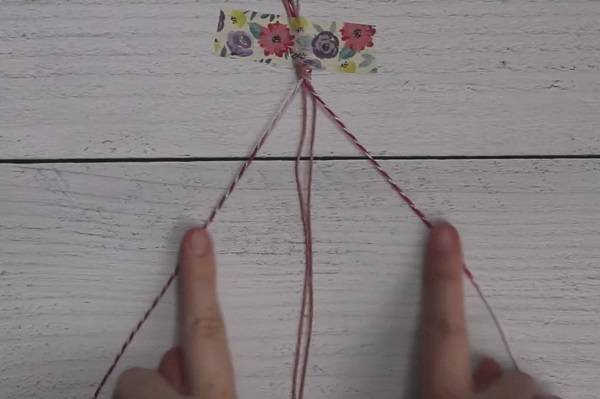
Separate the cords so that you have two in the middle (solid pink color) and two on both sides (magical color).
Step 4
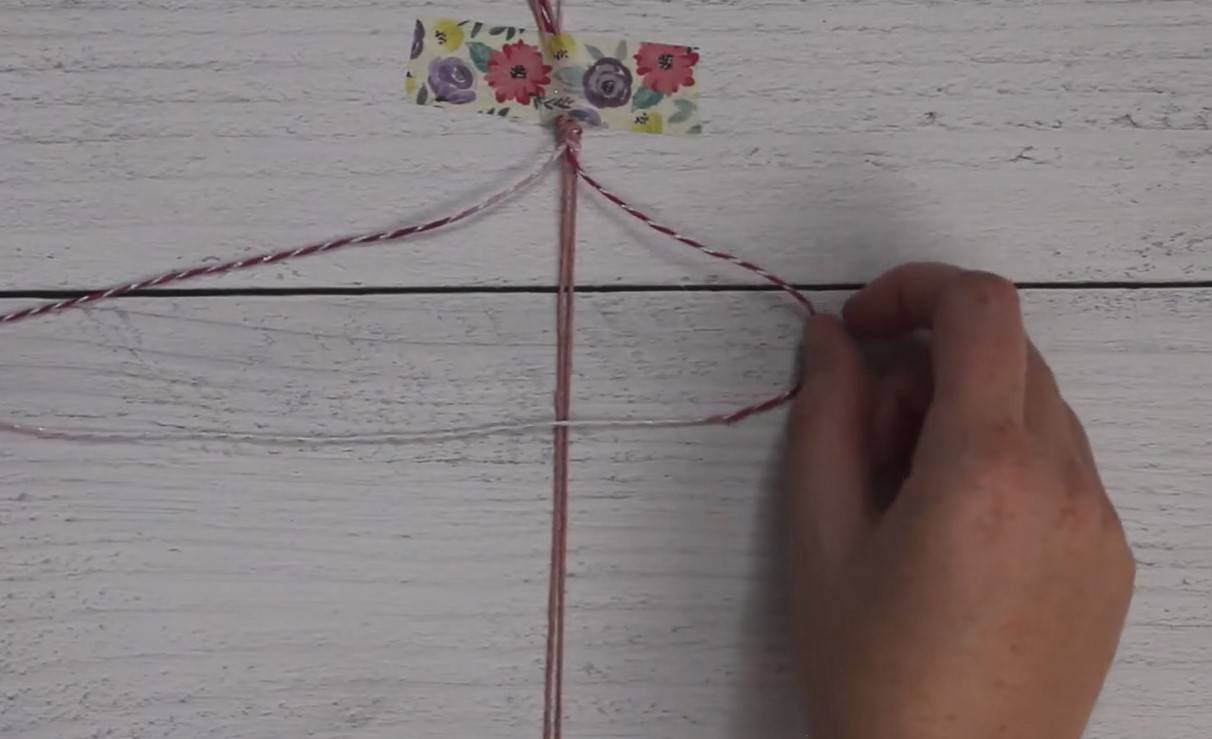
To make a square knot take the rope on the far right and cross it over the two middle ropes to make the loop on the right side.
Step 5
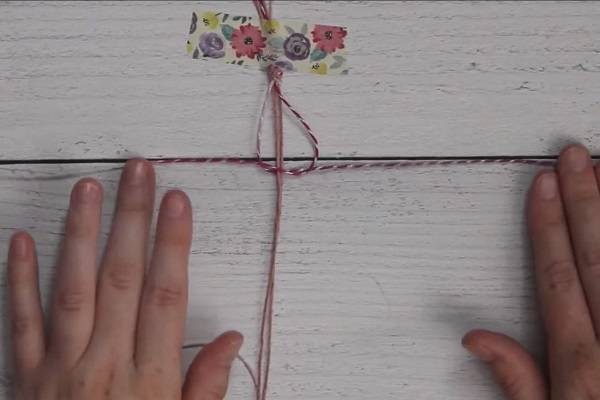
Take the far left rope, send it behind the two middle strings, and pull it up through the loop on the right.
Step 6
Tighten it gently.
Step 7
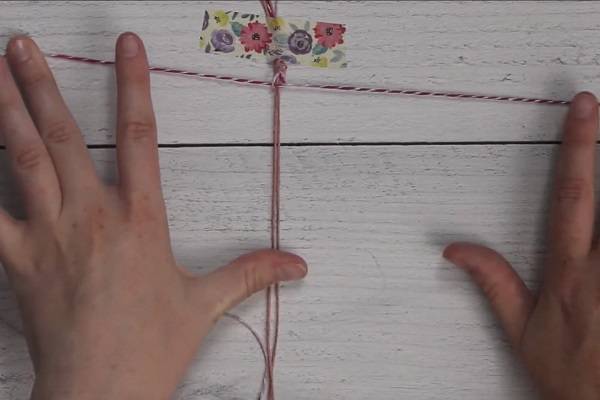
Repeat the same steps, but this time start from the left. Cross the left cord over the two in the middle to form a loop on the left. Take the right rope over the left string and behind the two in the middle, and up through the loop.
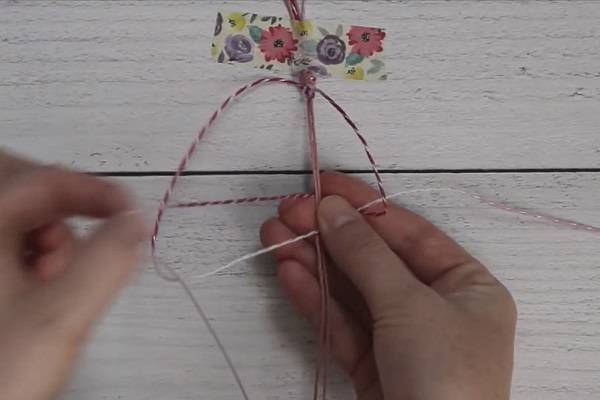
Step 8
Tighten it up once again.
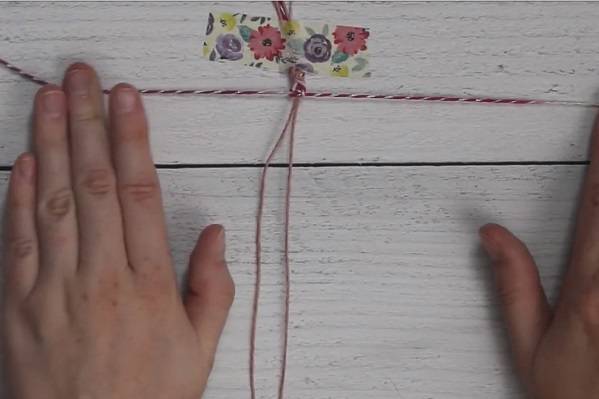
Step 9
Keep repeating these steps all the way down till the end of the two middle cords.
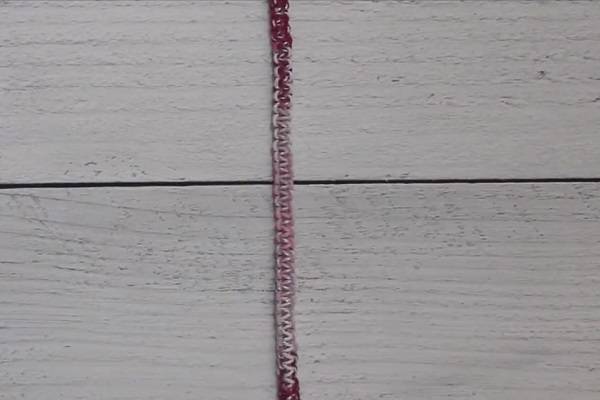
Step 10
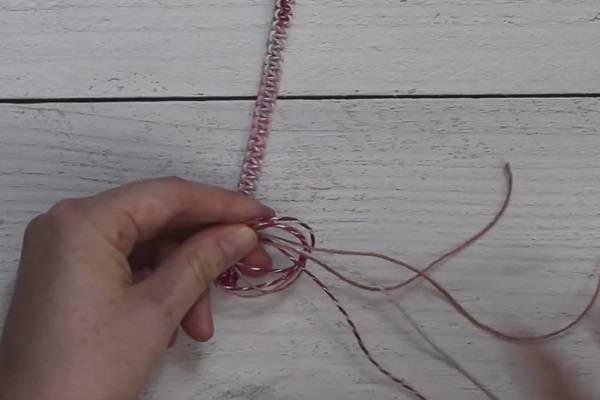
Tie the ends with another overhand knot. Gather all four ropes and take them around your two fingers to form a loop.
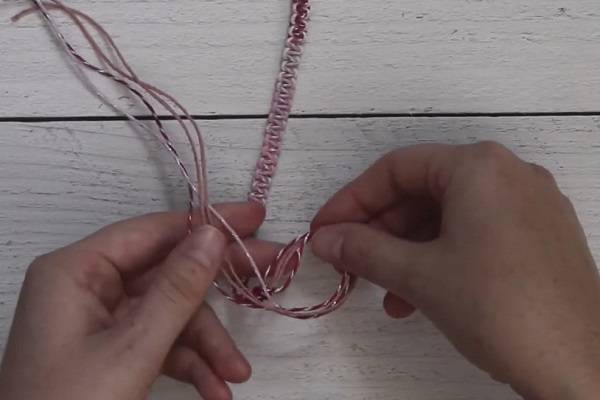
Step 11
Send those loose ends around and through the loop.
Step 12
Pull it tightly.
Step 13
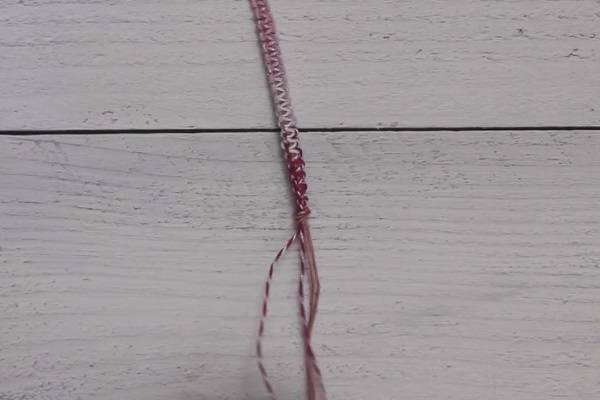
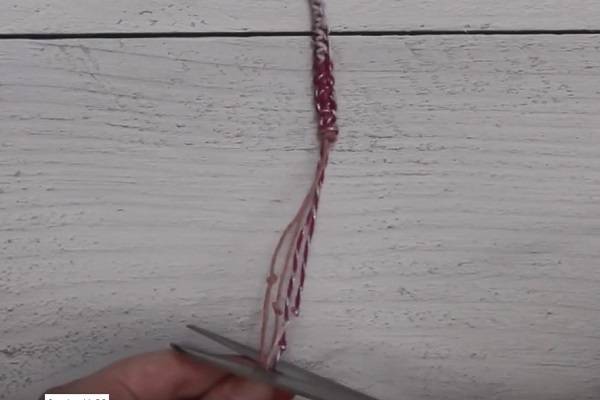
Decide on how your ends will be long. We decided it will be 4” long. Also, tie every four ropes with little overhand knots to secure the ends from unraveling and trim the excess.
Instructions for Adjustable Hemp Cord Bracelets
For an adjustable hemp string bracelet, we also prepared a detailed tutorial. This cute, braided bracelet has a slip knot that makes it easier to take on and off.
Step 1: Take all four cords and fold them evenly in half.
Step 2: Form a loop where they are folded in half. Step 3: Tie an overhand knot by pinching the loop and taking the long ends to swing them around fingers.
Step 4: Pull the ends around and pull it through the loop.
Step 5: Tighten it to form a nice loop.
Step 6: Secure the bracelet with tape to stop it from moving around.
Step 7: Separate the cords into three groups: three on the left, two in the middle, and three on the right.
Step 8: Take the group on the right and cross it over the middle group.
Step 9: Take the left group and cross it over the right group that is now in the middle.
Step 10: Repeat those simple steps – right in the middle to become new middle.
Step 11: Then put left in the middle to become new middle. Make sure to keep your ropes tight.
Step 12: Continue until the end, or until it fits on your wrist (around 5-7”).
Step 13: Secure with another overhand knot.
Step 14: Pull it tight.
Step 15: To make it adjustable, send the loose ends together through the loop on the top.
Step 16: Pull it through the loop almost all the way down to form a new loop.
Step 17: Send the ends through the new loop once again.
Step 18: The slip knot is formed, and the bracelet is now adjustable.
Hemp Bracelets Supplies
The hemp cord from Hemptique is an eco-friendly and biodegradable alternative to synthetic threads. Durable and strong, it is perfect for all kinds of crafting. With various thicknesses and colors available, you will be able to find the right one for your project. From the one-color spool to the 4-pack card set, it is perfect for endless uses. Some of them are even waxed and polished to eliminate stray fibers, enhance the brilliant colors of the strands, and maintain strand consistency.
Tips Before You Start
- Measure the wrist size. Prepare the cords 6 times longer than your wrist.
- The initial loop should be small, no more than 1 cm. If it is too big, the knot or bead cannot fit securely.
- For beginners, it is recommended to use the two different colored cords for an easier understanding of the square knot technique.
- For creating unique bracelets, try combining several different colors to give your projects a vibrant look.
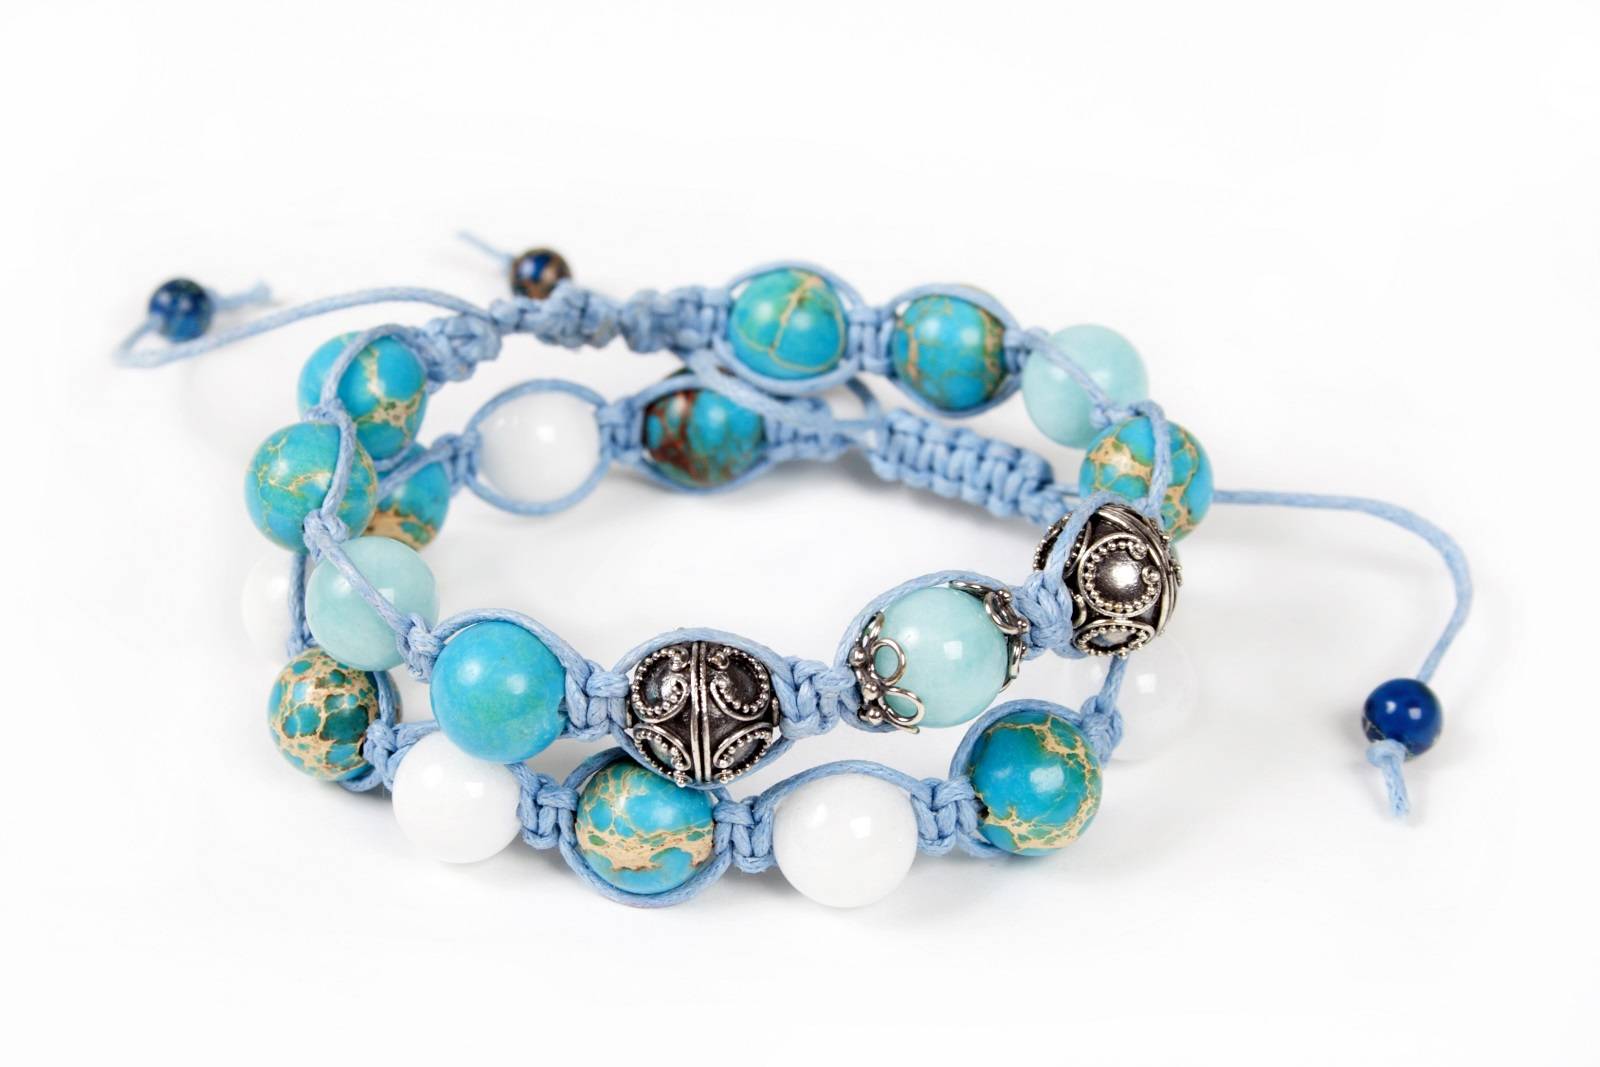
- Spice up your bracelet by weaving in a few beads of choice. You can add it to two central strands of the bracelet and then tie the knot just below the bead. This way, you can add as many beads as you like.
- Searching the Hemptique blog will reveal more bracelet and other patterns, and fun design ideas!
Find Inspiration for Making Hemp Jewelry With Hemptique
FAQ
Why Use Hemp for Making Jewelry?
Can You Get Hemp Jewelry Wet?
Yes, definitely. Hemp cord tends to tighten up when wet, so it eventually gets softer every time you get it wet. However, regular soaking may fade the color of your bracelet, create fuzz on the knotted rope, and weakens it.
Is Hemp Cord Good For Bracelets?
Hemp cord is ideal for knotted bracelets and beaded hemp bracelets. It is colorfast, strong, and eco-friendly fiber; it comes in various colors and sizes. The twine thickness is generally up to you, but the thickness of around 1mm is the most commonly used.
How To Start Hemp Bracelet?
First, you need to prepare materials, which usually include rope, scissors, tape, and, optionally, beads. Measuring the rope size means you need to measure the size of your wrist first and how many knots you want in a bracelet. For a solidly knotted bracelet for an average adult-sized wrist, you will need around 1.8m long strings.
How to Finish Hemp Bracelet?
Finishing a crafting project can sometimes be harder than starting it. Here are a few simple ways to fasten your hemp bracelet around your wrist:
- Bead closure: Slide a bead onto all the strands of your bracelet. Tie an overhand knot to secure the bead and trim the excess cord. Fasten the bracelet by slipping the bead through the circle on the other end.
- Knot closure: The simplest of them all. Just tie the overhand knot at the end of the finished piece and push the knot through the loop on the other end to secure it.
- Button closure: Using the shank-style button, toe the overhand knot below the button and trim the excess. Push the button through the loop on the other end to fasten it.
How to Make a Hemp Bracelet Adjustable?
The simplest way to make the bracelet adjustable is to make the slip knot. We explained the process of making the slip knot in the adjustable hemp bracelet DIY (steps 15,16,17 and 18).
How Do You Make Hemp Necklaces Less Itchy?
The best way to soften the hemp necklace is to soak it in hot water with added salt. The process looks like this – boil a few cups of water, put two tablespoons of salt in it, allow it to dissolve, and carefully pour the hot saltwater into the container and over the necklace. Allow your necklace to soak for 4 hours, dry it, and repeat if it is not soft enough.


