MAKE IT:
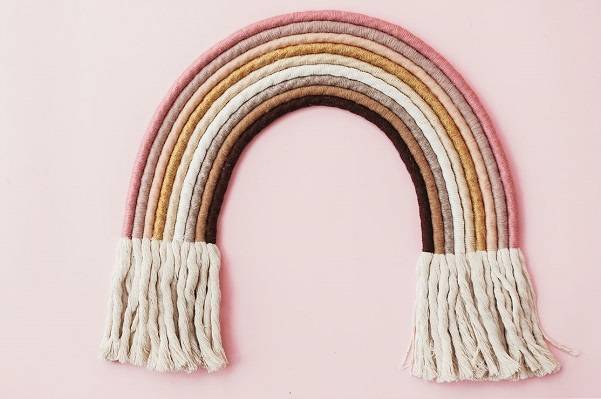
Create Your Own Boho Chic Macrame Garland
Follow Along With Kathy Gray as She Knows How to Decorate Your Home While Being Sustainable
Innovation & Quality
Developing and supplying premium-quality, sustainably grown, consumer products
100% Natural
Organically Grown and Ethically Sourced
hemp and other natural fiber products
Shipping
We offer fast shipping
Your order out within 1-3 days
Wholesale
Visit our wholesale portal to register or login to your account
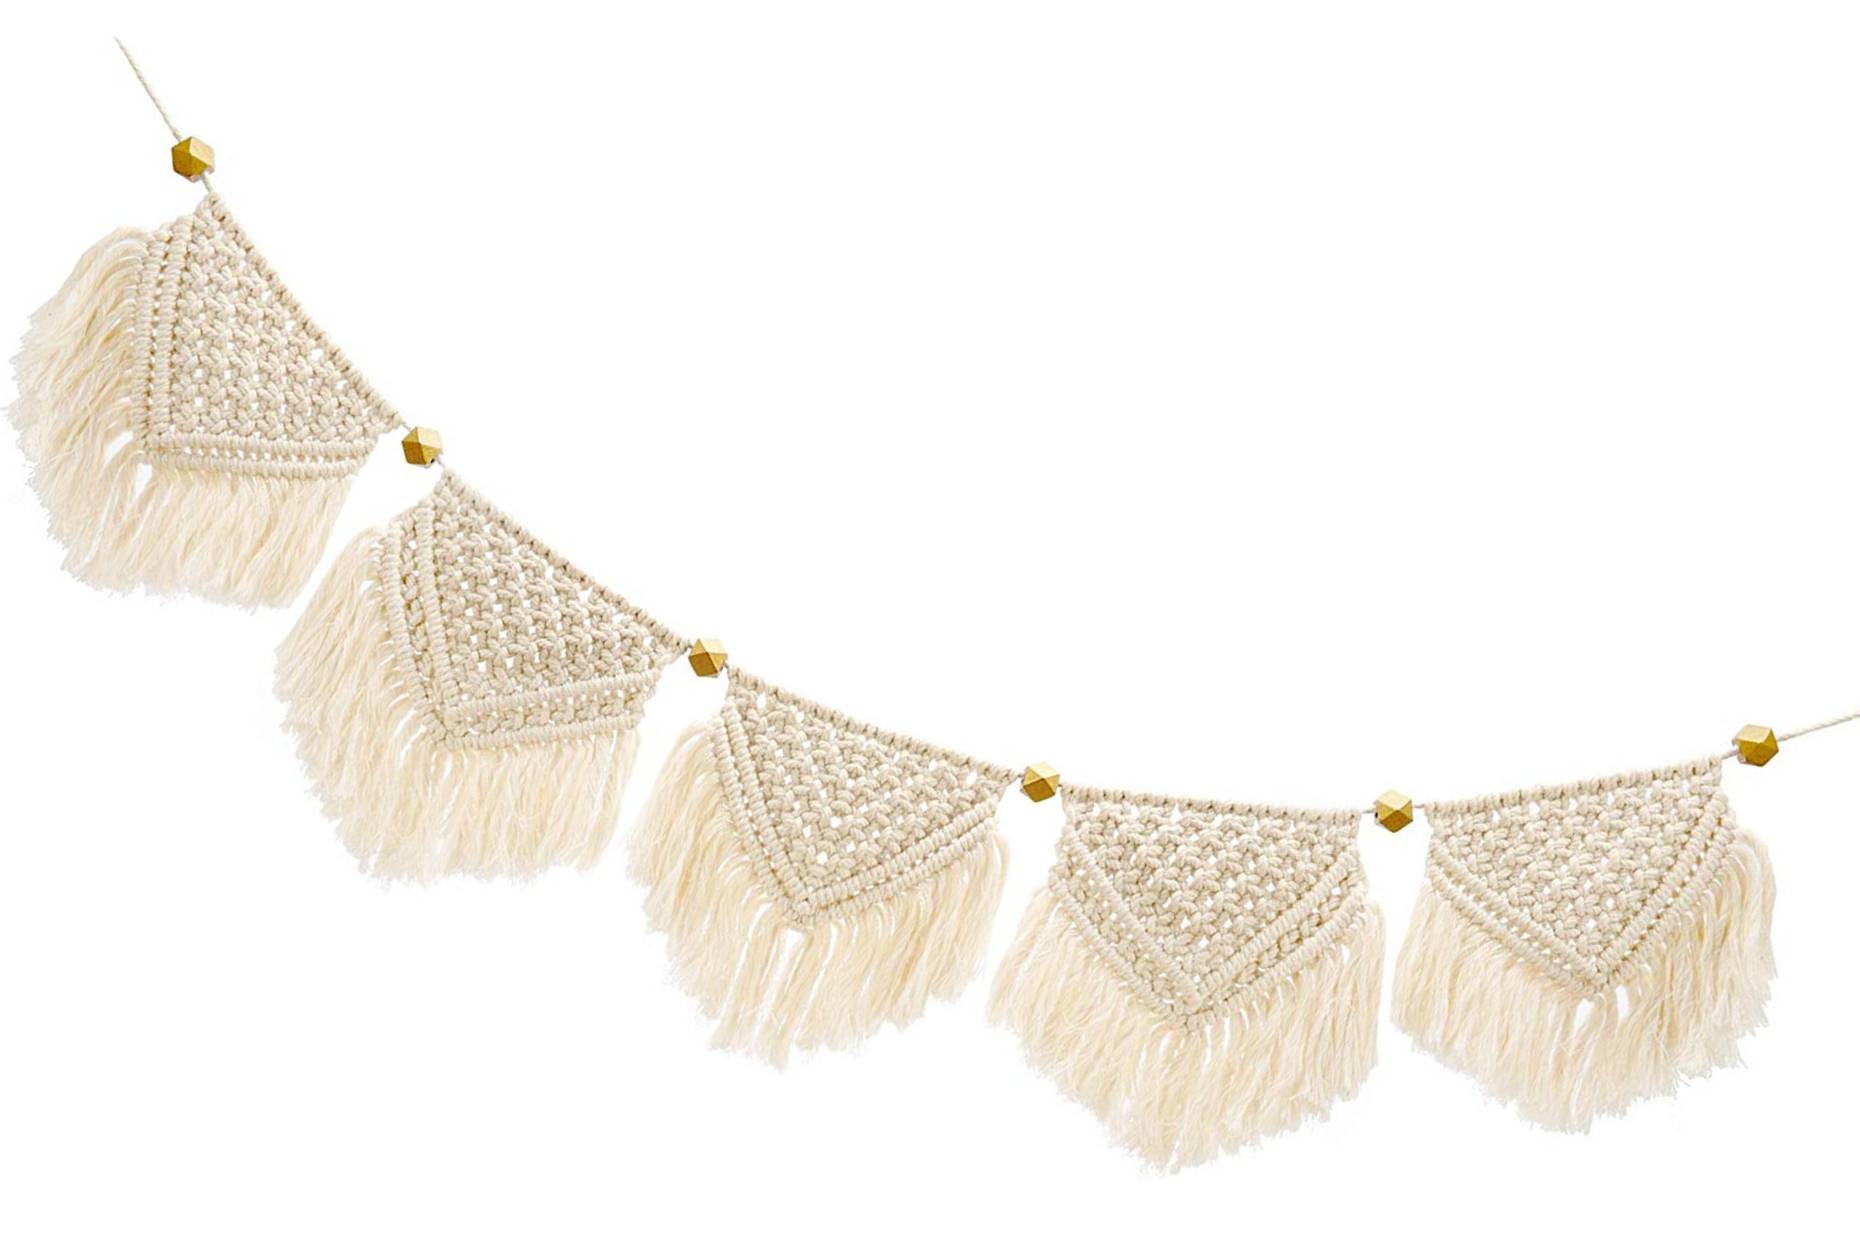
We present an entry-level macrame garland tutorial to make a perfect party or Christmas holiday decoration. It is super easy to learn, especially if you have cotton macrame cord supplies from Hemptique. We have chosen two easy and simple garland video tutorials to show you that anyone can do macrame art with the help of a few inexpensive supplies. You can add a dash of festive colors to your Christmas or 4th July parties. Do not miss a chance to have a fun family time with our patterns, as they may be just what you need. It will add a lot of color and interest without needing tons of time, materials, or skill. Using only basic macrame knots like lark’s head knot, double half-hitch knot, and square knot, you will create amazing pieces that can be a colorful, festive, and beautiful addition to your home. There is something really special about these textural, boho-inspired designs, so prepare to stand out with Hemptique!
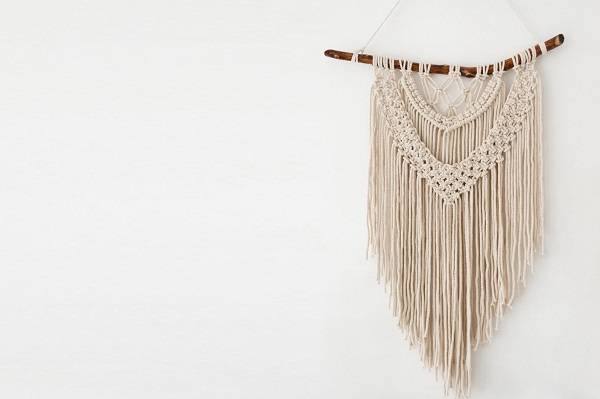
DIY Macrame Garland Video Tutorial
Let’s create special macrame decorations that are right on trend and can add the most beautiful bohemian flare to the wall, fireplace, or any other space in or outside your home.
SUPPLIES & MATERIALS:
- Royal Corderie 3mm metallic macrame cord (yellow ochre and gold color) – 18 pieces measured 22” long
Royal Corderie 3mm metallic macrame cord (creamy and gold color) – 18 pieces measured 22” long
- One rope of choice measured 50” long
- Five beads of choice (we used wooden beads)
- Scissors
- Painter’s tape
Let’s get started:
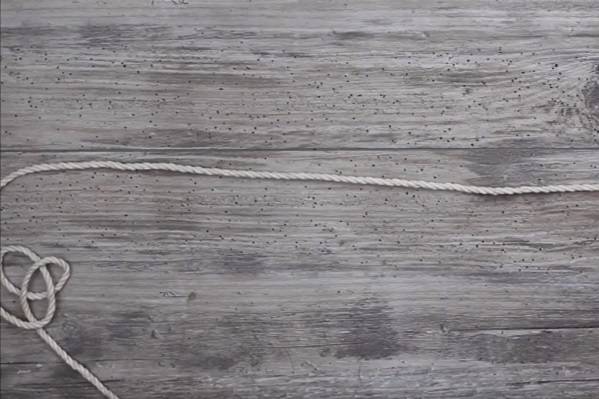
1) Secure the longest rope with painter's tape to keep it in place. You will tie the garland to this rope. Leave 10” to each end so the garland can be hung – you can always adjust after you tie all the macrame sections.
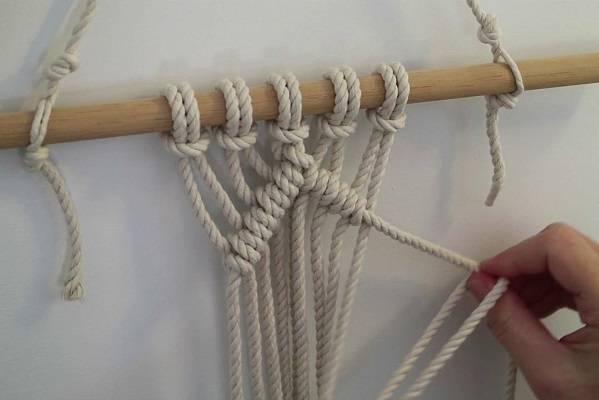
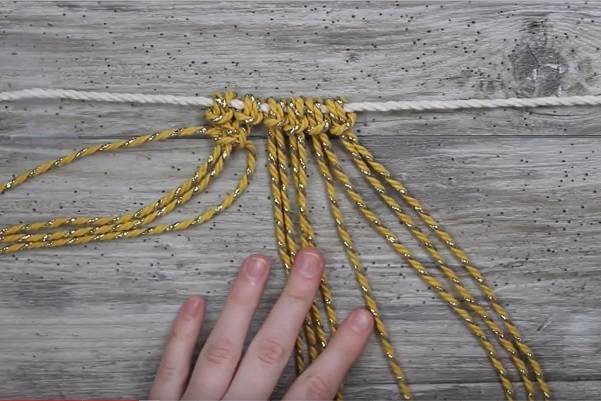
2) Start with 6 cords of one color (we used yellow and gold, you can use whichever color you prefer), and tie them with lark’s head knot to the rope – fold the cord in half, send it over the rope and around, and then pull the two ends through the loop you formed. Pull it tight, slide and adjust it to the desired location.
3) Repeat the process with all six ropes for this section to connect them to the main rope.
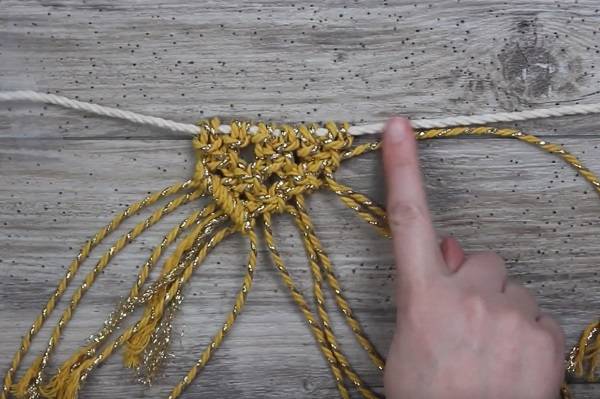
4) Starting with sections of four ropes, make a row of square knots. Start with the first four ropes by taking the rope on the far right and crossing it over the two in the middle to form a loop. Take the rope on the far left side and put it over the right rope, behind the two in the middle, and through the loop. Pull it tight. Take the rope on the far left and cross it in front of the two middle ones to form a loop. The rope on the far right goes in front of the left one, behind the two in the middle, and through the loop. Pull it tight, and the square knot is done.
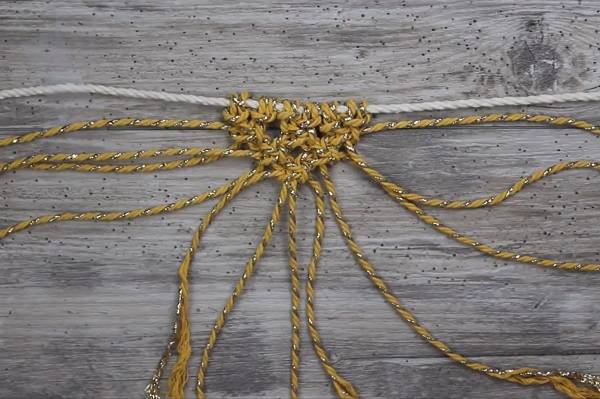
5) Move on to the next section of four and make another square knot. Repeat once more with the far right group of four – you will get 3 square knots in the first row.
6) Make a row of the two square knots, this time alternating between these two square knots. Leave out the two ropes on the far left and use the next four ropes to make a square knot by repeating step 4. Use the next four ropes to tie another square knot. You will get two square knots in the second row.
7) To finish this little pattern, tie the last square knot directly in the center.
8) The next step is to start tying double half-hitch knots on both sides of the pattern. Take the rope on the far left and point it down in the direction you want it to go. Make sure you follow the line of the square knots.
9) Starting with the next rope, tie the first double half-hitch knot – put it directly behind the first (or the leading) rope, curl it around, and go through the loop. Pull it tight. Take the same rope and curl it over the leading rope, around and through the loop. Pull it tight. The first double half-hitch knot is done.
10) Once again, take the next rope, put it right behind the leading rope, curl it around and through the loop and pull it tight. Using the same rope send it in front of the leading rope, curl it around, and pull it through the loop. Pull it tight. Repeat the same process until you reach the center of the pattern (6 double half-hitch knots).
11) Do the same from the right side of the pattern until you reach the center (you will also get 6 double half-hitch knots).
12) Now take the two cords used as leading ropes and tie another double half-hitch knot (repeat step 9).
13) Take the pair of scissors and trim the end however you want (make it even, uneven, unravel it, etc.).
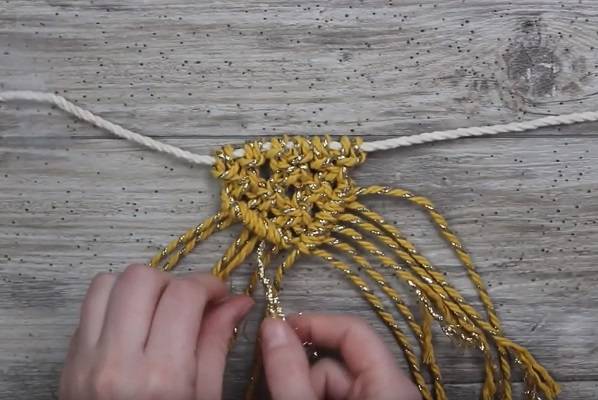
14) Take the bead and attach it to the rope before you start your next section.
15) Take the next six ropes of a different color (we chose a white and gold mix). Once again, attach all of the six ropes with the lark’s head knots.
16) Now start the macrame pattern using the same process described in steps 2-14.
17) Continue doing the exact same steps until you have used all of the cords. Alternate the colors using a yellow and then go back to a white mix and so on.
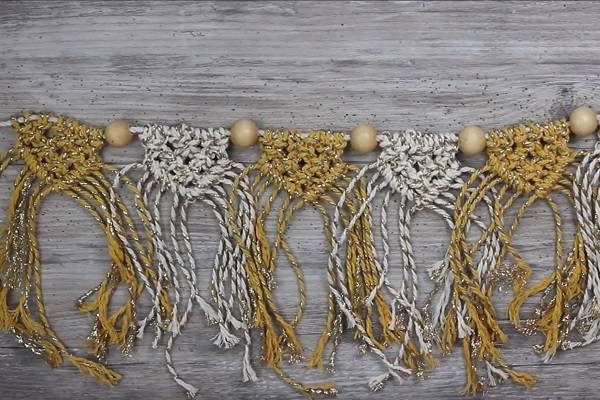
18) Slide the garland sections to be centered on a long rope. Also, you can unravel the ends to give them a nice and fun texture or leave it the way they are.
This simple, yet playful design will add a boho chick to your lovely home or garden party. It can even be a cute homemade gift to a friend.
American Flag Garland DIY
Also, we prepared an extra garland tutorial with a red, blue, and white American flag tassel garland to spruce up your food table at your backyard BBQ on your 4th of July or other patriotic festivities. The main difference between these two garlands is the presence of tassels, dangling ornaments made by laying parallel a bunch of cords of even length and fastening them at one end. Tassels are originally used to stop threads from coming undone, usually on the ends of woven fabric. In our garland, they are used for ornamental and decorative purposes.
YOU WILL NEED:
- #20 hemp cord - approximately 12” long, and cut as many pieces as you want for the thickness of your tassel (we did 30 ropes for one tassel). We used red, (60 x 12”), white (60 x 12”), blue (60 x 12”), and any color (12 x 12”) cord for six tassels.
- Ruler
- Scissors
- Tape
- Wooden beads of colors you want
1) First, you need to cut the pieces of the hemp cord for the tassel that need to be about 12" long. The best way to do this is to take the ruler and wrap the string around the ruler's length. When you are done, slide the end off of the ruler (make sure you hold it, so you do not lose the end), then take the scissors and cut right down the middle of the ropes. Take the ropes and fold them evenly in half and snip them right in the middle once again. Now you have all the ropes you need for one tassel.
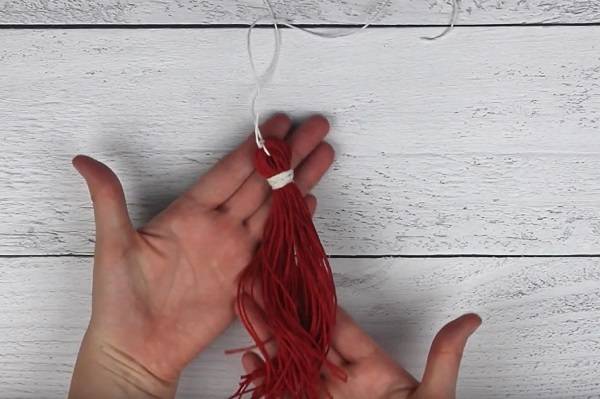
2) Now we are going to form the first tassel. Take another string about 12” long. Put it in the middle of the bundle and tie a double knot to secure the tassel.
3) Fold the ropes in half and tie another string around them right underneath the first knot, so it looks more like a tassel. Put another string underneath the red ropes and wrap it five times. Then tie the wrapping knot with another double knot for extra security. Trim off the two ends in that wrapping section. Your first tassel is done.
4) Repeat the same process described in steps 2 and 3 for all the six tassels we chose to do, but you can do as many tassels as you like.
5) Now we are going to attach the tassels to the base of the garland. You need to lay down a long piece of the hemp cord and tie all six tassels around this long piece. We recommend that you leave it connected to the spool to avoid cutting it too long or short, depending on how many tassels you are adding. Also, it is wise to secure it to the base so it will not move around.
6) Take the beads you want to add to the garland and slide them onto the string. Tie the knot to secure the beads.
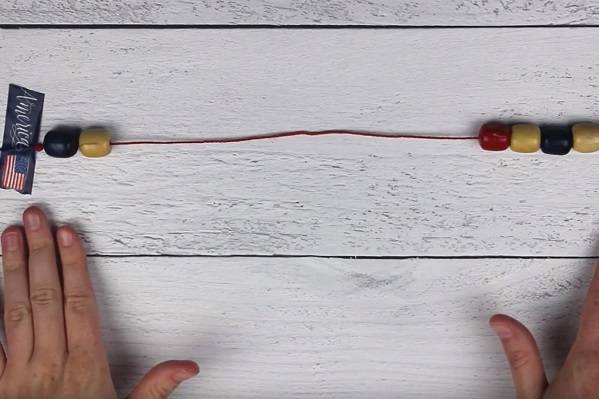
7) We are going to attach the tassels between the beads from left to the right. Just slide the beads down you want in front of your first tassel.
8) Attach the first tassel by taking the two pieces of string that we left on the tassels. Tie it right onto the base of the garland with a double knot. Take the scissors and trim off the ends.
9) Slide the next beads into place and tie the next tassel and do that until you use all the tassels you have made.
10) Measure 12” from the last set of beads and cut it off the spool. Secure the beads into place by tying a couple of double knots.
11) The garland is now finished, and you can hang it wherever you want.

Macrame Garland Supplies by Hemptique

Royal Corderie metallic collection
If you want perfect sustainable crafting supplies, Hemptique's Royal Corderie metallic collection is the right choice. It is made of 100% recycled cotton and gold thread. Its premier quality, vibrant colors, soft texture, and eco-friendliness qualify it as the ideal sustainable macrame supply. It is available in five amazing colors – dark green & gold, dark pink & gold, bordeaux & gold, creamy & gold, and yellow ochre & gold.
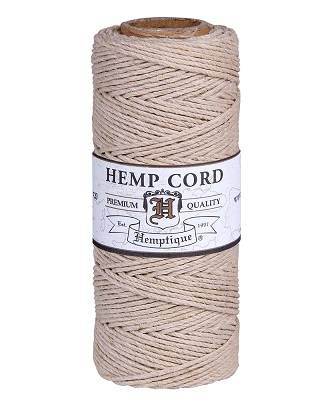
#20 hemp cord
For impeccable tassels, we recommend our #20 hemp cord that is made with love and represents the ideal choice for your next garland project. Our hemp cord is 100% natural, biodegradable, and eco-friendly. You can feel a difference with our hemp products in 39 amazingly lively colors.
Garland History, Types, and Symbolism
Garlands have been used since medieval times and across many cultures. They can be in the form of a band, chain, a circle (wreath), worn on the head (chaplet), or draped in loops (swag or festoon). The Egyptians used garlands as a sign of celebration in entering the afterlife and placed them on their mummies. Greeks used garlands to decorate their civic buildings, temples, and homes. They even put them crosswise on banquet tables. Ancient Romans wore garlands of rose petals and carved wooden festoons to decorate their homes. During the Middle Ages (c. 5th -15th century), many religious statues in Europe were decorated with garlands.
In more contemporary times, the production and usage of garlands have been more elaborate in Asian countries than elsewhere – so the Thai have their phuang malai, Indians have their haar or mala, and Hawaiians have their lei. Sweet-scented flowers are preferred over others for making these garlands.