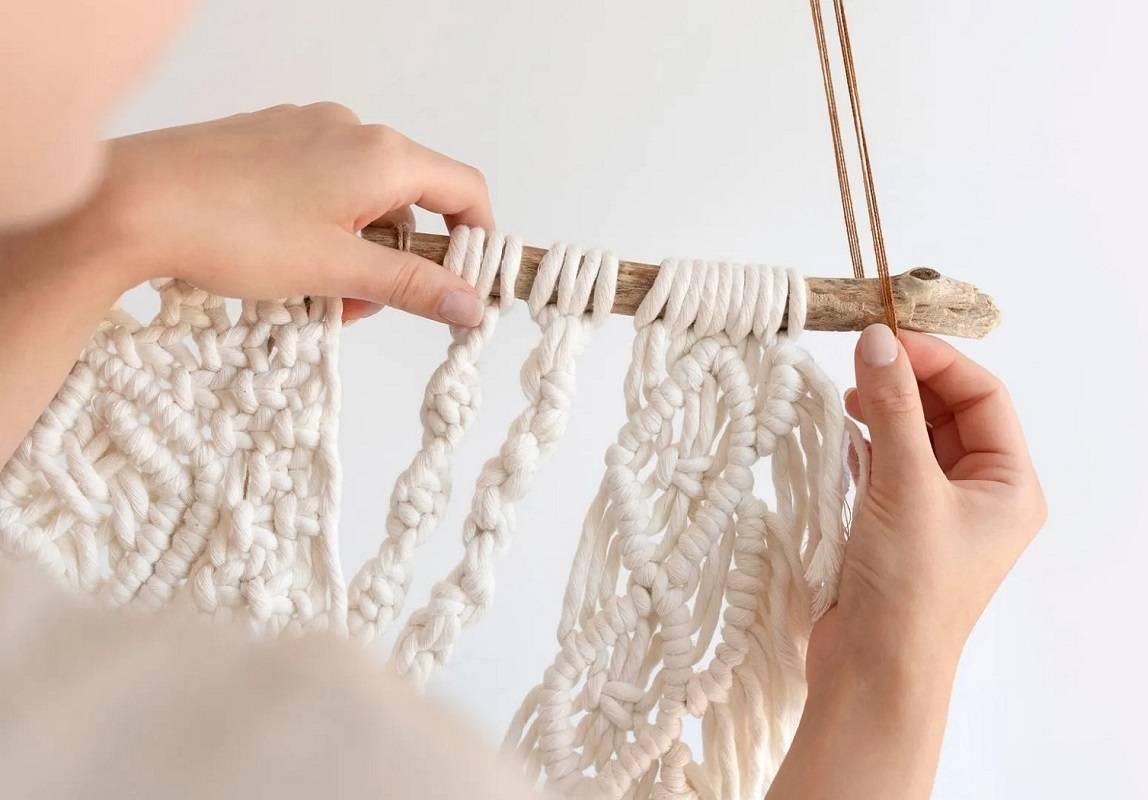
SQUARE KNOT 101
A Beginner’s Adventure in Macrame Square Knot
Master Basic Knots with Hemptique’s
Step-by-Step Guide
Innovation & Quality
Developing and supplying premium-quality, sustainably grown, consumer products
100% Natural
Organically Grown and Ethically Sourced
hemp and other natural fiber products
Shipping
We offer fast shipping
Your order out within 1-3 days
Wholesale
Visit our wholesale portal to register or login to your account
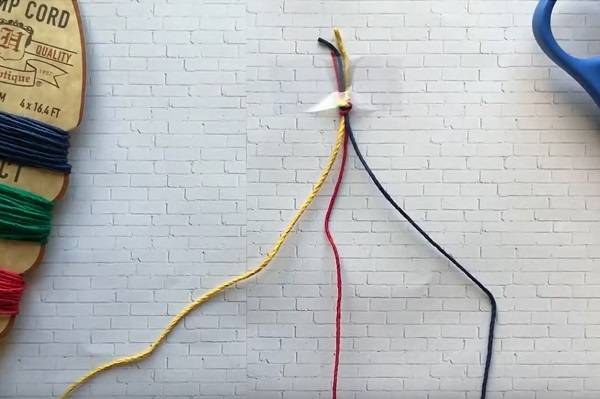
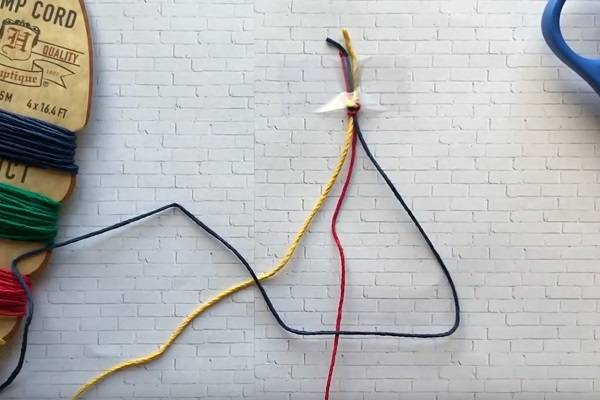
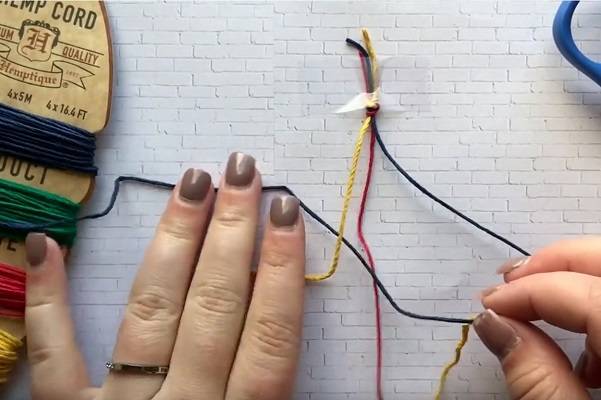
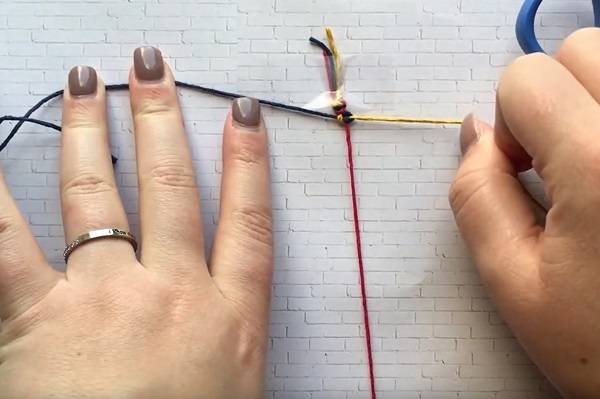
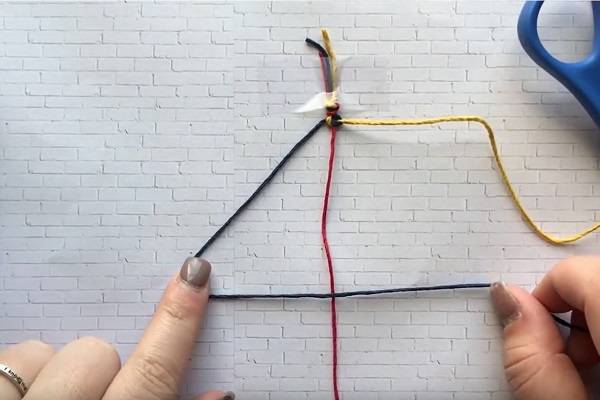
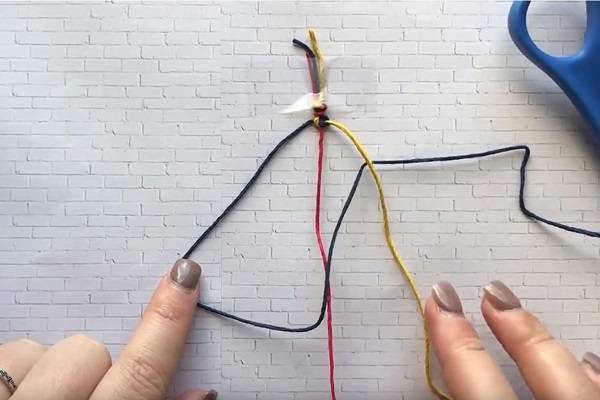
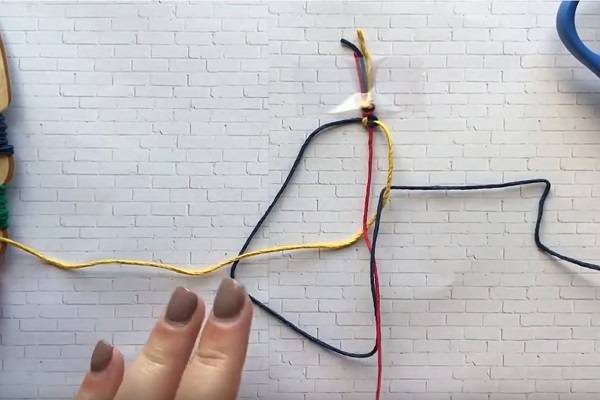
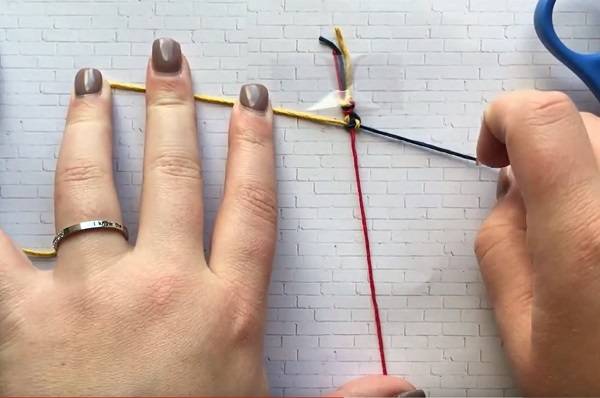
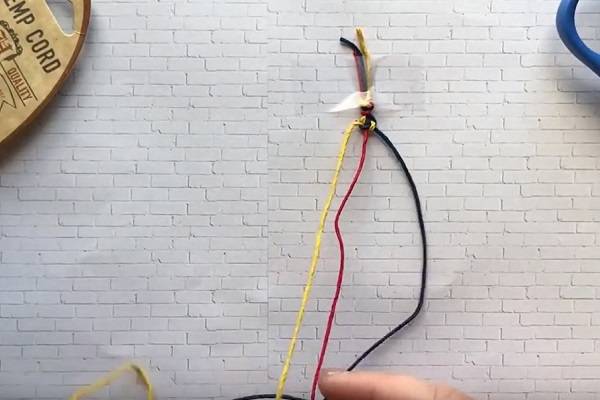
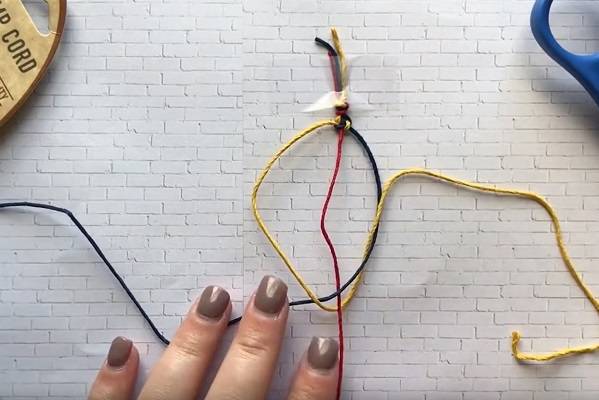
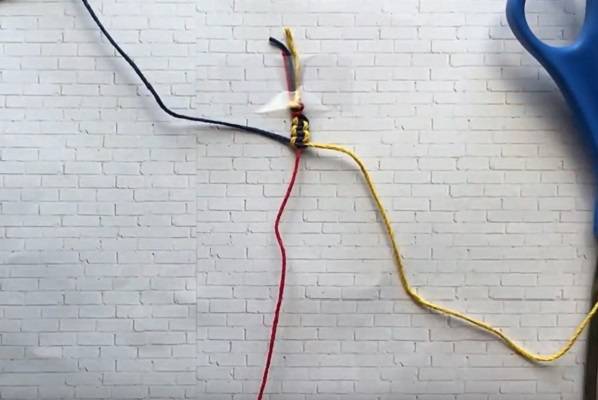
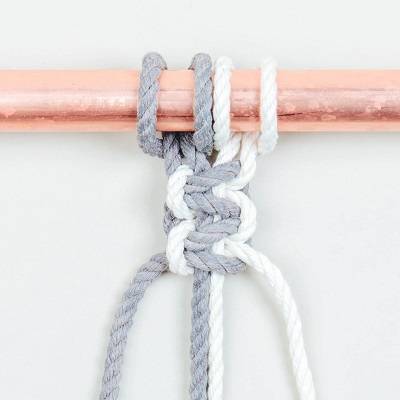
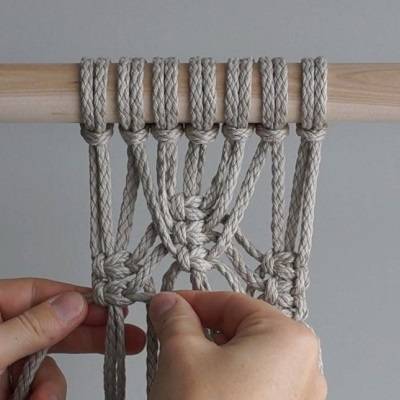
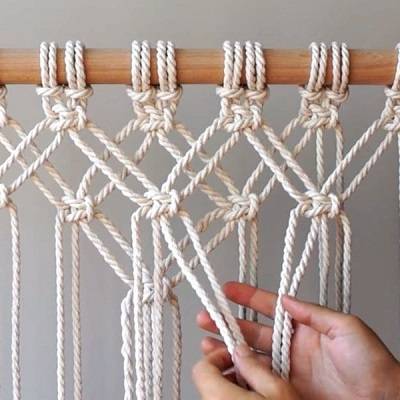
Macrame Square Knot Instructions
- #20 Hemp cord in color "Shades of Topaz" – you can choose whatever colors you prefer.
- Scissors
- Tape

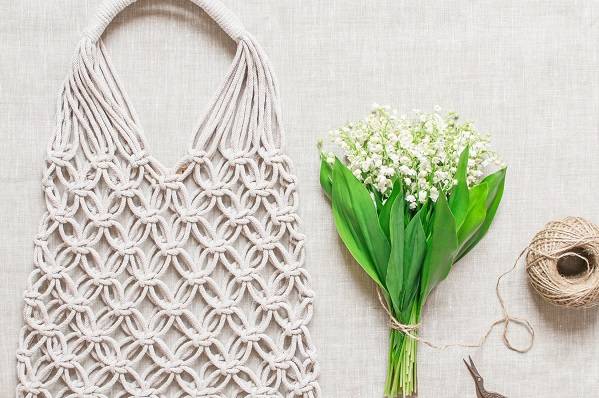
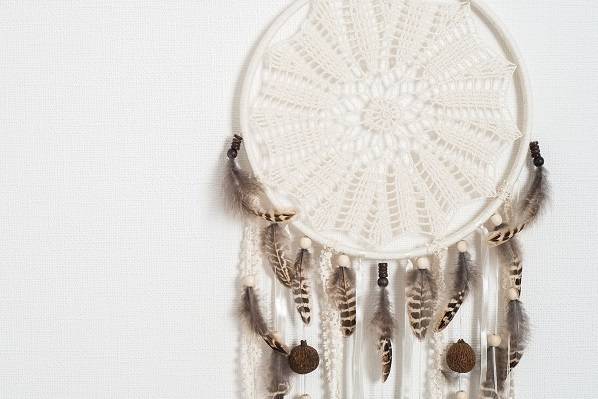
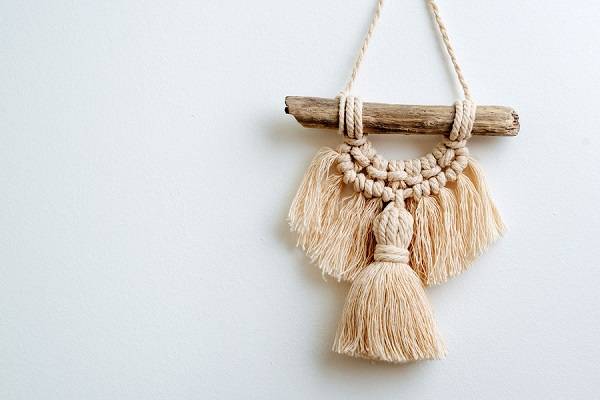
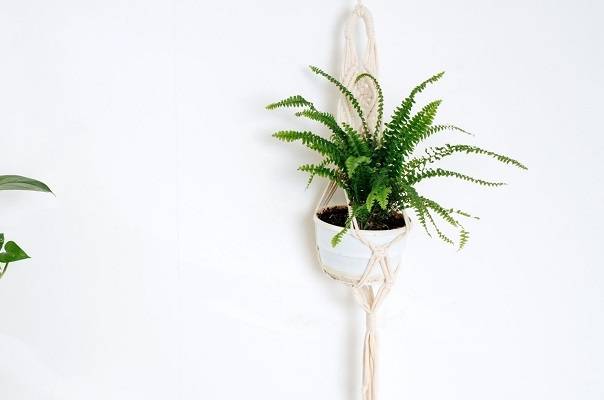
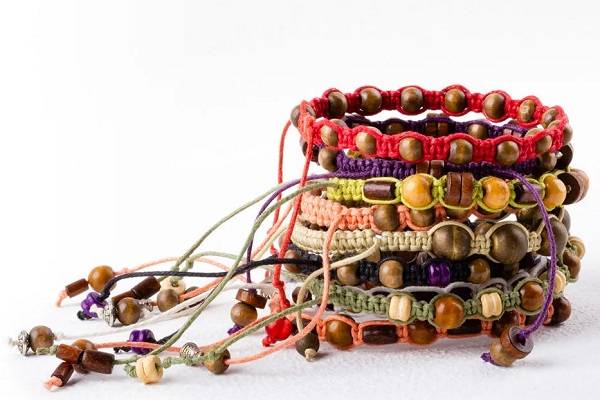
More Ideas for Practicing
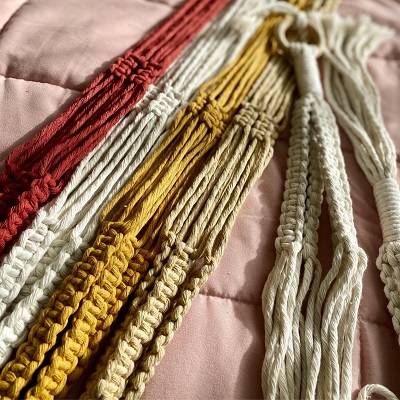
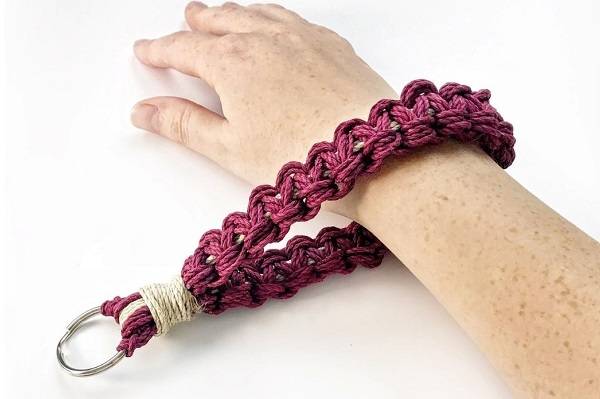
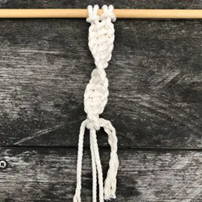
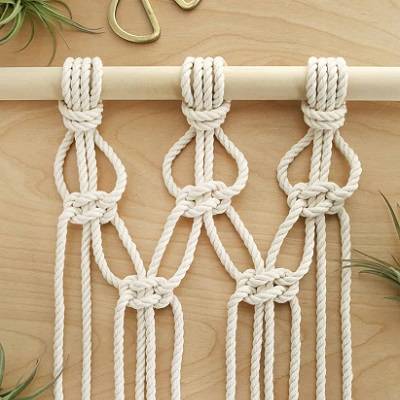
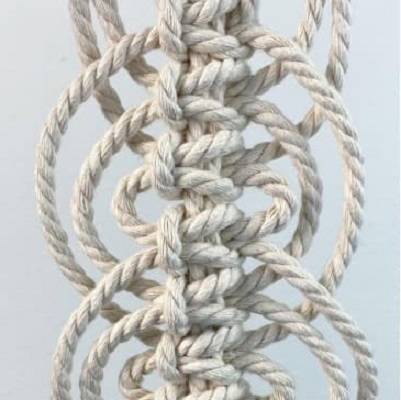
Square Knot Variations
The Spiral Knot
The Butterfly Knot

The Berry Knot
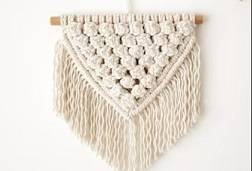
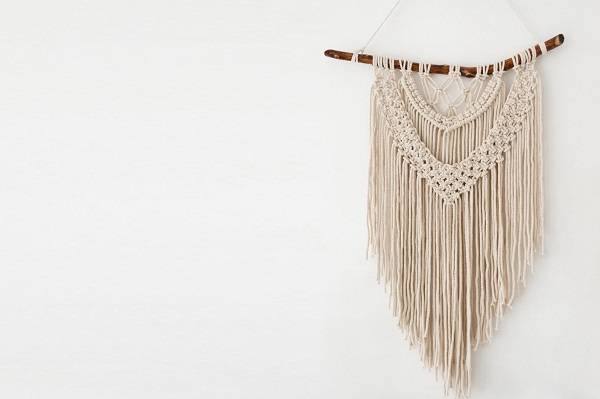
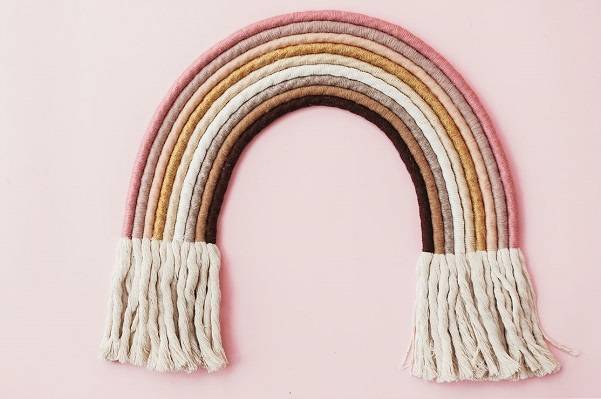
Macrame Square Knot Patterns
Useful Tips on How to Make a Square Knot Macrame
- Keep practicing and focus on not making mistakes and switching from the left to the right side, as it can sometimes be very confusing at first. Practice makes everything perfect.
- We recommend that you always start on either the left or right side. As you continue practicing, you will quickly notice that you will develop a preference for one side. Always start on the preferred side to prevent mistakes further down in sections.
If you get confused about which side of the square knot you are working on, you can check which side has a loop. If you start a knot on the left side, the first loop must appear on the right side, so you need to continue the knot on the right side. If you finished the square knot on the right side, the last loop must appear on the left, so you need to continue knotting on the left side.
You need to secure the knots by drawing them tight to make them even, so you end up having a pattern that looks more consistent.