How To Make Simple Macrame Net Bag?
Let Hemptique Shows You
Innovation & Quality
Developing and supplying premium-quality, sustainably grown, consumer products
100% Natural
Organically Grown and Ethically Sourced
hemp and other natural fiber products
Shipping
We offer fast shipping
Your order out within 1-3 days
Wholesale
Visit our wholesale portal to register or login to your account
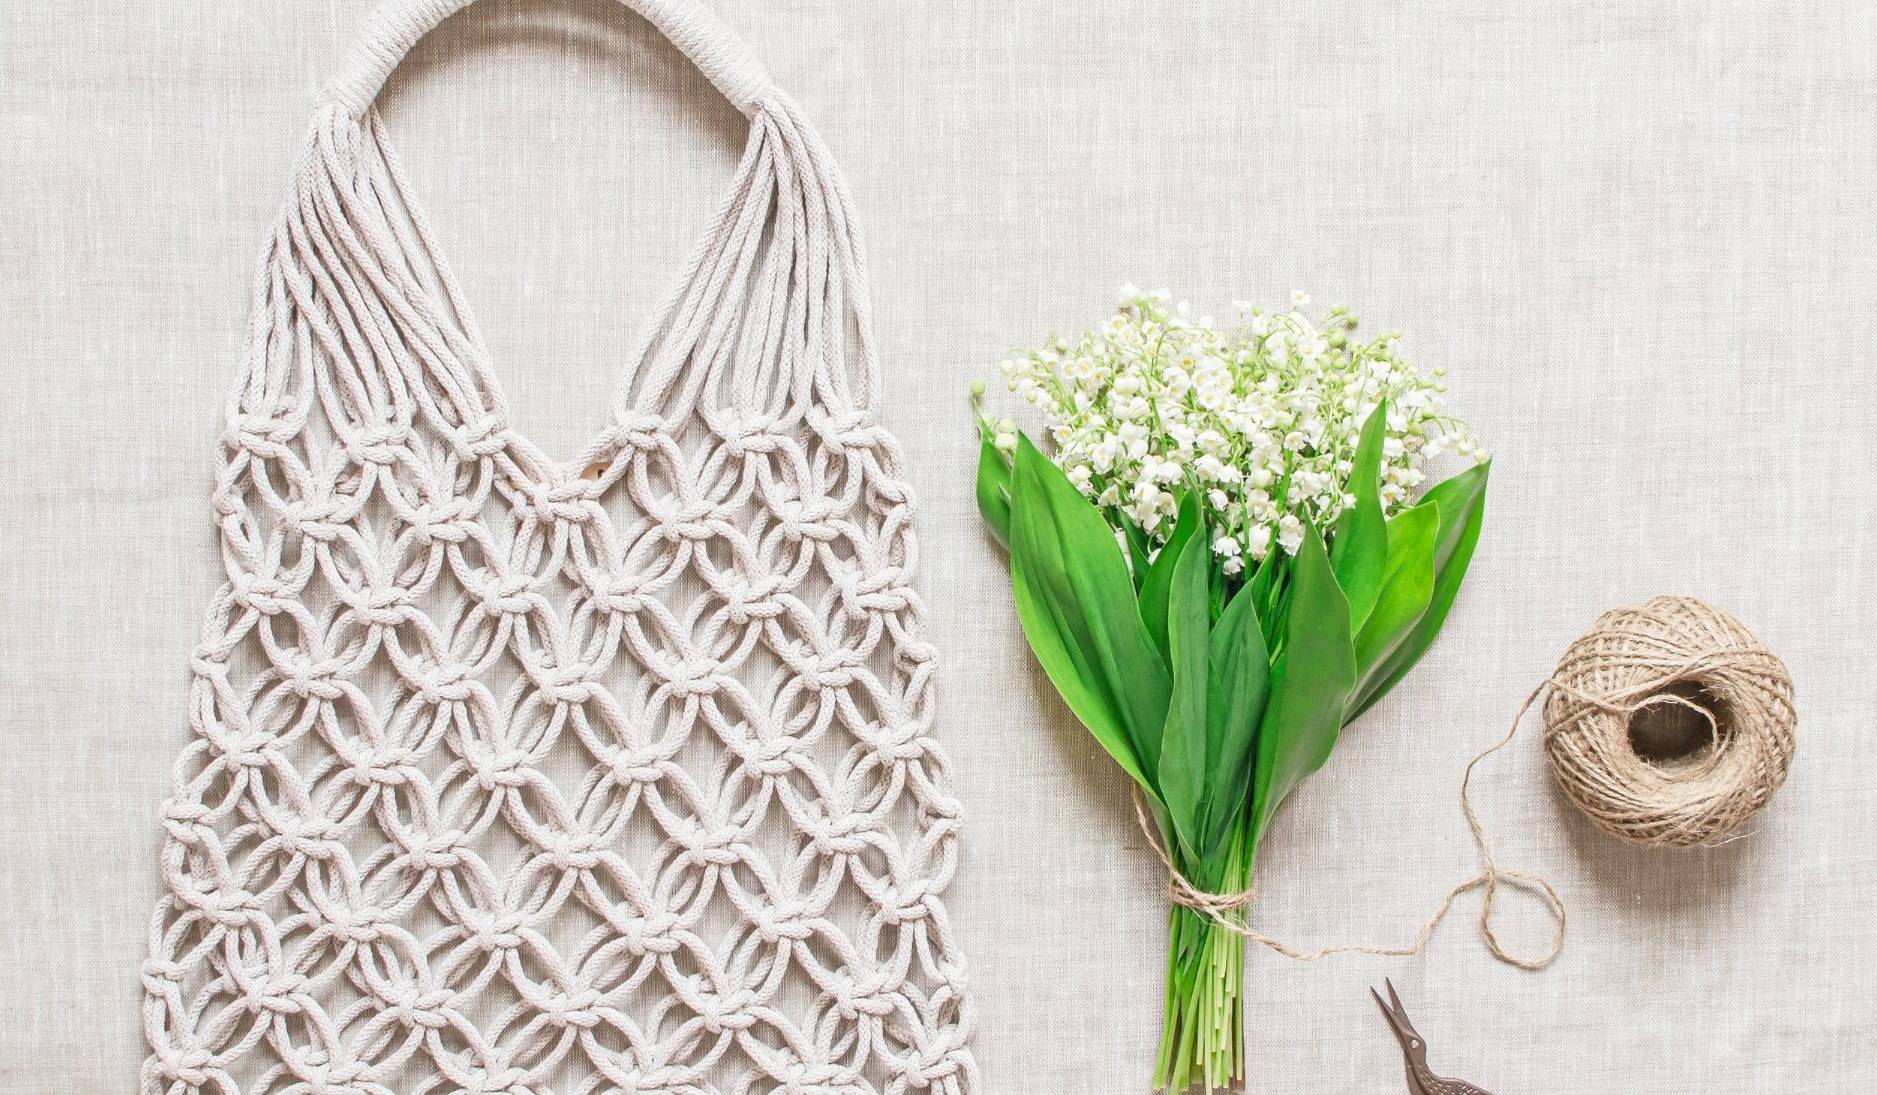
A DIY macrame net bag can be a great way to become more eco-friendly and avoid using single-use plastic bags that pollute our planet. Luckily, you do not need much, only a few affordable supplies like quality hemp macrame cord, bag handles of choice, and a little time. It will be great for any activity, like going to the grocery store, the beach or pool, or even a place to put your extra craft supplies.
DIY Macrame Market Bag Video Tutorial
If you mastered lark’s head knot, square knot, and overhand knot, you are ready for this useful project that will keep you occupied.
Materials needed:
- #48 Hemp cord – we used mustard color, but you can choose whatever color you prefer
- 2 bag handles of choice – we used fabric, but you can also use wooden, metal, plastic, rope, etc.
- Scissors
1) To begin with this DIY macrame bag, cut 40 cords that are 15 feet long.
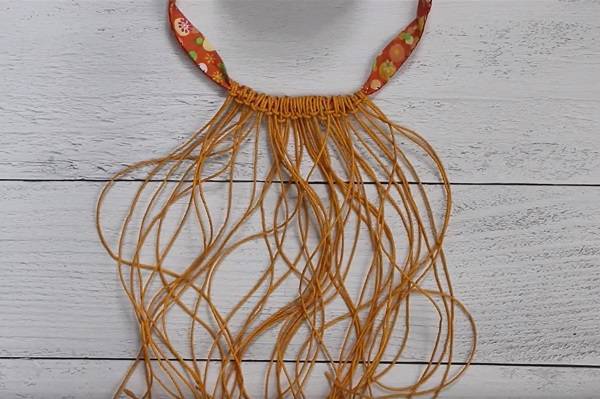
2) Take the bag strap (we used pieces of fabric that we have sewed together, but you can use whatever handle material you like and what is comfortable for you.
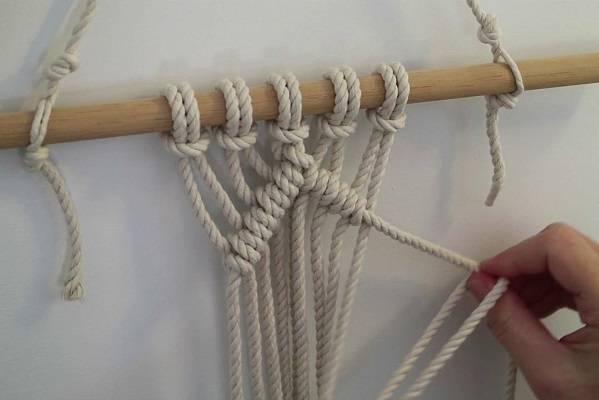
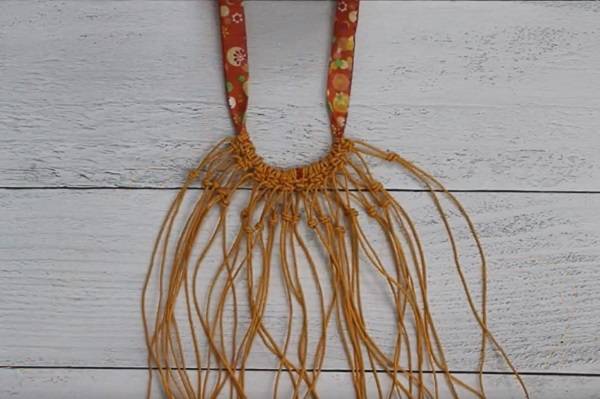
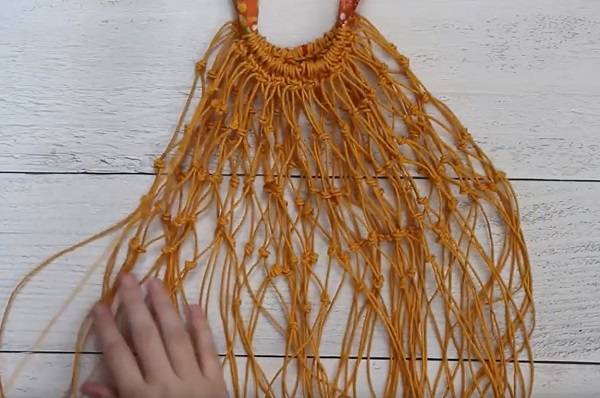
3) Fold 20 cords in half and attach them to the bag handle with lark’s head knot - place the folded cord under the handle to form a loop. Reach under the loop and over the bag handle and grasp the two loose strands, bringing them down through the loop. Pull and tighten the knot. Repeat with all the remaining cords so you will have 20 cords on one handle.
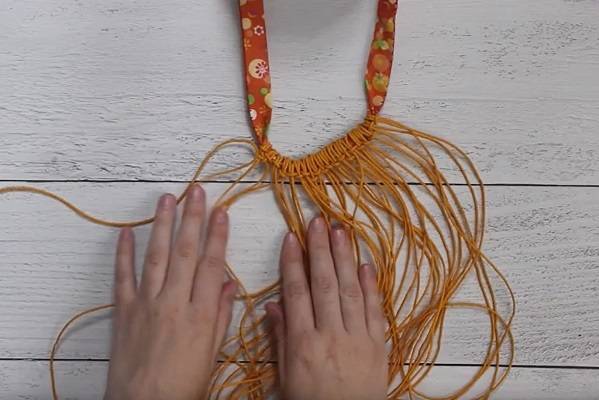
4) We are going to tie square knots right below the lark’s head knots to secure them in place.
5) Start with taking the groupings of four. Take the far-right rope and cross it over the two ropes in the middle to form a loop. The rope on the left will go over the right rope, behind the two in the middle, and through the loop. Give it a nice gentle tug to tighten it. To finish the knot, take the left cord and cross it over the middle two to form the loop. The rope on the right will go over the left one, behind the two in the middle, and through the loop. Pull it tight again.
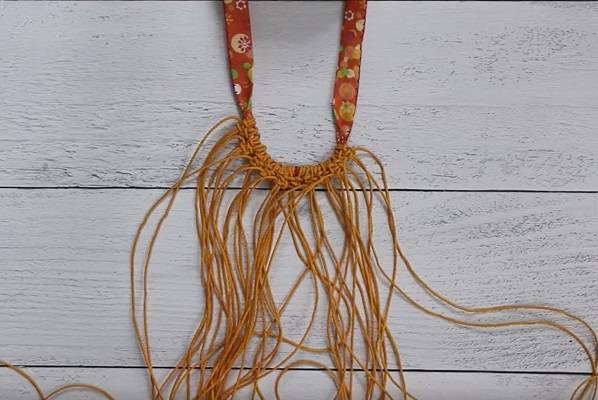
6) Move on to the next four ropes and repeat the entire process until you reach the end – you will have a total of 10 square knots in a row.
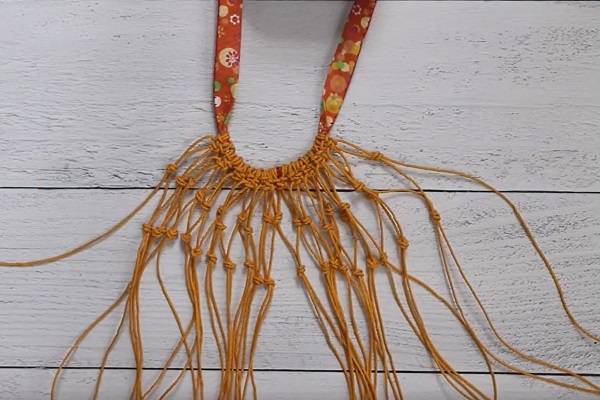
7) Now we will proceed by tying simple overhand knots. Start with the groupings of two on the far left – put the cord over itself to form a loop, and then twist the cord around to go through the loop. Leave a little bit of a gap from the square knot. This is where you need to customize depending on how much net you want in your design – you can make it tight or loose. We left about 1” to 1.5”.
8) Move on to the next two ropes and repeat the process. Try to get this knot lined with the previous one, so it lies right next to it (it does not have to be perfect, though).
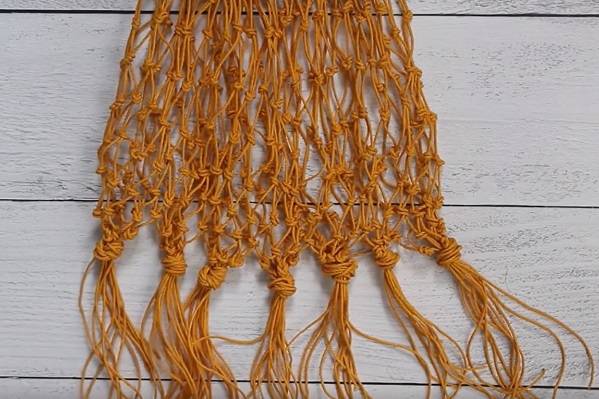
9) Repeat the overhand knot all the way across the pattern for a total of 20 knots.
10) Now we are going to make another row of overhand knots in an alternating pattern – we will leave off the one on the far left and take the next two ropes. Basically, we are taking one rope from each previous overhand knot and forming a new knot.
11) Take those ropes and tie another row of knots below the first one, leaving a space between them as you like.
12) Repeat the same technique in the next row, this time using the rope on the far left together with the one next to it.
13) You need to repeat this technique with the second bag handle.
14) Once you have all your rows done on each handle, we will connect those pieces together.
15) Find each end from each side and tie an overhand knot.
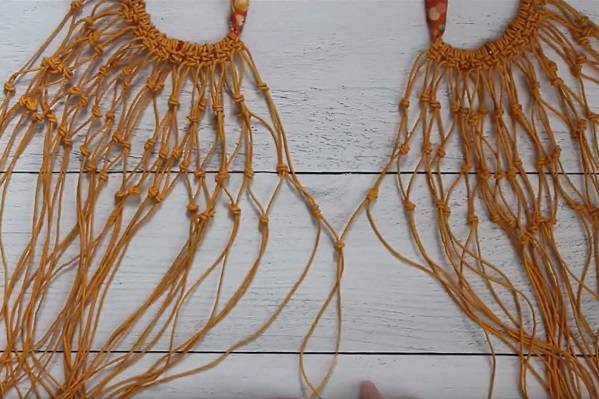
16) Tie knots to form one full row, including the one where it connects.
17) Once you have the fourth row completed, you will notice the two ropes on both ends that are not tied in a knot.
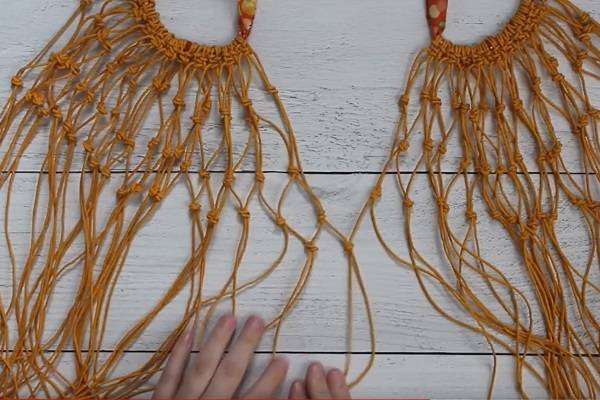
18) Take a net pattern, fold it one over another, and spread your ropes out so they fall where they should.
19) Find the two untied ends again – this is the point where we will connect the other side of the bag by tying another overhand knot. The fourth row is now completed.
20) Continue the pattern in the same fashion and move on to the fifth row. Find two ropes next to each other and start tying overhand knots. When you reach the end, flip the bag to the other side and finish the row.
21) Repeat the process until you reach the desired length (we did 10 rows of knots, but you can do as much as you like, depending on how big you want your bag to be).
22) Once you have finished all the rows, we are going to form a bottom of the bag with jumbo-sized overhand knots using 8 groups of 5 or 5 groups of 8 for even sections.
23) Take the cords and tie one giant knot the same way you did all the previous ones
24) You can leave the ends like that, or you can trim them to make them more even like we did.
Macrame Cords for Your Large Macrame Net Bag
Wondering where to buy excellent macrame cords? Try our 100% hemp cord spools that are made to last. Our eco-friendly, sustainable, natural, and biodegradable supplies will blow your mind. Available in 13 brilliant colors, the premium quality cords are the perfect alternative to synthetic cords, with respect to Mother Earth. With its polished finish that maintains strain consistency and thickness of 1.8mm, it is ideal for macrame net bag DIY.
Tips on How to Make a Macrame Net Bag
Choosing the right macrame cord thickness is not so hard; just follow these general guidelines:
- 1 mm cord could be too thin for your project. However, you can double up with many knots to create extra strength. Of course, it would take much longer and much more cord length to make the bag, but the result would be pretty dainty.
- 1.8 – 3 mm can create a stronger base but will not make your bag look too clunky. This thickness will allow you to tie the knots much faster and is ideal for the bags which are on the smaller side.
- 6 mm+ would be too chunky and thick, so this thickness is recommended for large totes. Otherwise, the knots will visually be overwhelming.
As for the space between the knots, we did 1” to 1.5” apart. You may want to alter this space depending on the thickness of the chosen cord or the look you want to achieve. A general rule of thumb says that the thicker cord knots go farther apart while the thinner goes closer together. If you want to use the bag for small things like keys, lipstick, etc., you will need your knots close, so you need to add a few feet of cord to your macrame length.
Do not Miss a Chance for More Inspiring Ideas
As someone once said, 'crafting is the only way to escape without leaving home.' So, if crafting is your therapy, go for it! If you have not tried macrame yet, now it is time to start. Our macrame net bag in beautiful golden tone is only one example of easy macrame projects. There are tons of them, you only need to visit our: