STEP BY STEP:
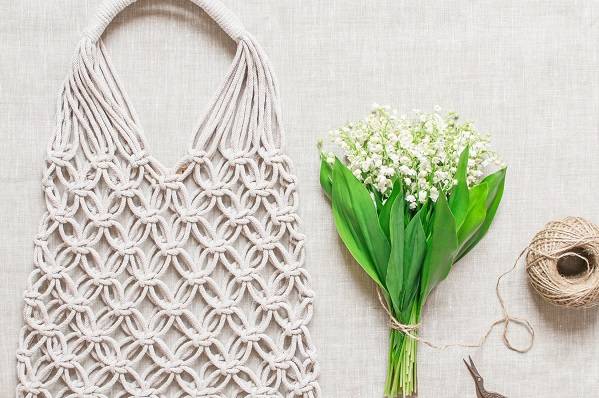
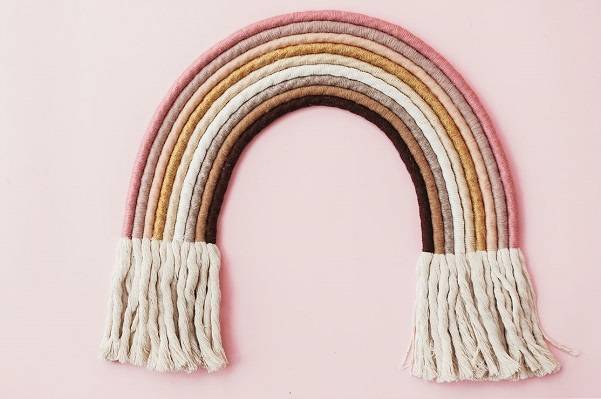
Create Beautiful Macramé Wall Hangings
Check out these tutorials to make your own boho macramé home décor
Innovation & Quality
Developing and supplying premium-quality, sustainably grown, consumer products
100% Natural
Organically Grown and Ethically Sourced
hemp and other natural fiber products
Shipping
We offer fast shipping
Your order out within 1-3 days
Wholesale
Visit our wholesale portal to register or login to your account
You may be looking at the macrame photos online and asking yourself - How to make macrame wall hanging? Fortunately, with Hemptique, it can be very easy. With a little practice, you can create beautiful and affordable pieces that will add character to your home. Moreover, you need to learn only a few basic knots to make your masterpiece.
Do not miss a chance to have so much fun, as Hemptique is here to take away any lingering hesitations. Remember, you can do it!
This beginner-friendly and detailed guide will help you learn to make an easy macrame wall hanging in just 15 minutes. We have chosen two of the least complicated patterns to show you that anyone can do macrame with the help of quality hemp and cotton macrame cordage from Hemptique. Our hemp craft supplies are a very popular choice for a macrame hanging DIY due to their durability, eco-friendliness, and biodegradability. You can make stunning and affordable pieces with our amazing collection of cords and ropes that come in different colors and thicknesses. Besides cordage, you will also need tools like scissors and a few items like a dowel rod and antique spindle. Dust off your knotting fingers and happy crafting from Hemptique!
Table of Contents:
Macrame Wall Hanging Instructions
Wall Hanging Art with Antique Spindle
Macrame: What is it & Few Historical Facts
Macrame Supplies: Why Cotton Rope from Hemptique?
How To Decorate With Macrame Wall Hanging: Let’s Share Some Ideas
DIY Macrame Wall Hanging Instructions
We know that in macrame a video is worth a thousand pictures, while pictures are worth a thousand words. We included both video and written instructions, so let’s work together to make that wonderful wall piece.
In this video tutorial, we used:
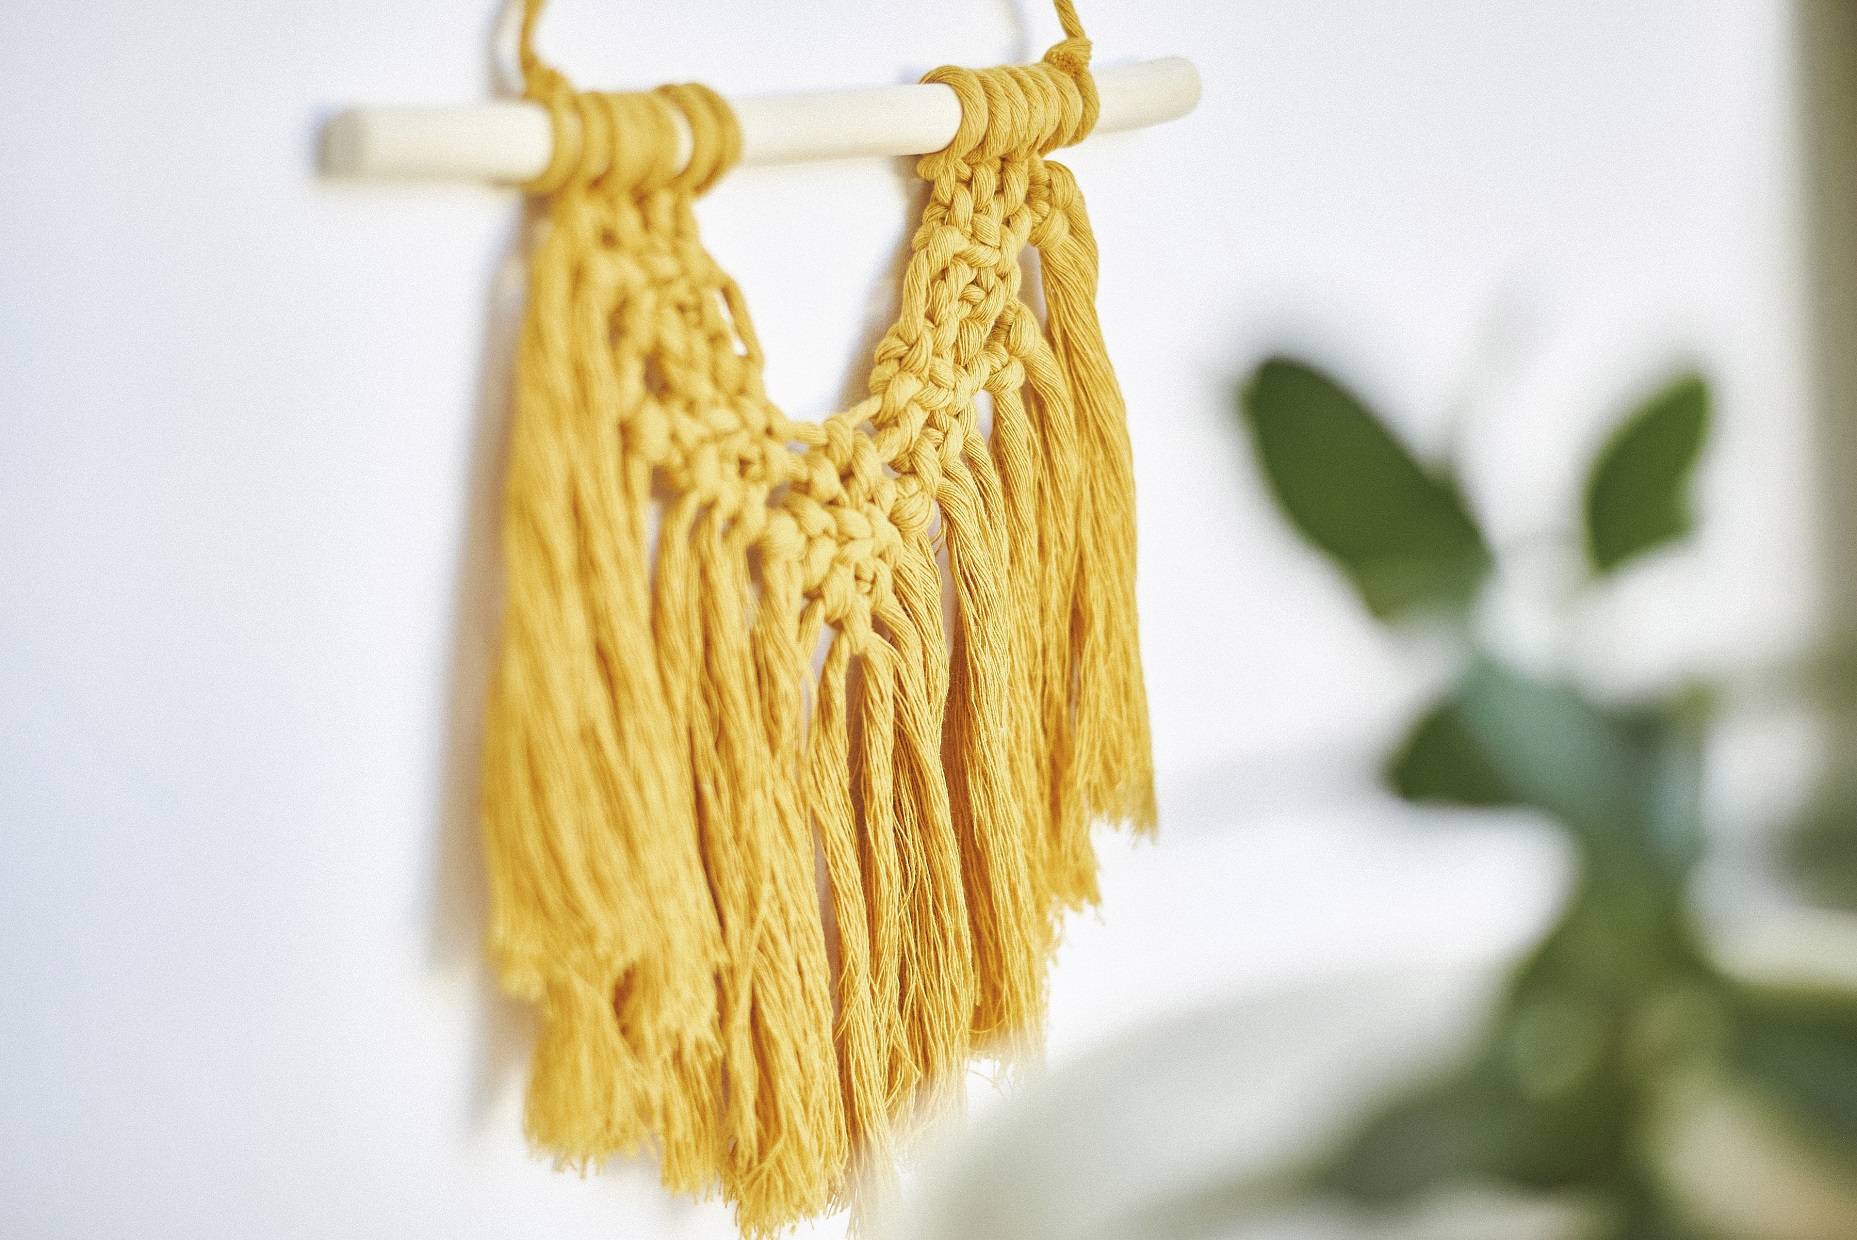
- 6mm Cotton Royal Corderie Rope in light pink color. It is single-stranded twisted, and 100% recycled cotton rope and is a great alternative to synthetic ropes. With soft texture and premier quality, you will get eco-friendly and sustainable rope supplies great for macrame beginners.
- Small dowel rod, or any other stick of choice.
- Scissors.
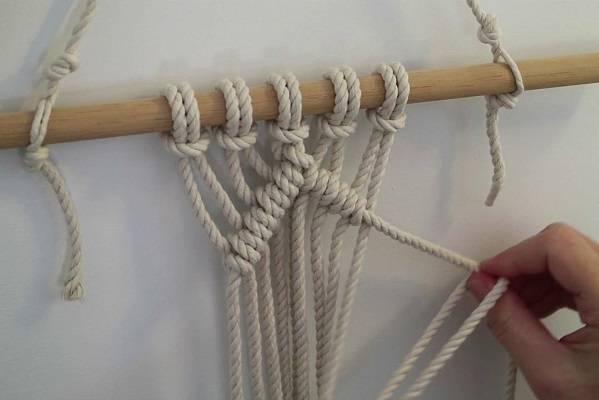
First, you need to cut seven ropes that measure 6 ft. long and twelve ropes that measure 8 inches long before you start.
1) Attach all seven ropes to the rod with lark’s head knot (LHK)
2) We will start making a diamond-shaped design using a double half-hitch knot (DHHK).
3) To make this, find the two ropes that are directly in the middle and separate them. The left string in the middle will be used as a leading rope, and the remaining ropes on the left will be tied around the leading rope.
4) Tuck the remaining ropes on the right side to make the process a little easier.
5) Take the middle left rope and point it down diagonally to the left.
6) Take the first working rope and tie it around the leading rope – put it right behind the leading rope to form a loop, and curl it up and around through the loop. Pull it tight.
7) With the same working cord in front of the leading rope, form a loop, curl it around through the circle, and tighten it firmly.
8) Move on to the next working rope and repeat the same process until you get to the last working rope.
9) Now you need to repeat the same process but on the right side.
10) When you complete the half-diamond shape, we will tie some square knots (SK) in the center.
11) Find the four ropes in the middle. Take the far right rope, and cross it over the two strings in the middle to form the loop. The far left rope goes over the right one behind the middle two and through the loop. Pull it tight.
12) Take the leftmost string and put it over the two middle strings; the rightmost string goes over the left rope, behind the two in the middle, and through the loop. Pull it tight.
13) Tek the two new ropes next to the SK on the left and take the two ropes that already formed the SK, and following the same steps, make another square knot below and left to the first one.
14) Repeat this on the right side to form a SK below and right to the first one.
15) Tie the SK again in the middle of the hanging.
16) Now we will finish the diamond shape by taking the leftmost strand to be the leading rope.
17) Pull it downwards and to the right to tie DHHK around it.
18) Repeat the same process from the beginning of the tutorial until you get to the middle of the hanging.
19) Repeat on the right side of the pattern.
20) Connect the pattern using another DHHK with the strands in the middle.
21) Tie another diamond below this one, following the same steps. Leave the middle of the diamond empty inside, or you can tie four SK as previously shown – it is entirely up to you.
22) Take the smaller pieces of rope and attach them to the outer ropes to add a little bit of fun fringe to the design.
23) Fold the pieces evenly in half and attach them to the design with LHK.
24) Trim off the ends to make them even or uneven as you wish.
Macrame Wall Hanging DIY with Antique Spindle
Another useful tutorial for macrame novices shows us how macrame looks on an antique spindle. Of course, if you do not have a spindle, you can also use other long straight pieces. With only two knots (lark’s head knot and square knot), you will create a very interesting wall piece that you can be proud of.
In this tutorial, we used:
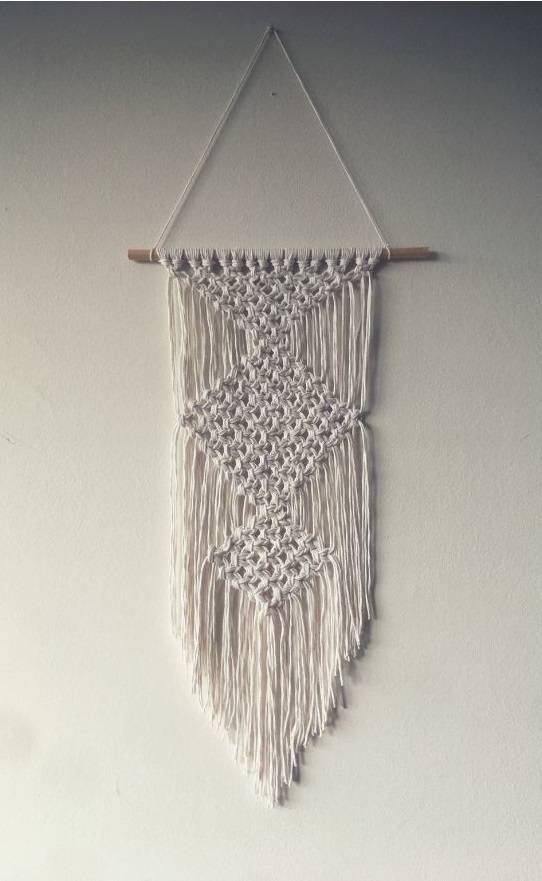
- 6mm Hemptique Hemp rope in natural color. This 3-strand twisted rope is ideal for those who are just starting their macrame-making journey. Flexible and durable, this rope is completely biodegradable and environmentally friendly. You can certainly feel the difference between this natural fiber and others.
- 0.5mm Hemp Cord in earthy color. It is perfect for any kind of crafting because of the strong and durable nature of its fibers. With the polished finish to eliminate stray fibers, it enhances the colors and maintains strand consistency. It will add a rustic touch to your project.
Your custom text goes here
- Antique spindle or any other straight rod you have.
- Scissors.
Before we start, you need to cut eight pieces of the cord into 36-inch lengths. So, let’s begin.
1) Tie eight strands with lark’s head knot (LHK) to get sixteen strands to work with.
2) Make the square knot (SK) using four cords starting from either side of the hanging: take the far left cord and put it over the two middle strands and under the right cord. Bring the right cord between the two in the middle and up through the loop and tighten it to form a half knot.
3) To form the SK, you need to make another half knot, but this time using the cords in reverse order. Take the far right cord and bring it over the middle cords and under the left cord. Then, take the left cord, put it behind the middle cords through the loop, and tighten it firmly.
4) Make two square knots in each row to get some extra length in the design.
5) For the next row, skip the first two cords and start from the third one. That way, you will get three SK in a row. Repeat the same pattern from step 3 to make SK.
6) Next, follow the pattern of the first row to get four SK.
7) Stop at the third row of square knotting and unravel the rest of the cord. It will create a funny look at the bottom.
8) Trim the excess rope.
Macrame: What is it & Few Historical Facts
Macrame is an ancient art of tying knots to make textile. It uses several knots to form a basic shape – the beauty is that you do not need any tool other than your hands and a mounting ring or dowel to keep the item in place when you hang it.
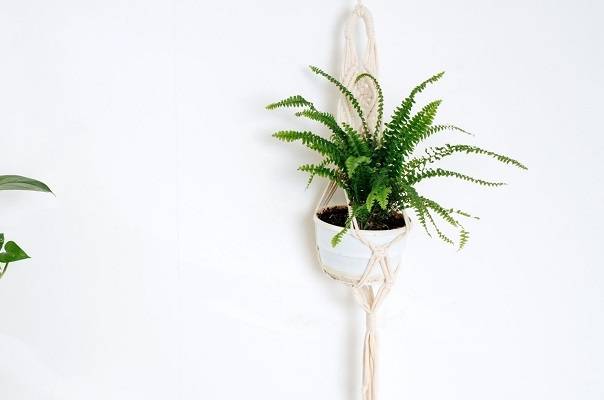
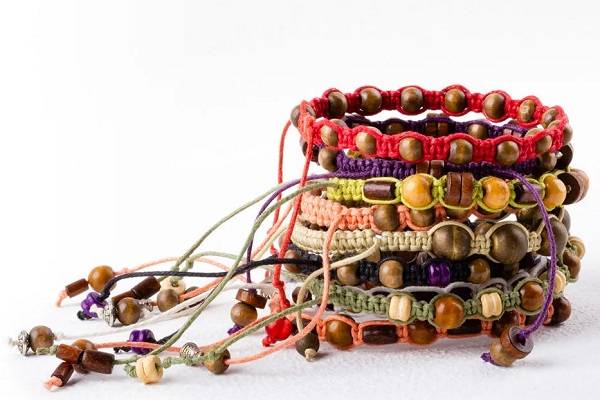
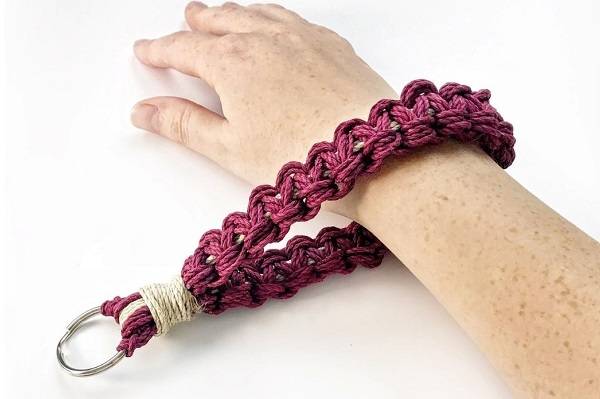
It has gone in and out of popularity for thousands of years, but we cannot deny that it is a very versatile and practical art form. You can make keychains, wall hangings, bookmarks, jewelry, tablecloths, curtains, plant hangers, clothes, belts, market bags, and many other items.
Use Macrame Rope from Hemptique for Next Wall Hanging DIY Project
As macrame is making a huge comeback, the first thing you will need is quality rope. With just a few basic supplies, you can make anything you like in any style you prefer. To inspire you, Hemptique offers an array of different ropes and cords perfectly designed for every project you can think of.
Our Royal Corderie collection is made of recycled cotton; we have 4 mm and 6 mm double strand twist and 4mm single strand twisted. Royal Corderie collection comes in various colors, from plain to mixed with gold thread to give your project the right amount of sparkle. The Metallic Crafting macrame line is offered in 3 mm thickness, in five vibrant and unique colors. This premier quality cotton rope is made in Belgium and is the ideal sustainable macrame supply with respect to Mother Earth.
How To Decorate With Macrame Wall Hanging: Let’s Share Some Ideas
Picking the right macrame project has never been easier with the Hemptique blog. You can discover various projects for beginners and more experienced macrame crafters. From plant hangers to a friendship bracelet, everyone can find inspiration for the next project. Whether you simply want to have fun or make a unique present for your loved one, Hemptique is the right address for you.