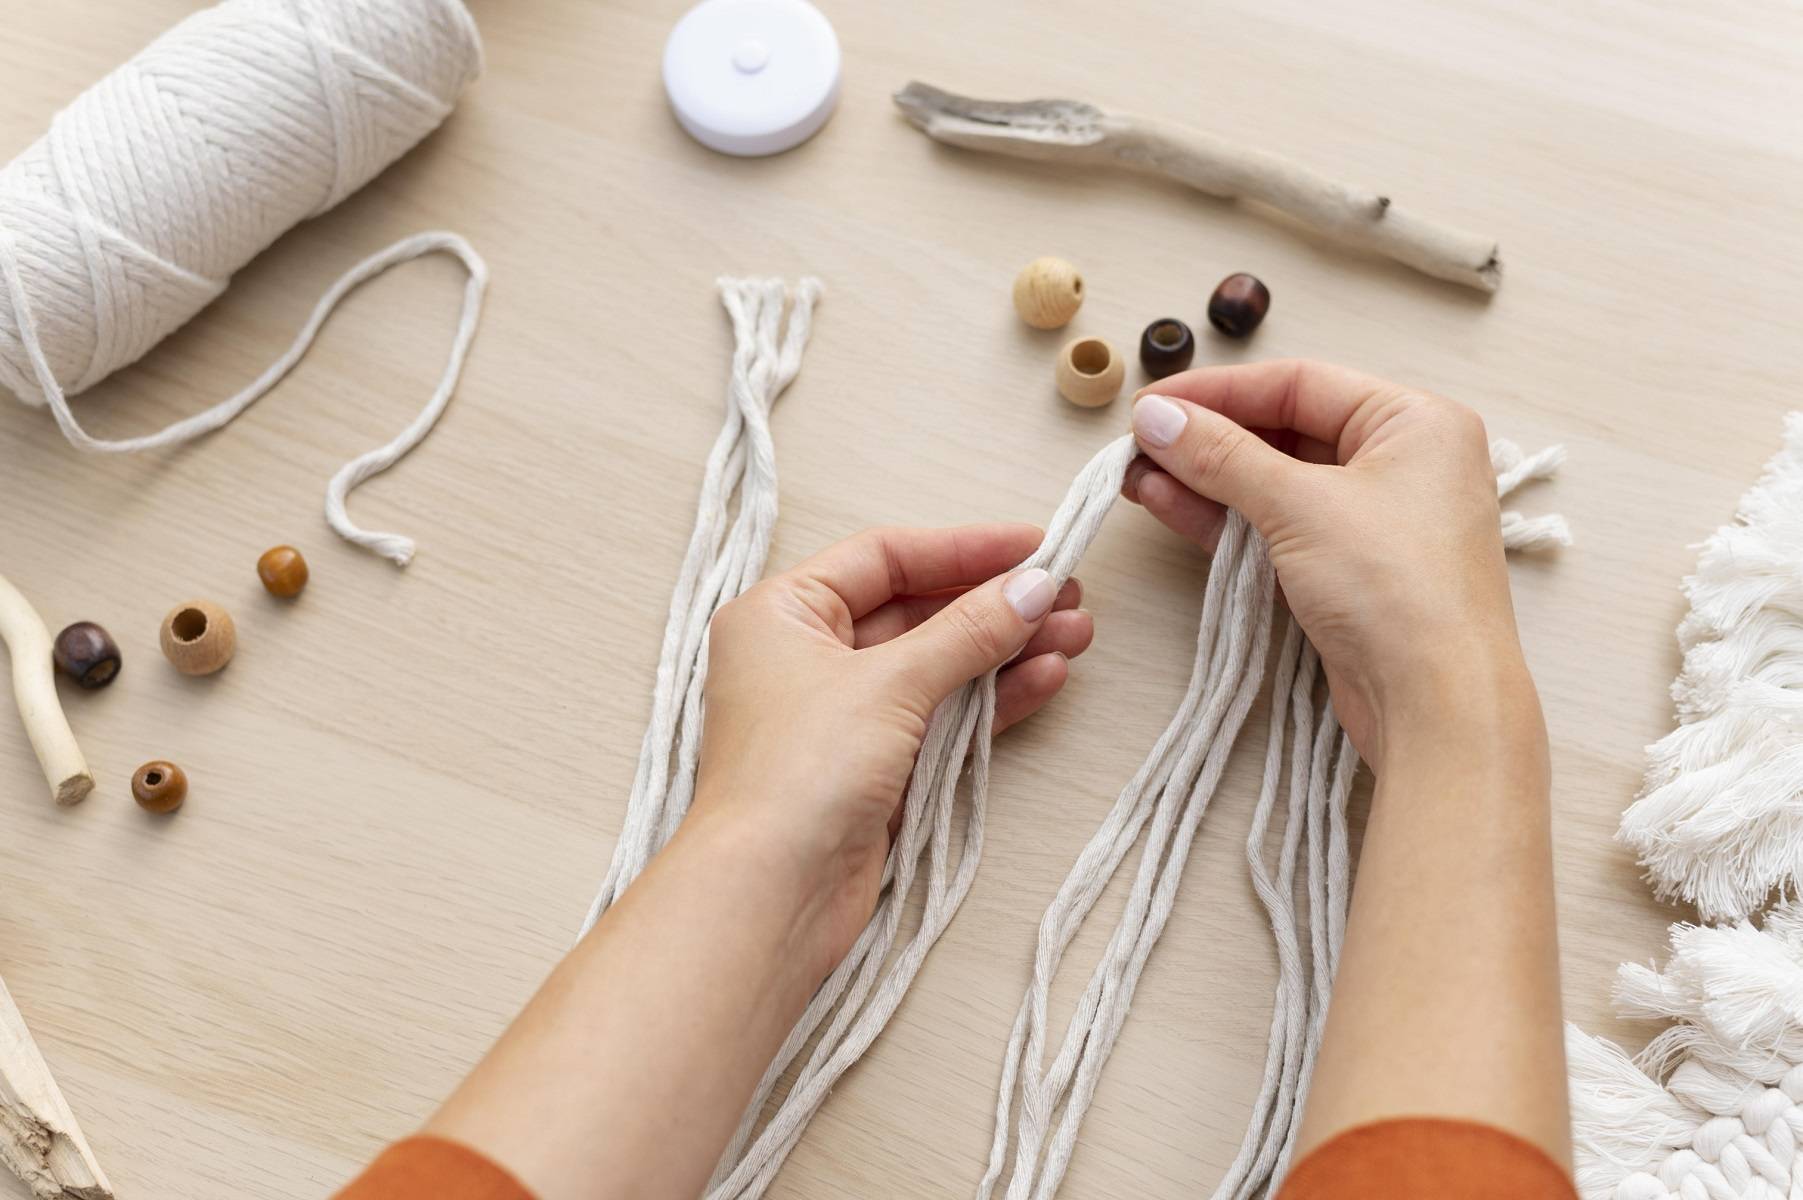
HOW TO:
7 Simple Macramé Knots You Should Know
Learn from this step-by-step video tutorial and our illustrated library of knots
Innovation & Quality
Developing and supplying premium-quality, sustainably grown, consumer products
100% Natural
Organically Grown and Ethically Sourced
hemp and other natural fiber products
Shipping
We offer fast shipping
Your order out within 1-3 days
Wholesale
Visit our wholesale portal to register or login to your account
Table of Contents:
Lark’s Head Knot
Square Knot
Spiral Knot
Strength, Dimensions and Length
Double Half Hitch Knot (Clove Hitch)
Gathering Knot
Reversed Lark’s Head Knot
Overhand Knot
What is Macramé (terms and history)
Macramé Rope Supplies
How to Choose Cord Length
Choosing the Cord Diameter
How to Tie Basic Macramé Knots Video Tutorial
Macramé Terms Explained
You may not be familiar with some terms macramé lovers are using. Let’s solve the mystery:
- Sennit: it is a column of knots that are all the same. Square knots are usually used to make a sennit.
- Leading cord: It is the one that leads the pattern where you want it to go.
- Working cords: All cords in a macramé project.
- Knotting cords: Cords that are used to tie knots in your pattern.
- Filler cords: Cords around which the knots are tied.
- Row: It is a horizontal line of knots usually tied side by side and tied with a different working cord.
- Finishing macramé knots: These knots are used for securing the cord ends from unraveling, like a gathering knot.
LIBRARY OF KNOTS
- Double Half Hitch Knot
- Gathering Knot
- Lark's Head Knot
- Reversed Lark's Knot
- Overhand Knot
- Square Knot
- Spiral Knot

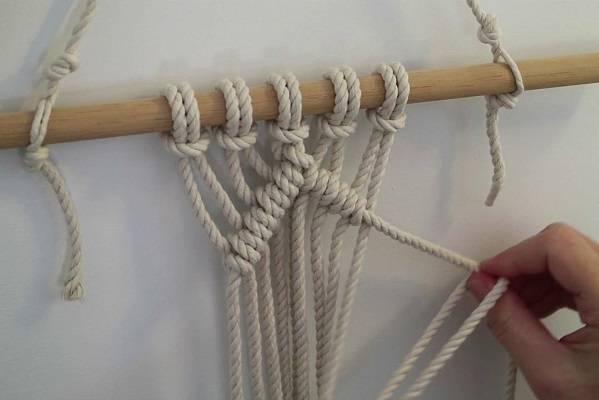
Double Half Hitch Knot
- It is also known as a clove hitch.
- You will need six ropes attached with three lark’s head knots.
- Take the rope on the far left and point it in a direction you want it to go – it is called a leading rope.
- All the remaining ropes (working ropes) will be tied around the leading rope.
- Take the first working rope and form a loop with a leading rope.
- Twist the working rope upwards, send it through the loop, and pull it tight.
- Take the same working cord and send it to the front of the leading rope to form a loop.
- Twist it around and go through the loop.
- Once again, pull it tight, and you will get the first double half hitch knot.
- Move on to the next working rope.
- Take it and put it behind the leading rope to form a loop.
- Send the working cord over and around to go through the loop.
- Pull it tight.
- The same working cord will form a loop in front of the leading rope.
- It curls around to go through the loop and pull it tight.
- Always hold a leading rope in your hand.
- The process is the same if you want to go back in the same direction.
- This time the leading rope will be on the outer right side.
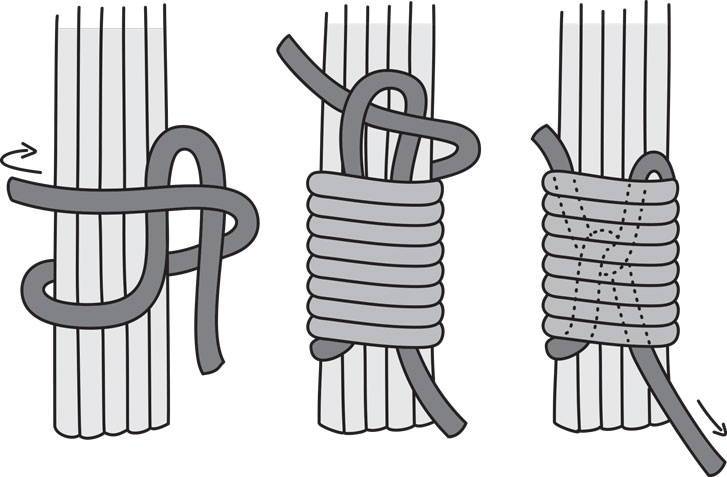
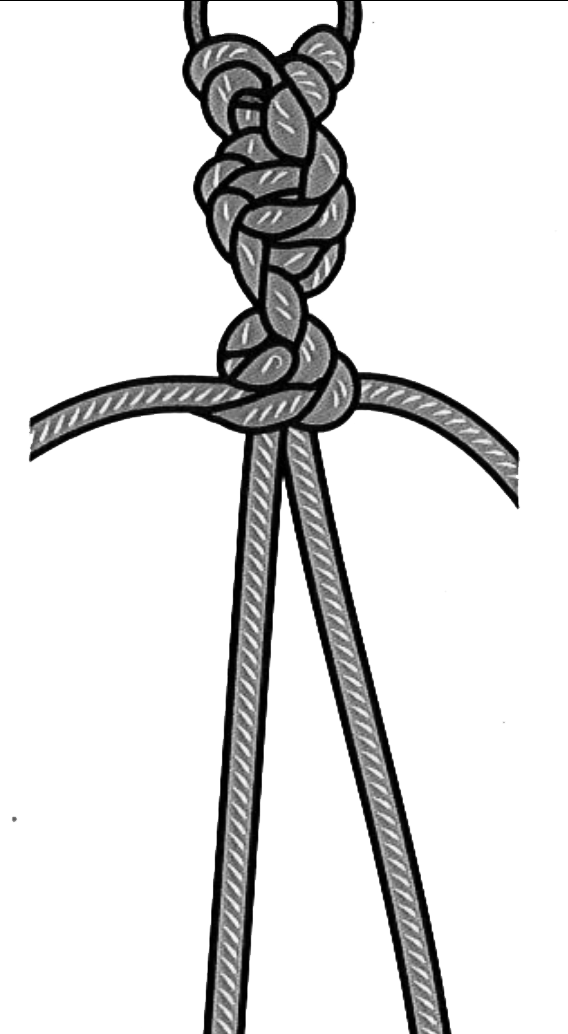
Gathering Knot
- It is used to hold the knots on end together; also known as a wrapping knot.
- We are using a spiral knot example to show how to make this knot.
- You will need another rope to make it.
- One end of the new rope is short, while another is long.
- You will form a loop that hangs below.
- Stick the loop in front of all the cords you want to put together and pinch it on top to hold it in place.
- The loop will hang below, and the short end will be right on top.
- Take the long end and start wrapping it around all the cords, so the short end sticks on top.
- Wrap it as many times as you desire.
- Take the longer end you are using to wrap the strings and stick it through the formed loop.
- Take the short end on top and pull it, so the loop and the longer end are pulled into the knot behind the wrap.
- It is now secured and in place, so take scissors and trim off the ends.
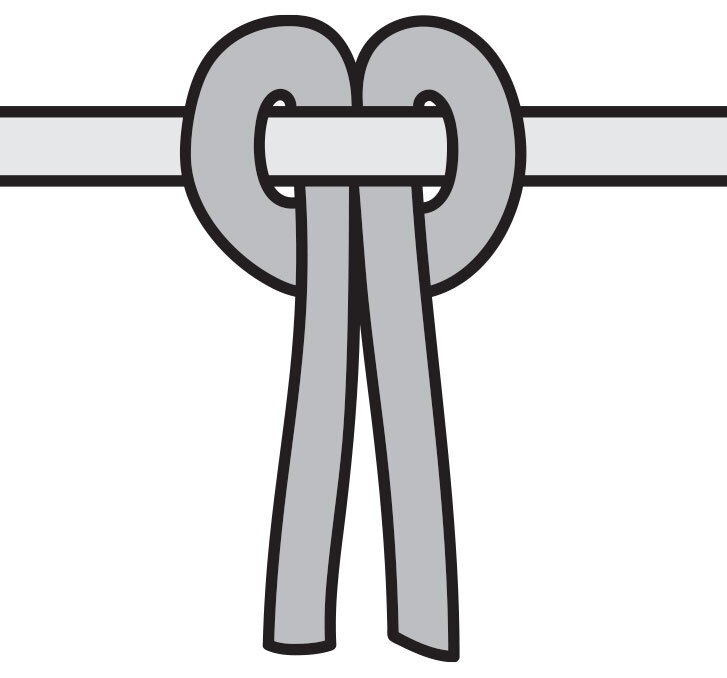
Lark's Head Knot
- Cut your rope 5 feet long.
- It is an attaching knot to a rod, hoop, stick, or ring.
- Fold a rope evenly into half.
Create a loop and put it over one side of the dowel.
- Pull the remaining rope through the loop you created.
- Tighten it.
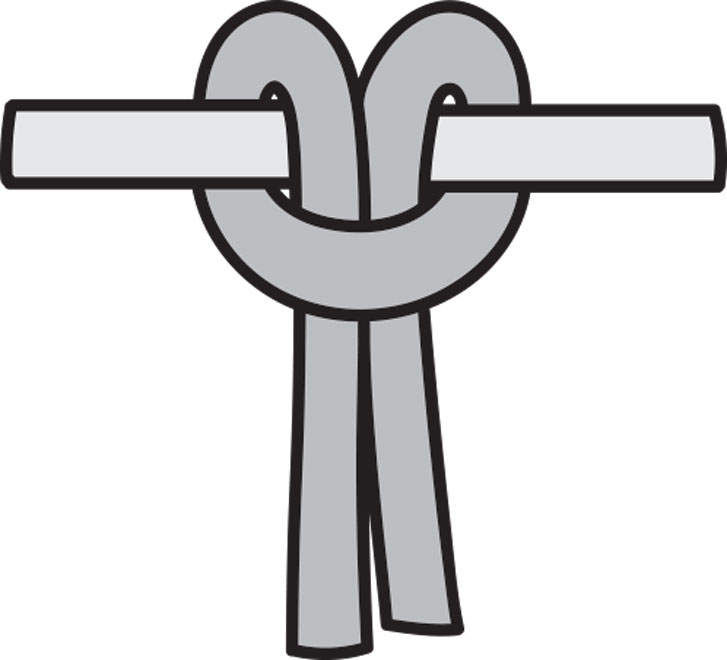
Reversed Lark's Knot
- It is like a lark’s head knot but in reverse.
- Fold the rope in half and place the loop under the dowel.
Fold the loop towards you, but over the dowel.
- Pull the untied ends of the cord through the loop and tighten it.
- The knot will create spacing between two ropes on the dowel.
Overhand Knot
- It is a foundation knot – it forms the basis for other knots.
- Lay one side of the rope over the rest to form a loop.
- The bottom of the loop is usually a place where the knot will form.
- Tuck the end of the cord through the loop.
- Hold the ends of the rope and tighten it.
- You will get a small knot that has its uses.
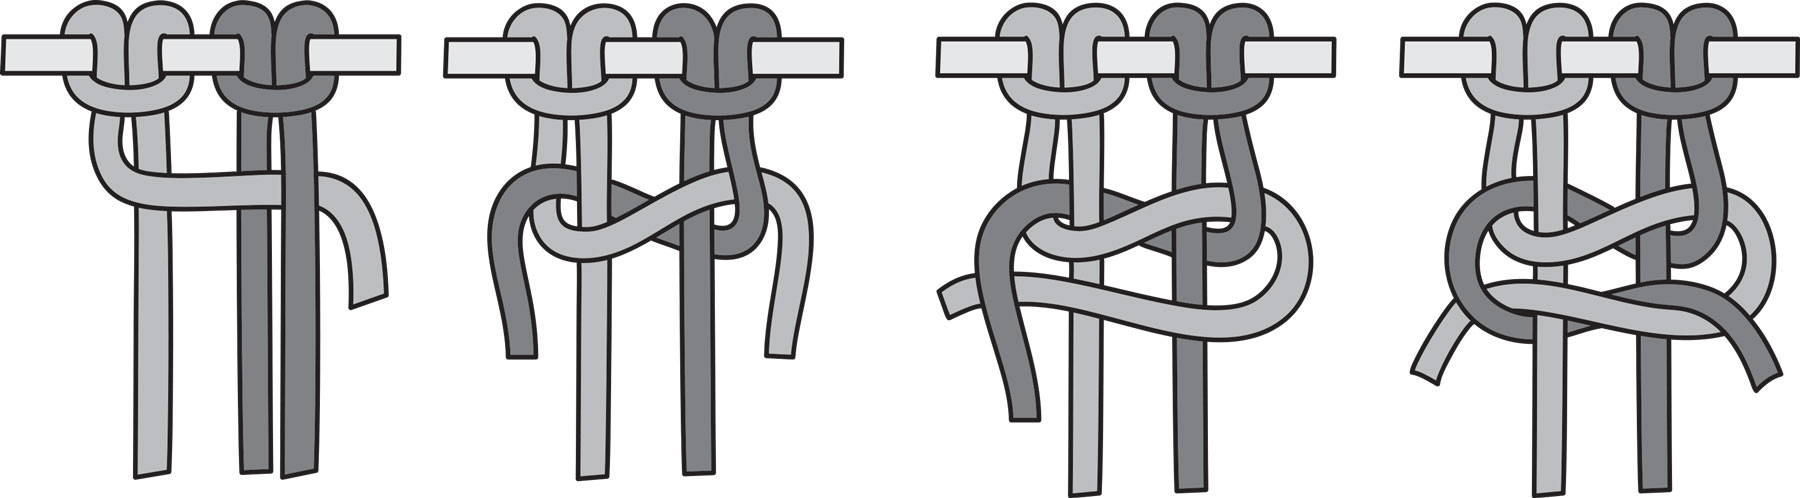
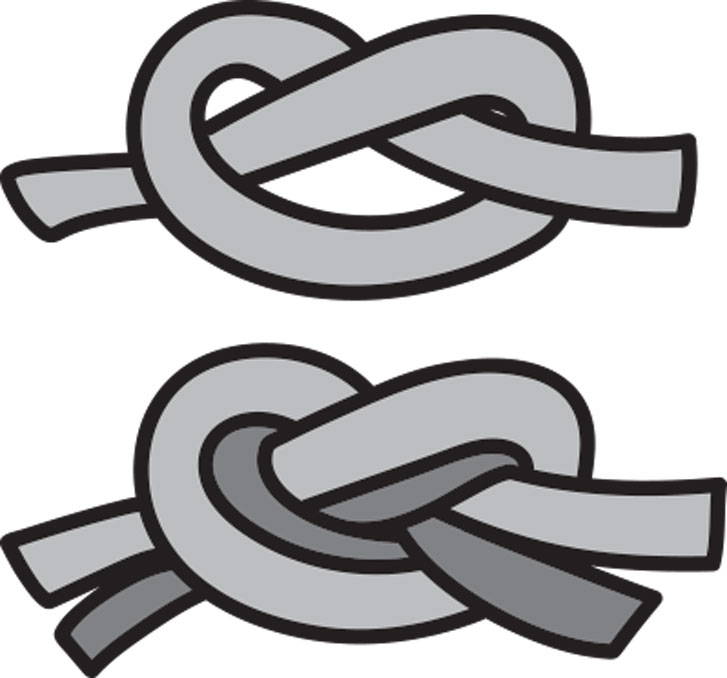
Square Knot
- You can do entire projects with only this knot – it is very useful. You will need four ropes attached with two lark’s head knots.
- Take the rope from the far right and cross it over the two ropes in the middle.
- Take the far left rope, and cross it over the right rope.
- The outer left rope goes behind the two in the middle and through the loop.
- Pull it tight without letting the cord twist, and a half square knot is completed.
- Take the outer left rope and cross it over the two ropes in the middle to form a loop.
- The outer right rope goes in front of the left one.
- Send it behind the two ropes in the middle and through the loop.
- Pull it tight, and you will get the square knot.
Spiral Knot
- It is a variation of the square knot, also called a half square knot.
- Attach four ropes with two lark’s head knots.
- Take the outer right rope and cross it over the two middle ropes to make a loop.
- The left rope goes over the right rope behind the two middle ones and through the loop.
- When you pull it tight, you will get a half square knot.
- Repeating the same steps will get a spiral knot resembling a DNA chain.
WHAT IS MACRAME?
A BRIEF HISTORY OF TYING KNOTS ART
ESTIMATING THE LENGTH OF THE CORD
- If your pattern consists of a large number of knots, you will probably need more rope
- The rope can be a bit shorter if your project has many straight cords.
- If your cord is thicker, it needs to be longer.
- Single-strand ropes need less length than 3-ply or braided ropes.
- Always add a little extra cord to create beautiful fringes.
- When in doubt, always cut an extra rope just to be sure.
- If you want to change the cord thickness from the size you started your project; you will need to add or subtract length.
- If you want to be more specific, measure the length of each knot separately and multiply the length of each knot by the number of knots in a pattern.
- Keep a record of your measurements per cord size and type in mm.
CHOOSING THE CORD SIZE

4mm Hemp Rope Coil
3 strand twisted hemp rope. 30 meters length. Available in black or natural.
$29.99
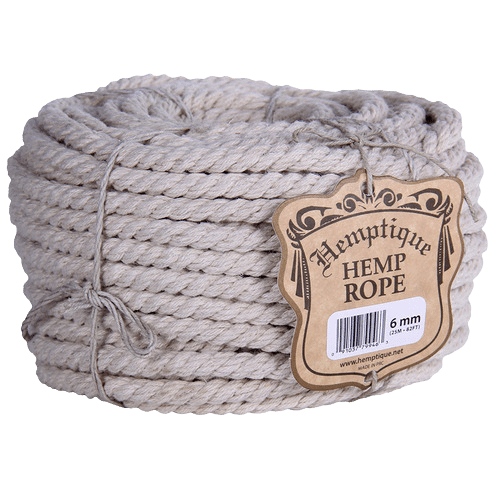
6mm Hemp Rope Coil
3 strand twisted hemp rope. 25 meters length. Available in black or natural.
$34.99
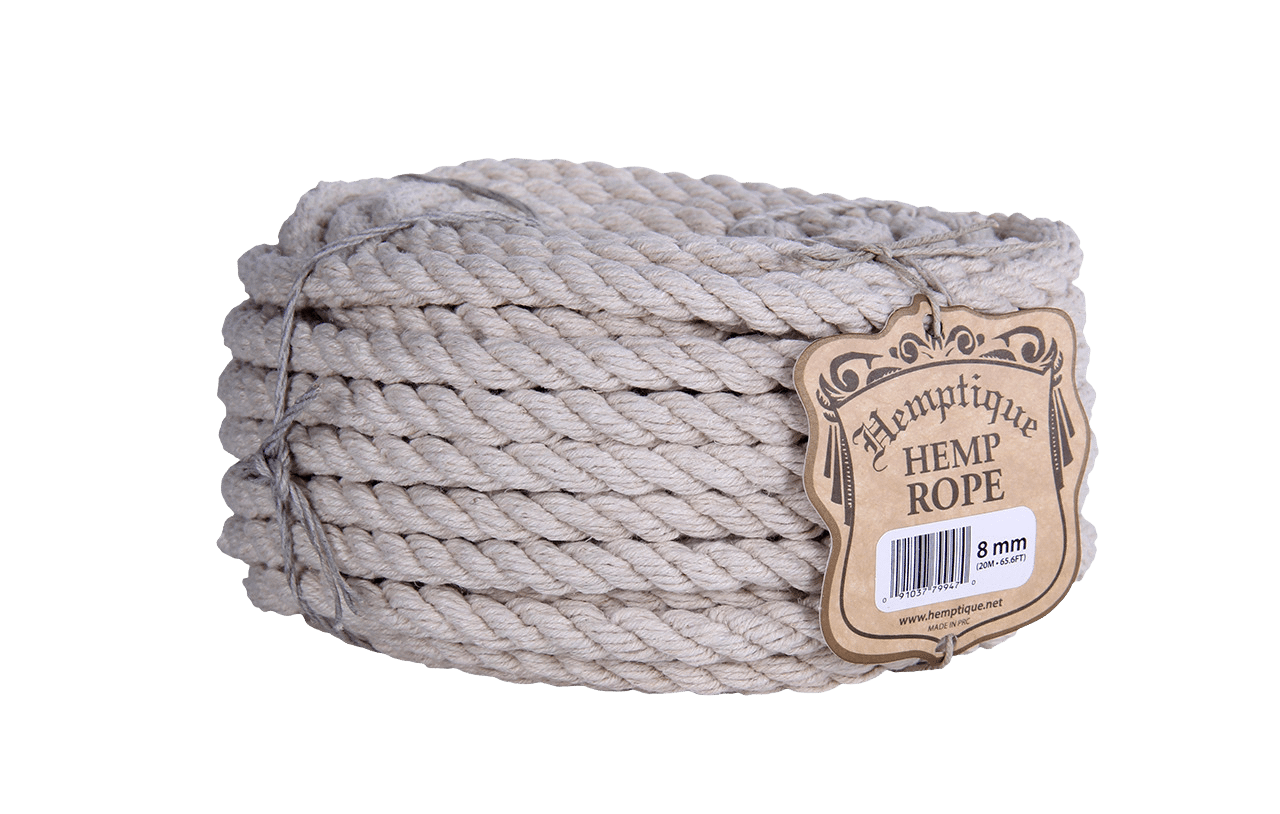
8mm Hemp Rope Coil
3 strand twisted hemp rope. 20 meters length. Available in black or natural.
$39.99