How To Make Macrame Rainbow
Step by Step Guide for Beginners
Innovation & Quality
Developing and supplying premium-quality, sustainably grown, consumer products
100% Natural
Organically Grown and Ethically Sourced
hemp and other natural fiber products
Shipping
We offer fast shipping
Your order out within 1-3 days
Wholesale
Visit our wholesale portal to register or login to your account
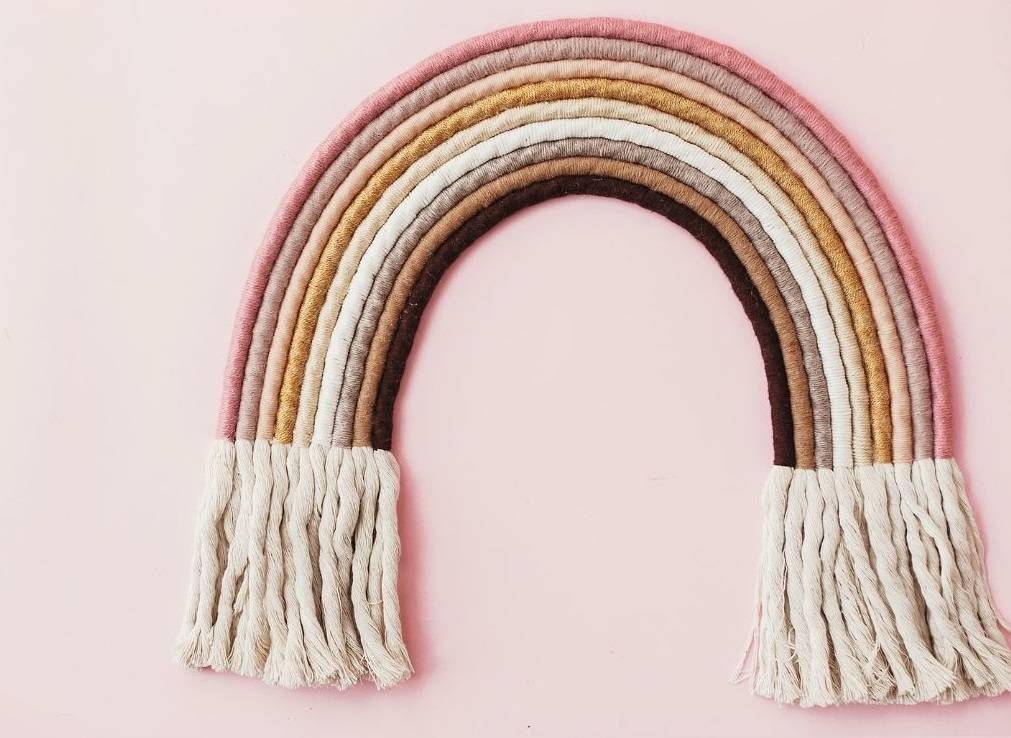
As the crafting industry is slowly expanding, you may want to try something yourself, like a DIY macrame rainbow. Although this is not the quickest project, as wrapping up takes some time, it is not particularly difficult to learn. With our 10-minute video tutorial, you will have the opportunity to play with amazing textures, colors, and shapes of your rainbow. You can easily change it up with various colors or color shades to match the seasonal decorations of your home. We will show you little tricks to make the process a bit easier, so stay with Hemptique and let us show you this colorful and happy macrame design.
With the right supplies from Hemptique, including Royal Corderie cotton rope and hemp cord, you can make amazing pieces that will fit any home décor. Our craft supplies are eco-friendly, sustainable, and biodegradable, so we are having Mother Earth in mind. The smooth strands and vibrant colors of our products can be a perfect addition to your macrame DIY kit. Besides being affordable, our cords and ropes come in various sizes, colors, and materials (hemp, cotton and bamboo) so you will certainly find the one ideal for you.
Rainbow Macrame Video Tutorial
With both video and detailed written instructions, you will be able to master the art of macrame rainbow fast and once and for all.
What you need:
- 6mm Royal Corderie macrame rope double twist in color white. It is made of recycled cotton with a double strand twist. Its soft yet sturdy texture will be perfect as filler rope for our rainbow design.
- 1mm Hemp cord in any color you like – we have chosen red, sunset coral, yellow, sea foam green, aquamarine, and lavender. Of course, you can adjust the color palette to match your décor.
- Hot glue gun and glue sticks
- Washi (or masking) tape
- Scissors
- (Optionally) beads.
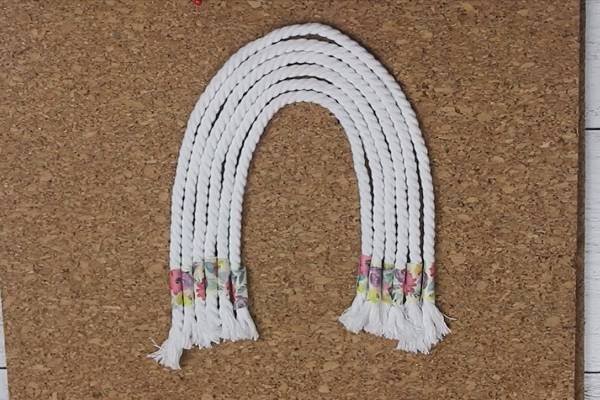
Before you start, cut 6 pieces of 6mm cord to form arches, like this:
- 1 measuring 16”
- 1 measuring 15”
- 1 measuring 14”
- 1 measuring 13”
- 1 measuring 12”
- 1 measuring 11”
The easiest way to do this is to lay out the rope in the rainbow shape you want (wide or narrow) and cut each piece. Remember to leave some extra rope for the fringe.
1) Lay out each rope in order from the biggest to the smallest. Tape the ends of each piece with washi tape to prevent ends from unraveling. It will also serve as starting and ending point for wrapping the hemp cord. Make sure the tape is even throughout the rainbow.
2) Start wrapping the biggest piece of cord. You may set aside other arches for now.
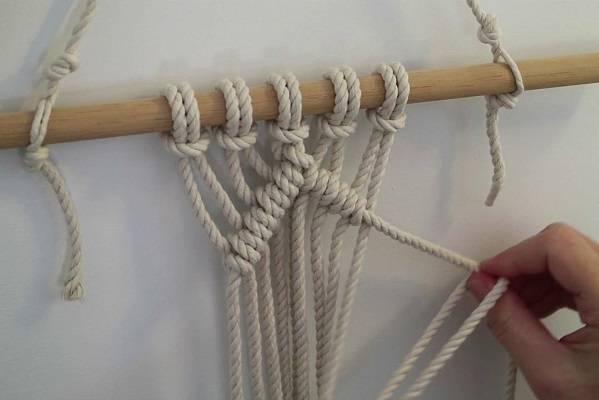
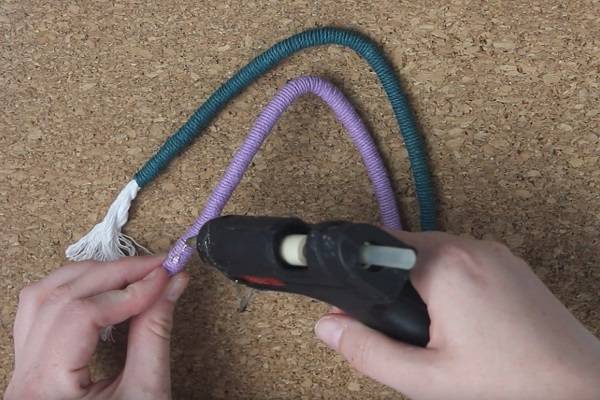
3) Take the end of the hemp cord, put it on top of the tape, and begin wrapping the rope. Make sure to overlap the small section at the start to keep the cord securely in place. The easiest way to start wrapping is to roll the rope as you go.
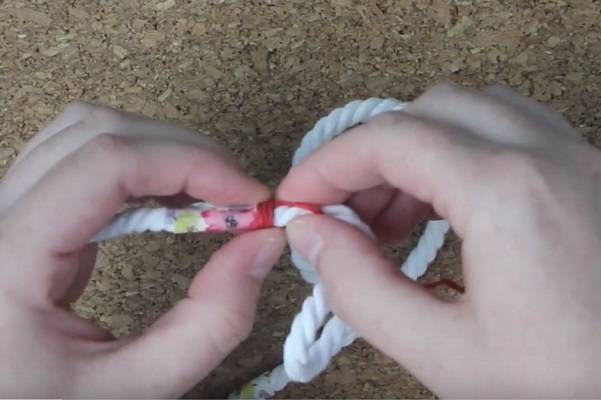
4) Keep the cord neat and tightly wrapped next to each other so that you cannot see the rope beneath. Continue until you reach the tape on the other end.
5) Before you reach the end, you need to attach the cord with little hot glue. Take the glue gun and place some glue very carefully on the rope. Then very carefully, continue wrapping until you reach the washi tape. That way, the cord will be secure and in place.
6) Take the scissors and trim off the end of the cord.
7) The first wrapped section is finished.
8) Take the next arch and repeat the same process until you finish all six sections.
9) Remove the tape on all sections.
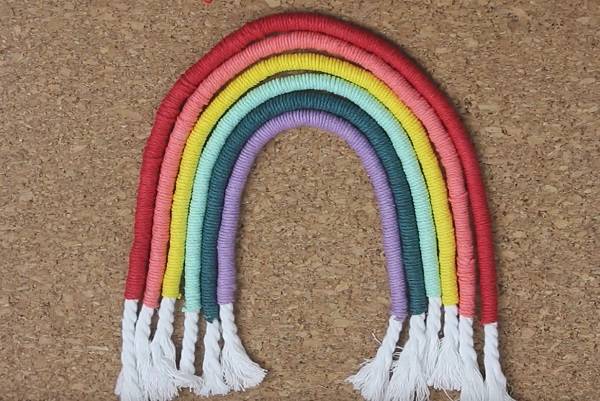
10) It is now time to start attaching each section to each other. We will now begin to work from inside to outside.
11) Take the glue gun and put some glue right along the outer edge of the smallest section. Be careful not to use too much glue because it can leak out, so it will not look neat.
12) Take the next section and push it against the first one that has glue on it. Do it again until you reach the other end, working your way around the arch. Shape the arch as you go.
13) Take the next section and repeat everything from the previous two steps.
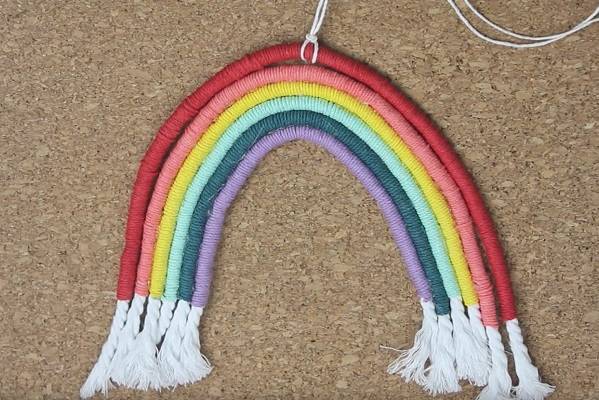
14) Repeat the same process with the rest three arches until your rainbow is almost completely attached.
15) Before attaching the last piece, tie a rope around the arch to hang your rainbow. Take another piece of rope and fold it evenly in half. Attach it to the middle of the arch using lark’s head knot (send the folded end over the arch to form a loop, then pull the two ends through the loop that hangs below. Pull it tight.)
16) Place your arch down to check if you are in the middle.
17) Tie the overhand knot to secure the lark’s head knot in place.
18) Take the hot glue and attach the last section of the rainbow following steps 11 and 12.
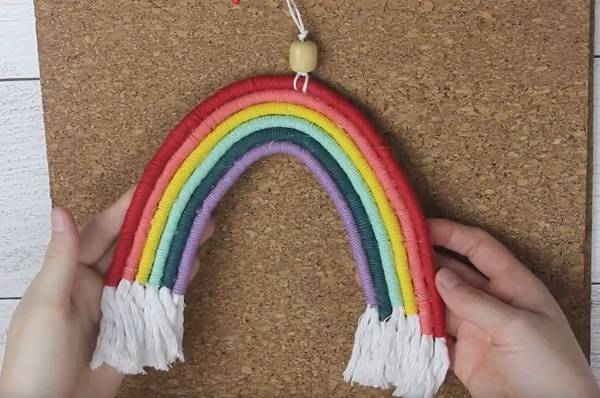
19) The finishing touch is to attach a bead to the hanging rope. Pull the bead through two cords and secure it with an overhand knot.
20) Tie a hanging cord with another overhand knot to form a loop. The rainbow is now finished.
Macrame Art: What is it & Where This Knotting Technique Originated
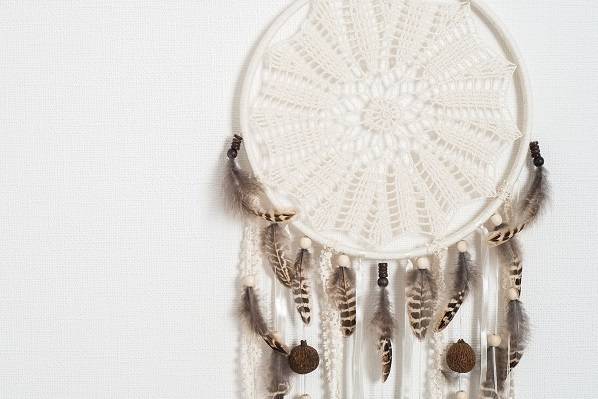
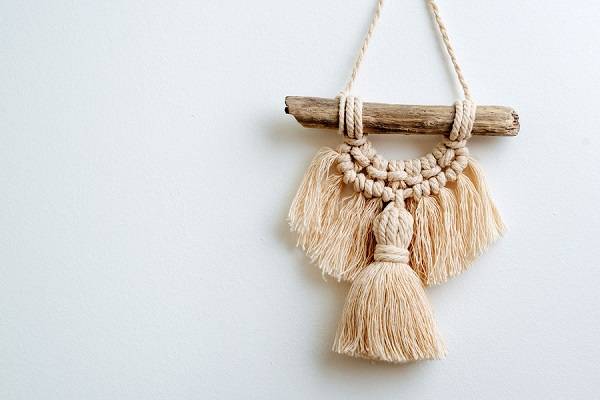
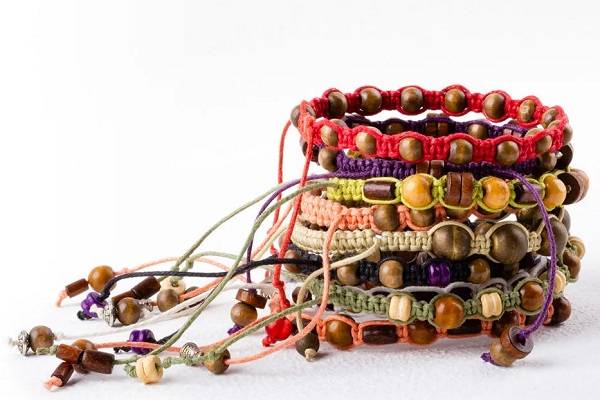
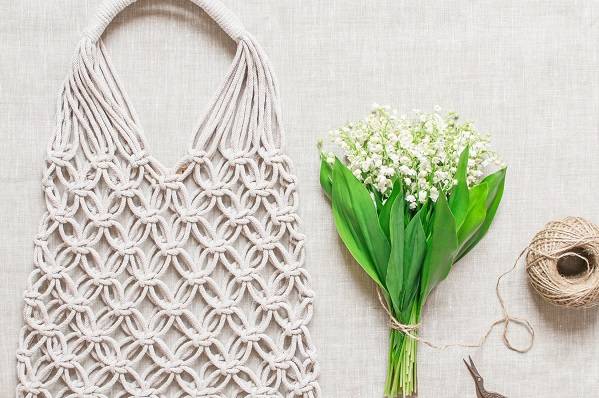
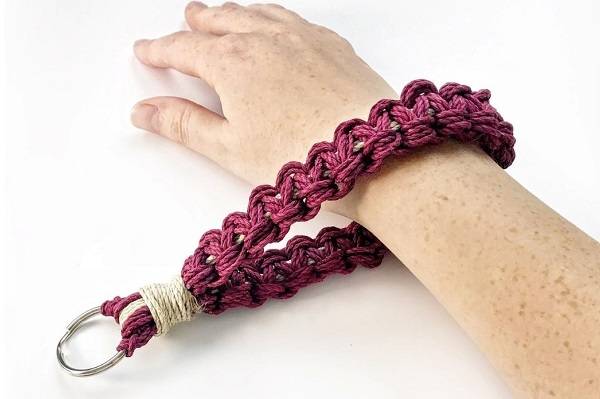
Macrame is a versatile form of fiber art that can be used for making items like wall hangings, jewelry, purses, keychains, bookmarks, plant hangers, curtains, tablecloths, and much more. Using materials like cotton, hemp, jute, leather, and bamboo, you can make both simple and complex designs, as the crafter prefers. You can also add various beads and buttons to make the piece even more interesting.
This knotting art originated in the 13th century when the Arab weavers knotted excess thread along the edges of the shawls, veils, and towels into decorative fringes. Then, the Moorish conquest took this art to Spain and Italy and then throughout Europe. Queen Mary II taught her court ladies this art in the late 17th century. Later on, 19th-century British and American sailors made hammocks, belts, and bell fringes during long days at sea, so they spread macrame to China and New World.
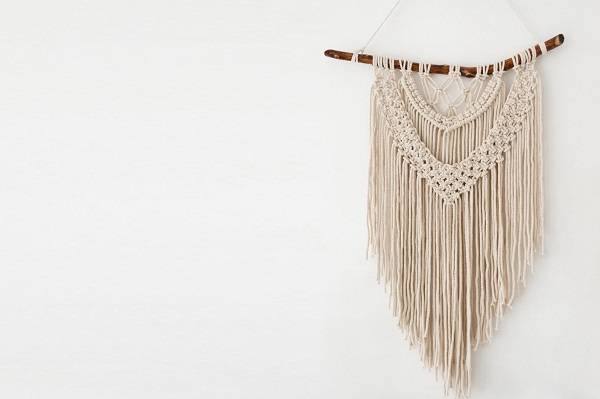
Tips for DIY Rainbow Wall Hanging
- You can make cute mini DIY rainbow ornaments to hang on your Christmas tree or giant wall pieces that will decorate your kids or playroom – the method is the same.
- If you do not have or do not want to use a hot glue gun, you can also sew every arch using a curved needle and a thread.
- To secure the arches and add flexibility, you can add floral wire before you start wrapping the pieces. Secure it with transparent scotch tape - they will not be visible as they will be covered by hemp cord.
- You can also make a base for the rainbow by cutting the felt in the shape of the rainbow and gluing the arches to the base.
- If you wish a hanging rope not to be seen, you can sew a small split ring at the back of your rainbow wall hanging.
- Instead of fringing the ends of the arches, you can also add pom-poms to resemble clouds.
Supplies from Hemptique
Quality and affordable macrame supplies are the base for your craft. Hemptique offers the highest quality crafting supplies made of different fibers, including hemp and cotton.
And we come to our star of the day – it is the hemp cord. Available in many stunning colors, varying from plain ones to variegated hemp cord spools, many crafters will become amazed at these environmentally friendly, sustainable, and 100% natural products. These cords are available in 1mm, 1.8mm, 4mm, 6mm, and 8mm thicknesses (4 and 6mm thicknesses are also available in braided style).
Need More Ideas? Check Out Our Blog!
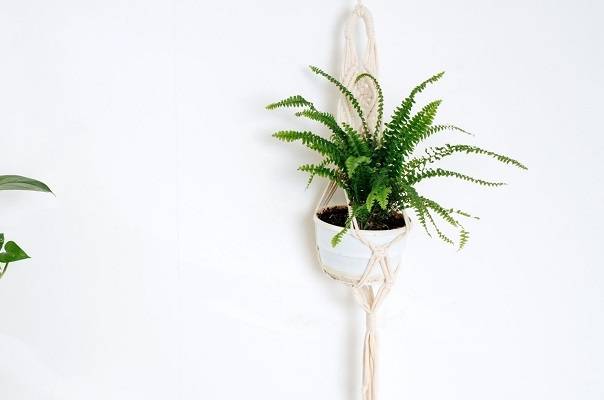
Do not miss a chance to see more interesting and beginner-friendly ideas at Hemptique’s blog. We have something for everyone, from easy macrame bookmarks to plant hangers and bracelets. Our detailed and fun tutorials will show you that macrame art is not hard to master.