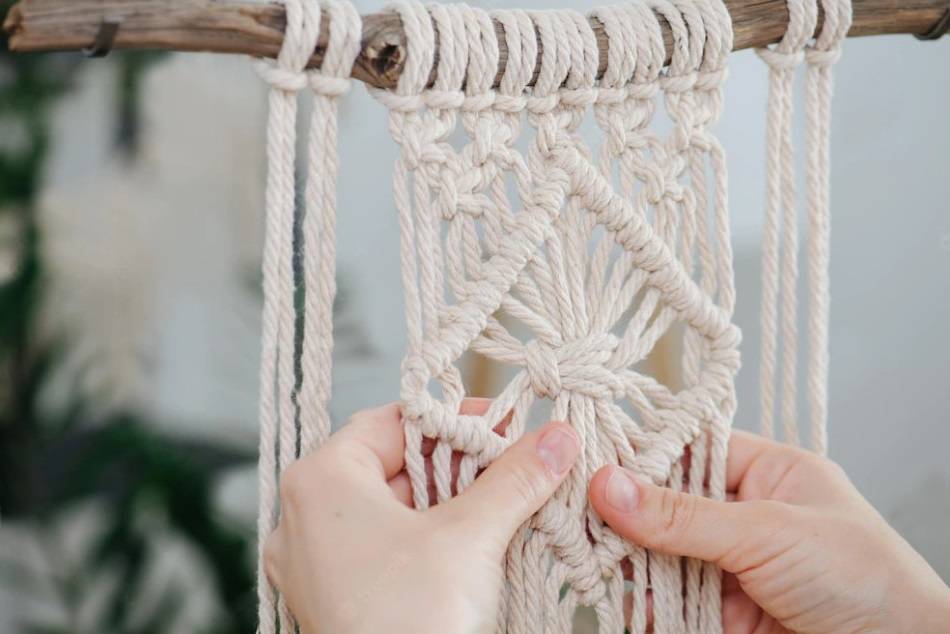
ROPE ART
Simple & Creative: 20 DIY Rope Craft Ideas You Will Love
Explore Our Awesome Compilation Of Crafts With Rope
Innovation & Quality
Developing and supplying premium-quality, sustainably grown, consumer products
100% Natural
Organically Grown and Ethically Sourced
hemp and other natural fiber products
Shipping
We offer fast shipping
Your order out within 1-3 days
Wholesale
Visit our wholesale portal to register or login to your account
Rope is a fantastic material for arts and crafts projects. It is affordable, easily available, and highly versatile, so you can unleash your creativity and make amazing artistic, decorative or functional items for your home or as gifts for family and friends. You can use it to make baskets, lanterns, planters, area rugs, shelves, placemats, and so on. In this article we have compiled a selection of 20 rope craft ideas for you to try out. All of the ideas below can be completed using 100% natural, eco-friendly hemp rope and some basic tools, such as a hot glue gun, metal rings, screws, or hooks. The handmade projects below are suitable even for beginners, as rope is quite an easy material to work with. We hope you will be inspired by our ideas, which are meant to motivate you to try and craft several roped décor crafts. So, let’s get creative!
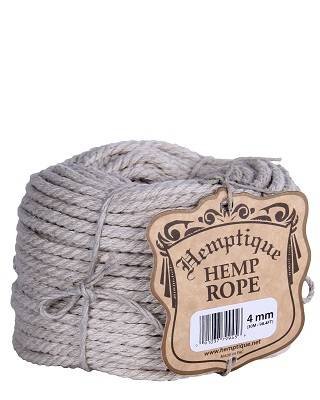
Hemptique: Your #1 Supplier For 100% Natural Craft Rope
Hemptique has been in business for more than a quarter of a century. Over the years we have established ourselves as a trustworthy supplier of hemp merchandise of the highest quality on the market. Our assortment includes premium hemp craft ropes, which are strong enough and delicate enough for all your DIY needs. You can use it for all sorts of projects, from jewelry making and gardening to nautical and rustic decoration and scrapbooking. We work with individual buyers and wholesalers, nationwide and worldwide. If you are interested in finding out more about our offer, you can reach out to us via our contact page. You can also directly apply to a wholesale account.
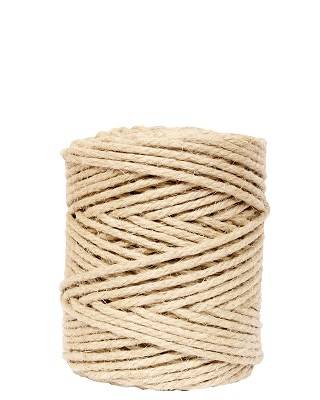
Hemp Rope Kilo Spools
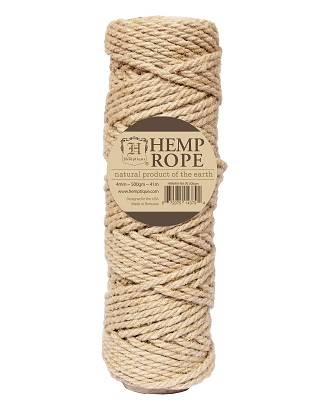
Hemp Rope Half Kilo Spools
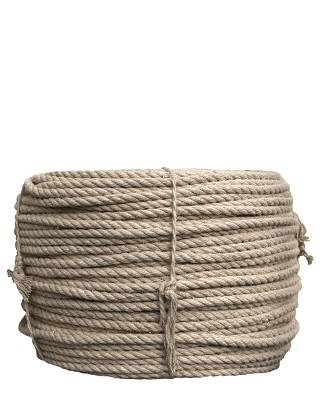
Hemp Rope by the Meter
Hemp Craft Rope Coils
20 Amazing Rope Decoration Ideas
Below we are sharing 20 easy crafts with rope that do not require a lot of skill or lots of supplies. They are budget-friendly and perfect for all ages. Let’s get crafting!
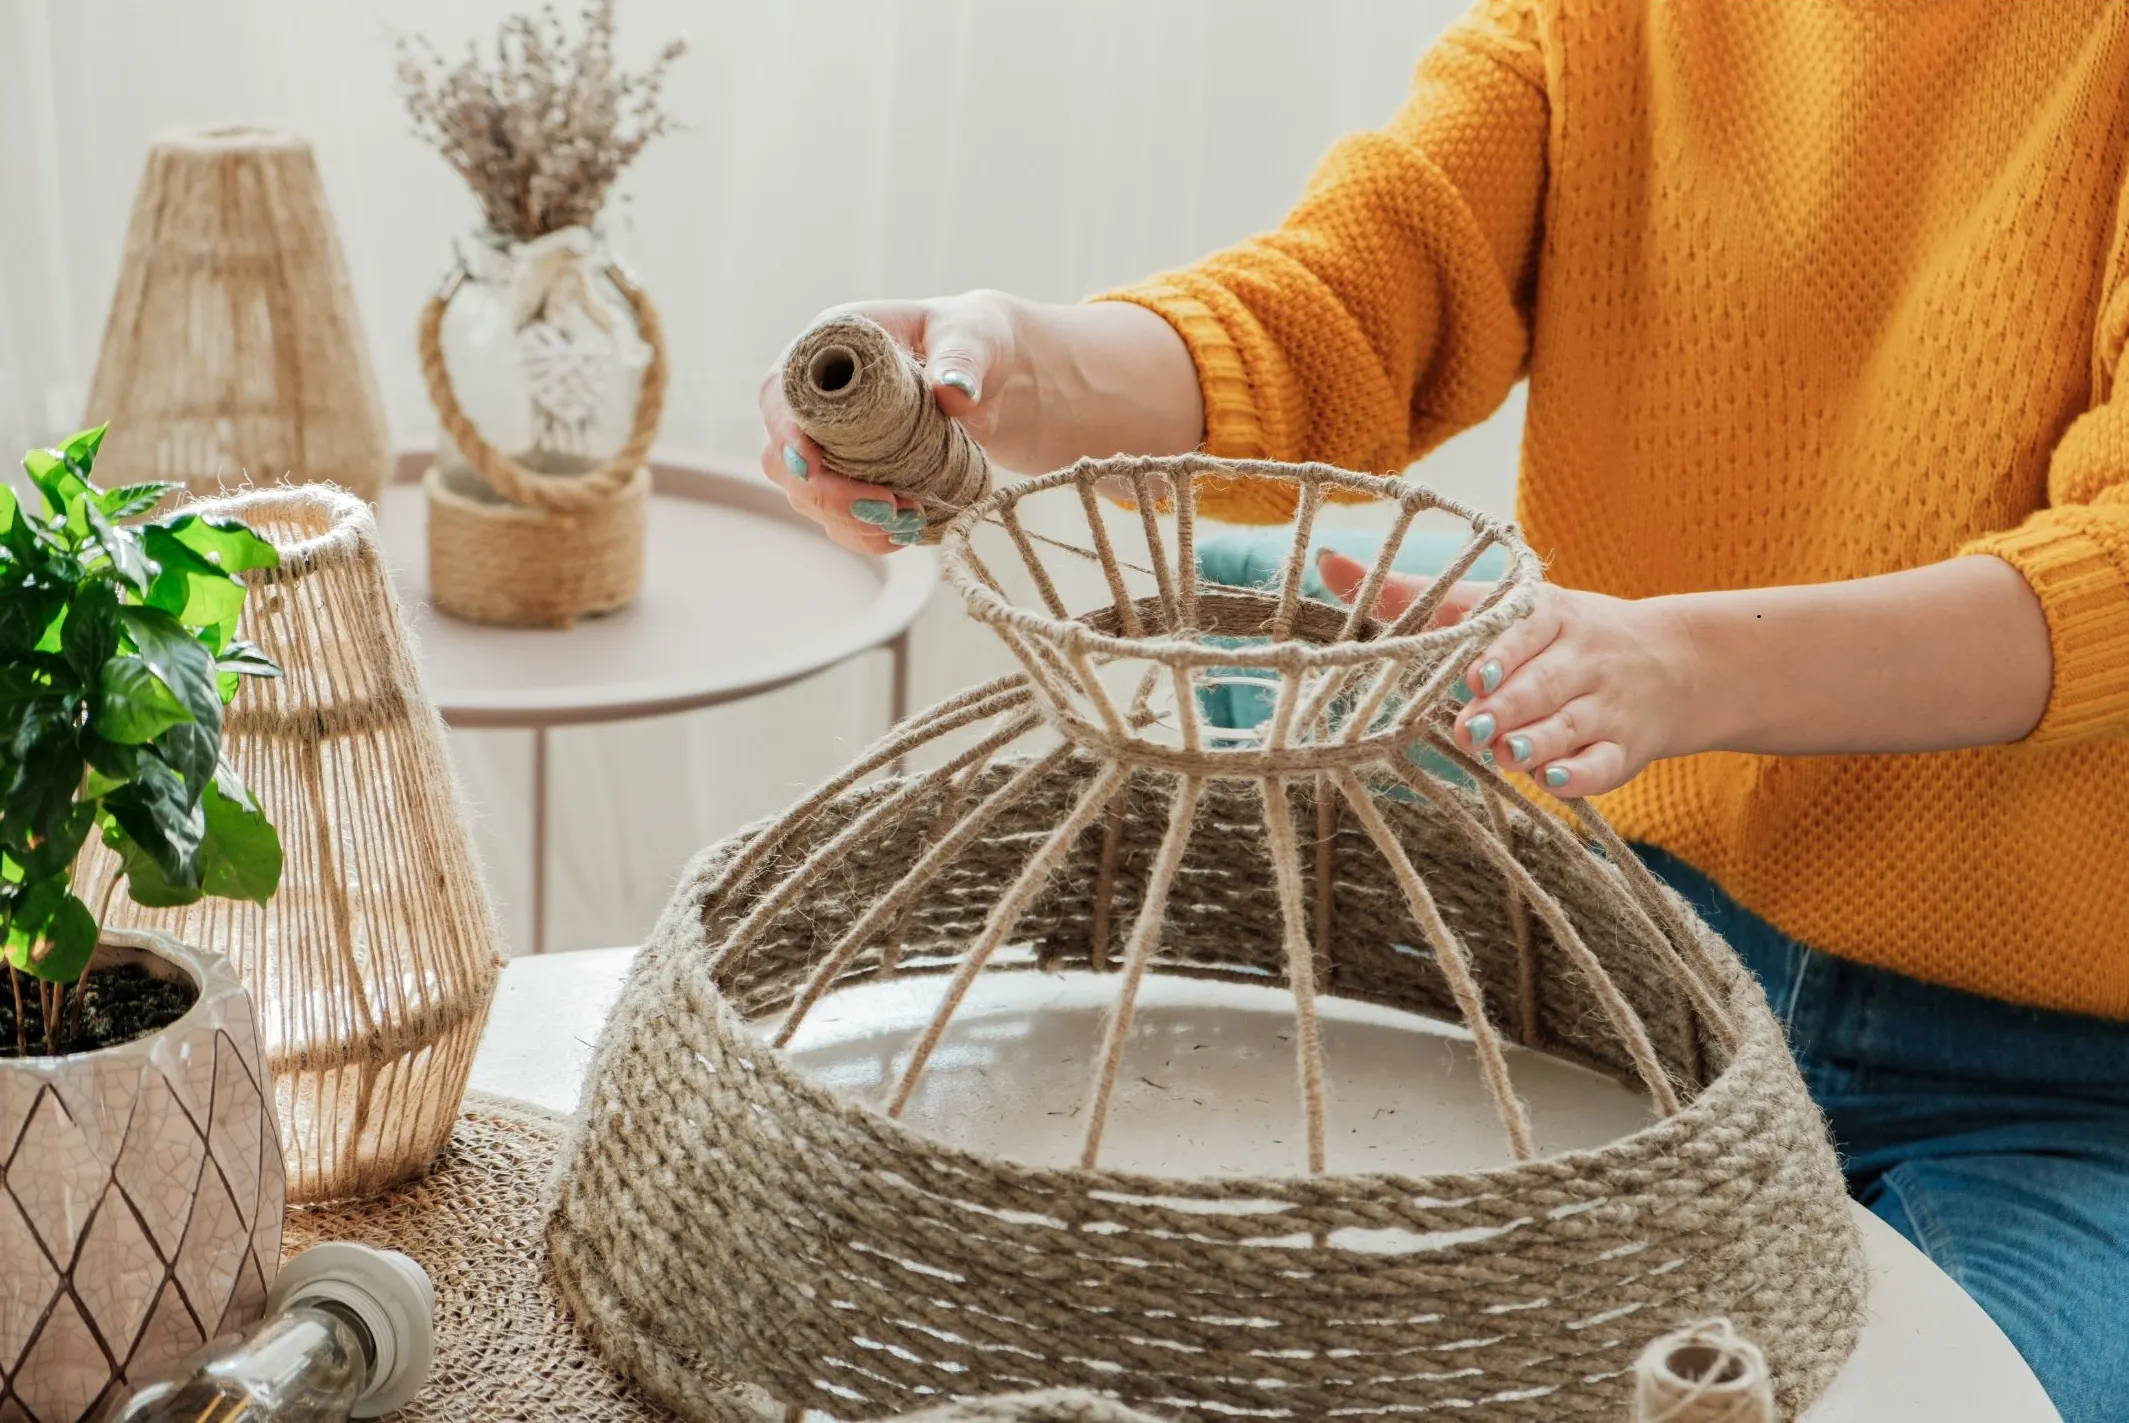
1. DIY Rope Basket Or Bowl (No-Sew)
If you adore woven baskets, but are not a fan of their price, then you will love this project. Even if you are a beginner, you will be able to complete this project from Happiness Is Homemade successfully and have a unique storage item eventually.
Supplies needed:
10-15 yards of thick cord
- Glue gun with glue sticks
- Metal or glass bowl, or bin
- 1 yard of parchment paper
- Optional: fabric for embellishments

Instructions:
- Use parchment paper to cover the bowl/basket and protect it from the glue.
- Start wrapping the rope by forming a tight coil at the bottom. Work your way up in small sections, by using hot glue gun to attach the rope.
- Make sure you attach the rope tightly.
- When you reach the desired height of the basket, cut the rope and firmly adhere the end of the rope to the basket.
- Remove the bowl or pail from the inside.
- Optionally, you can add handles to the basket by attaching strips of leather.
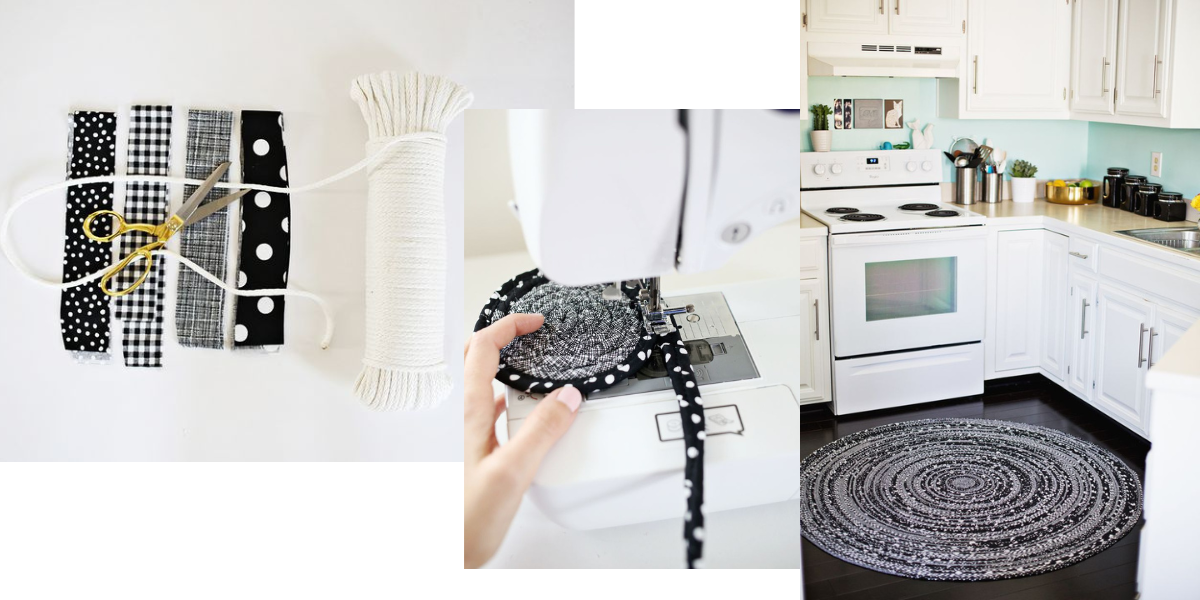
2. DIY Rope Area Rug
This rope area rug from A Beautiful Mess can be a great addition to your kitchen, dining area, sunroom or a playroom. You can play with colors and size and customize it to your own liking and have a unique piece of functional art at your home.
Supplies you will need :
- Hemp rope or ¼”clothesline
- Fabric scissors
- Sewing machine
- 9 yards of fabric cut into 2″ wide strips (you can use different patterns)
Instructions:
- Take the end of the rope and wrap it with a fabric strip, covering the beginning of the rope.
- Wrap it all the way and sew straight down, using a heavier needle for the sewing machine, as you will be sewing the rope and the fabric together.
- Keep sewing down after each foot of wrapped rope. Try not to pull or push too much, so that it remains nice and flat.
- Once you have wrapped the entire cable, take the beginning and make a small coil.
- Continue turning the coil and sewing until you reach the desired size of the rug. Use the widest zigzag setting to join the ropes together. When the rug becomes too big for the table, you will need to add another desk to keep the rug flat while working.
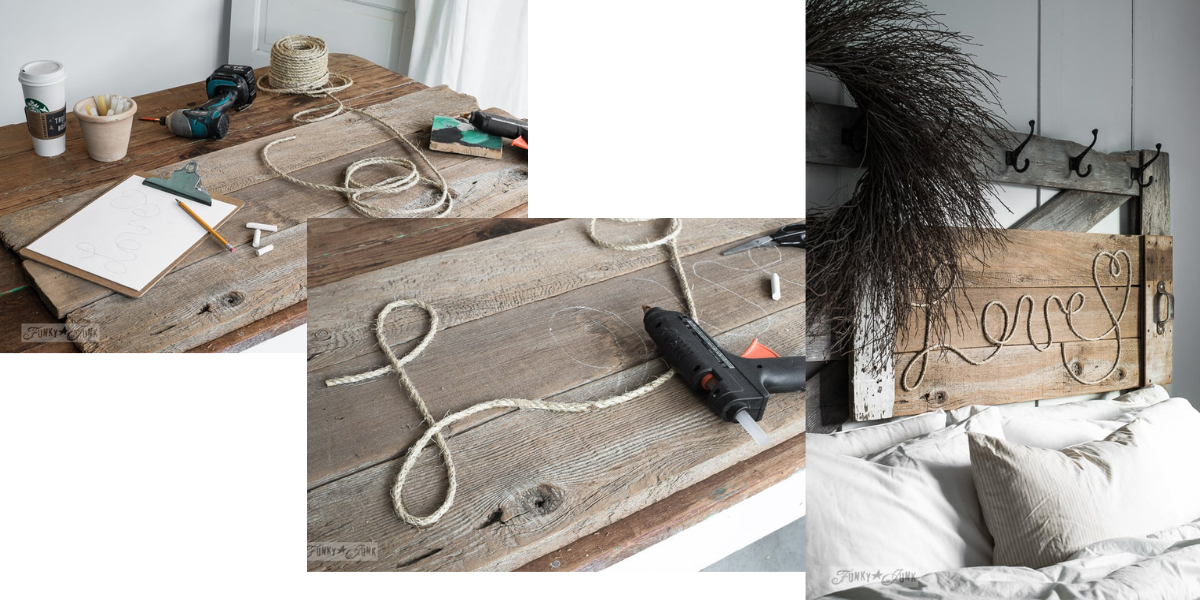
3. Love Rope Sign
The reclaimed wood love sign from Funky Junk Interiors is perfect as a rustic decorative piece for the interior or exterior of your home.
You will need:
- Sign board (reclaimed wood)
- Hot glue gun
- Sketching paper and chalk
Instructions:
- Take a piece of paper and roughly sketch what you want your sign to say. In this example, the sign is the word ‘love’. Once you have sketched the word, write it on the sign board using chalk. This will be the outline you will work by.
- Take a hot glue gun and apply the glue along the outline, and then attach the rope. Work with several inches at a time, as hot glue dries very fast.
- Your project is finished. You can mount it on a wall, lean it against the wall, or decorate the headboard.
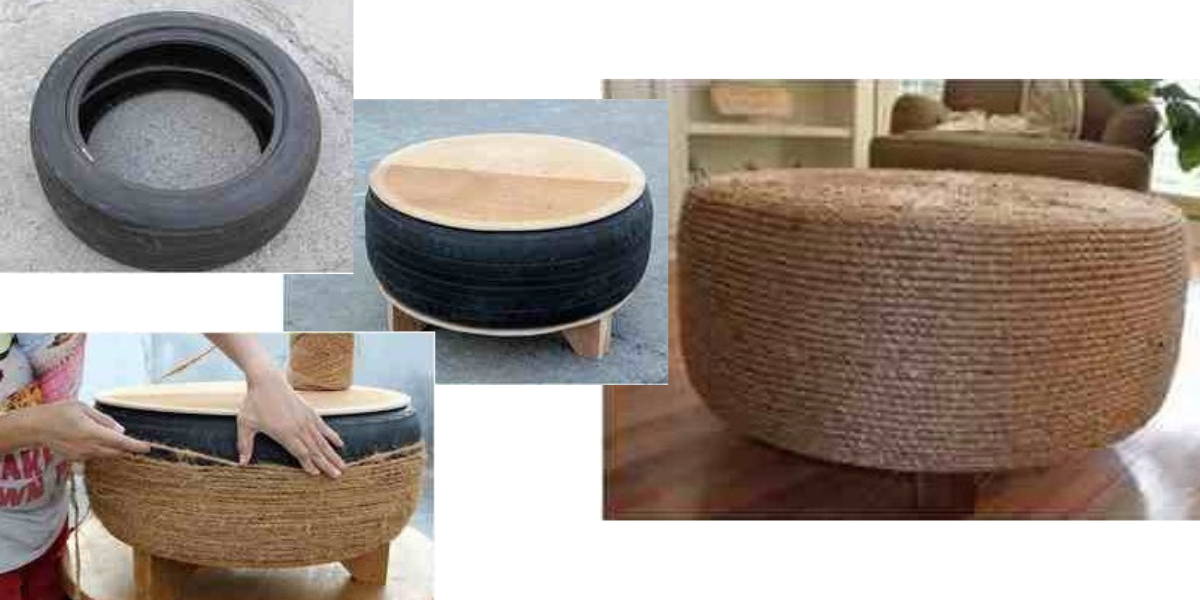
4. DIY Rope Ottoman
If you want to test your craft skills, why not make this beautiful nautical rope ottoman / coffee table from an old tire? It is a super fun project from Deavita and in the end you will have an amazing handmade decorative piece for your backyard or your living room.
Supplies needed for this project:
- An old tire (not damaged)
- 2 plywood circles (diameters slightly less than the tire)
- Jigsaw and safety glasses
- Drill
- Strong adhesive hot glue gun
- Rope
- Wax sealant (or varnish)
- Optionally: wheels (or wooden legs)
How it’s done:
- Before you start, wash and clean the tire inside and out and leave it to dry completely.
- Measure the diameter of the tire and draw a slightly smaller circle on plywood. Put your safety glasses on and use a jigsaw to cut the circle out. This will be the top of the ottoman.
Draw the bottom circle smaller than the top circle (by 5 centimeters) and cut it out. - Optional step: This is when you should add the legs or wheels to the coffee table. Make sure you attach them at equal distance so that the table is more stable.
- Use strong glue to secure the top and bottom plywood to the tire, and let it dry.
- Apply sealant to the wooden parts.
- Now that the base is ready, rope can be attached. You will be doing the sides first. Apply glue to the tire and tightly coil the rope around. Finally, coil the rope to the top plywood, and your ottoman is completed!
5. Rope Towel Holder
The next project from Greco Design will add a touch of nautical or rustic feel to the bathroom or an outdoor pool space.
Things you’ll need:
- Rope (length depends on your preference)
- Utility knife or sharp scissors
- Two ½” galvanized clips
- Wall anchors and screws
- Glue gun
- Measuring tape, hammer, screwdriver
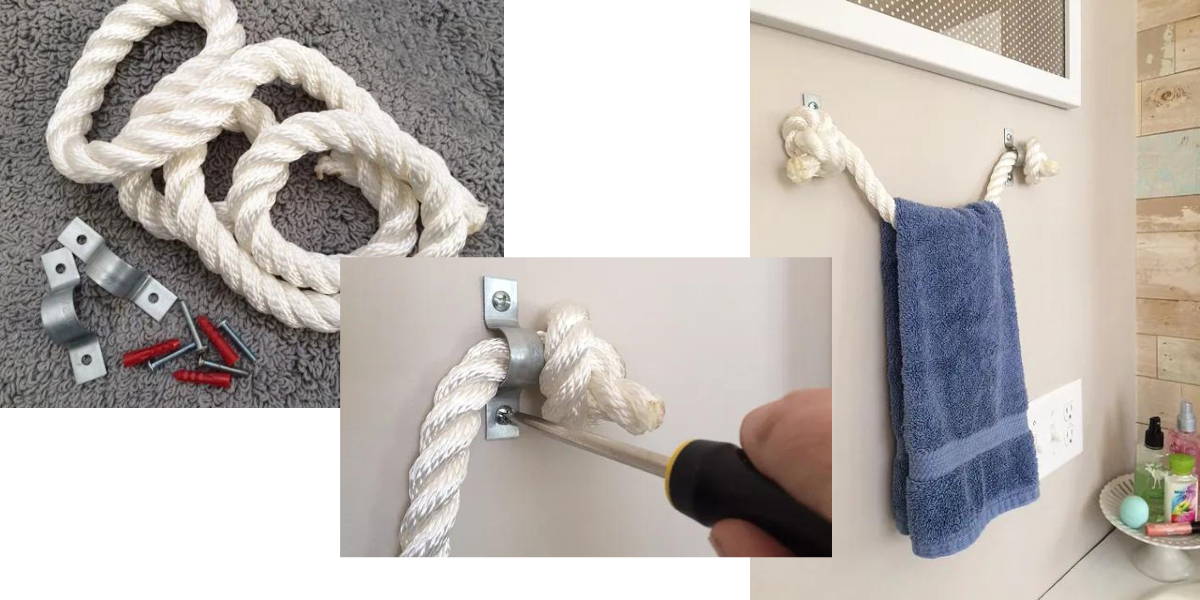
How it’s done:
- The first step is to cut the rope to the preferred length. Use hot glue gun to seal the ends after cutting to prevent fraying.
- Tie a knot on each end of the rope.
- Decide where you want to mount the towel holder. This is where you will need a drill, wall anchors, and screws. Put one end of the rope (with the knot) through the galvanized clip and secure it to the wall.
- Now attach the other side, ensuring they are even, and you are done. Hang the towel and enjoy your handmade craft piece.
6. Round Rope Placemats
This super simple idea from City Farmhouse can be easily done even by beginner level crafters.
Material & tools:
- Hemp rope
- Hot glue gun
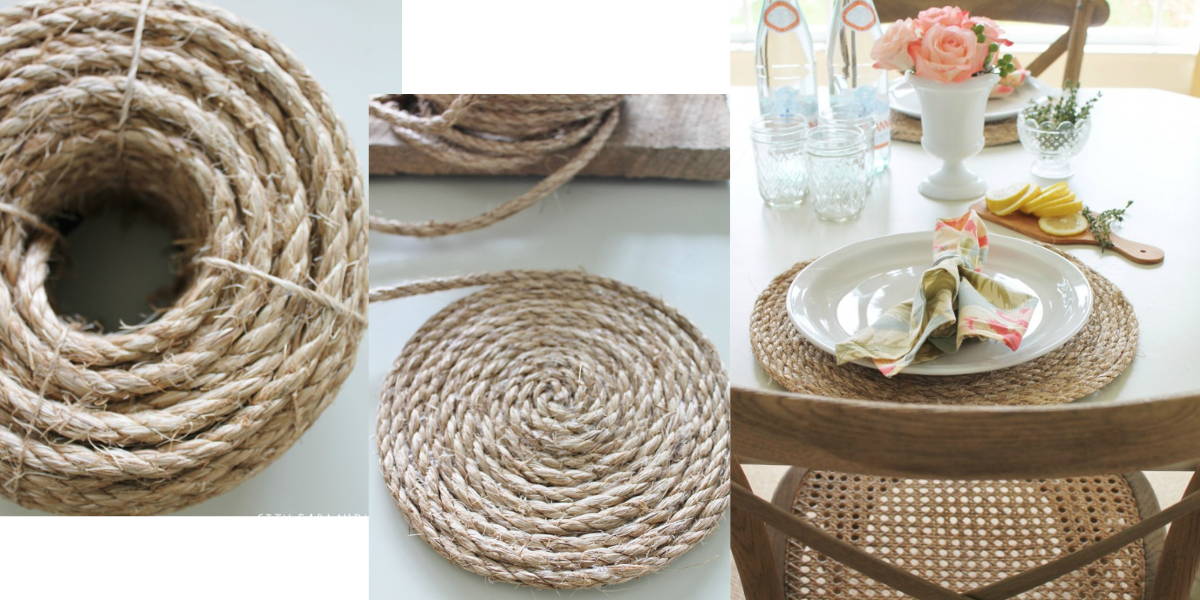
Instructions:
- Take the measurements of diameter of the plate to have a rough idea of how large you want the placemats to be.
- Take the rope and start making the coil. Using hot glue gun attach the rope in circles.
- Gently press as you work, to make sure the placemat remains flat.
7. Floating Shelf
Another great idea is this DIY floating shelf by Place Of My Taste, which can be used to display succulents or other decorative items.
Supplies needed for this project:
- Round wooden plate / cutting board
- Rope
- Sharp scissors
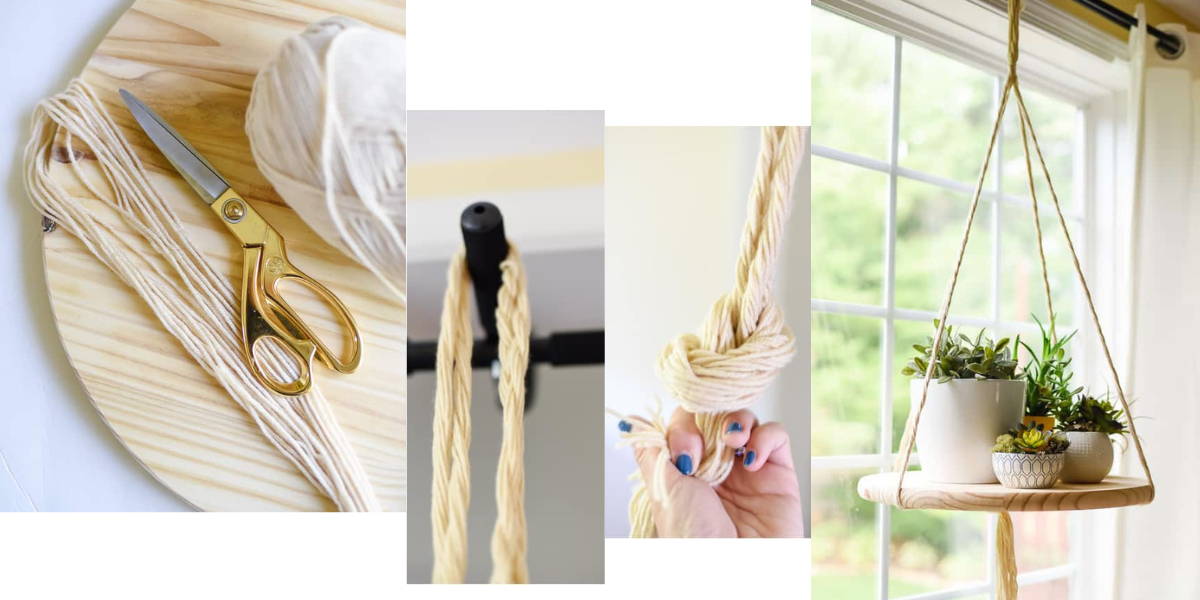
Steps to follow:
- Take the scissors and cut 24 pieces of rope. You will need to cut them into 3 ½ yard pieces each.
- Take the center of bundled ropes and tie a knot using another piece of twine. This central knot will be the place from where the shelf is hanging.
- Divide the ropes into 4 sections of 12 strings each.
- Each section is to be split into two sections of 6 strings and then twisted together. Optionally , they can be braided.
- Next, tie a knot about 4” below the central knot. For easier access and less strain on your arms and hands, you can hang the piece somewhere high enough.
- Tie a knot at the bottom, leaving a tassel. This is where the shelf rests.
- Slip the wooden board through the ropes and place he bottom knot centrally underneath.
- Arrange the 4 sections of twisted (braided) ropes evenly.
- Your floating rope shelf is done!
8. Rope Doormat
Why not make this wonderful frayed rope doormat from Tidbits & Company?
Supplies you will need:
- Rope
- Cheap doormat
- Sharp scissors or utility knife
- Heavy duty liquid nails (caulk gun)
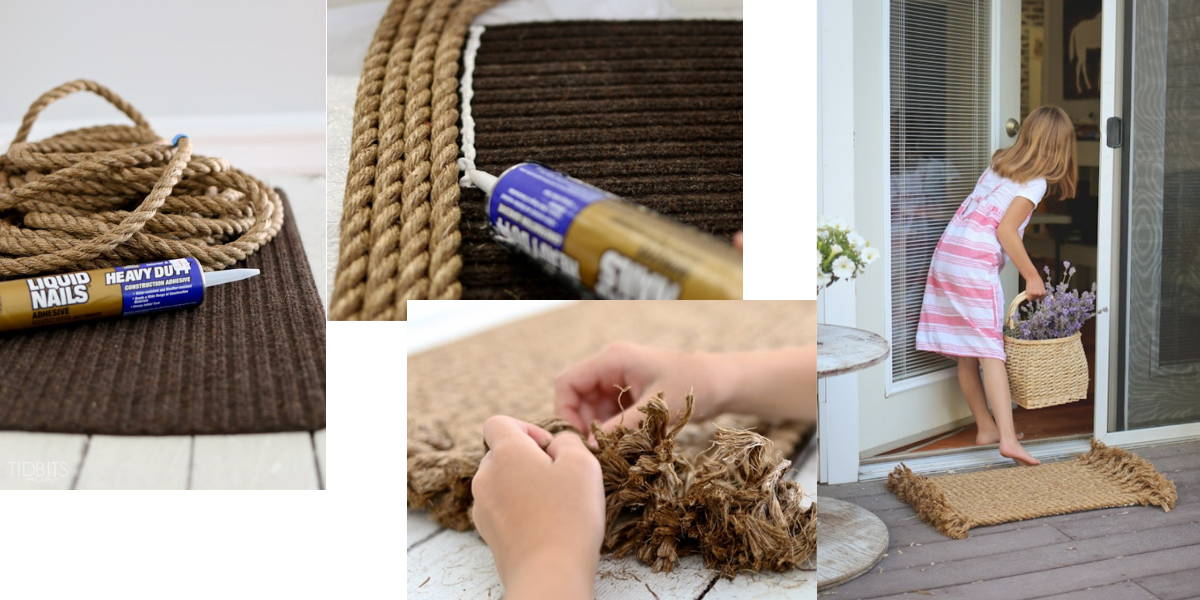
Directions:
- The first thing you will need to do is to cut the rope into pieces. Use either sharp scissors or utility knife for this. Each piece should be slightly longer than the length of the doormat, as you want to achieve the fraying effect.
- Take the glue and start adhering pieces of rope. Try to keep them as tight as possible.
- To keep the rope in place while drying, you can add heavy items on top of the mat.
- Take smaller pieces of rope (unwind the coils or rope) and weave the threads around the sides of the doormat. (through and around each rope end)
- The next step can get a little messy, so make sure you either do it outside or place protection underneath. Unwind and fray every rope end. Project completed!
9. DIY Candle Holder With Hemp Rope
Make your own glass candle holder using this wonderful idea from Four Generations One Roof. Use it as a part of a centerpiece, a vignette on a console table, or as décor item in your outdoor living space.
Supplies you will need:
- Glass candle holder
- Hot glue gun
- Twisted rope
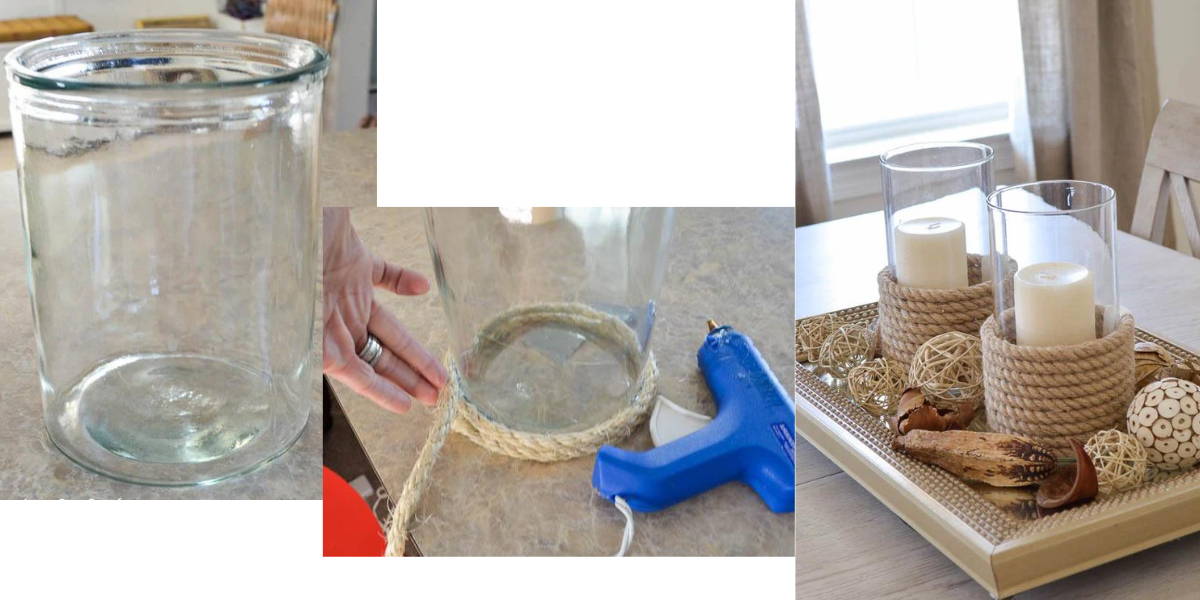
How to do it:
- Apply glue around the sides of the bottom part of the glass. Wrap the rope, pulling tight. Try to avoid gaps by wrapping as close as possible.
- When you reach the desired height or ropes cut the cable and apply hot glue on the end, in order to prevent fraying.
- Your holder is done. If you wish, you can add embellishments.
10. Nautical Rope Wreath
If you would like to add a nautical wreath to your front door, get inspired by this idea from Honeybear Lane. It is super-fast and super easy to make, so let’s get started.
Supplies:
- Natural rope (such as hemp or sisal)
- Styrofoam wreath
- Hot glue gun
- Fabric & pins (optional)
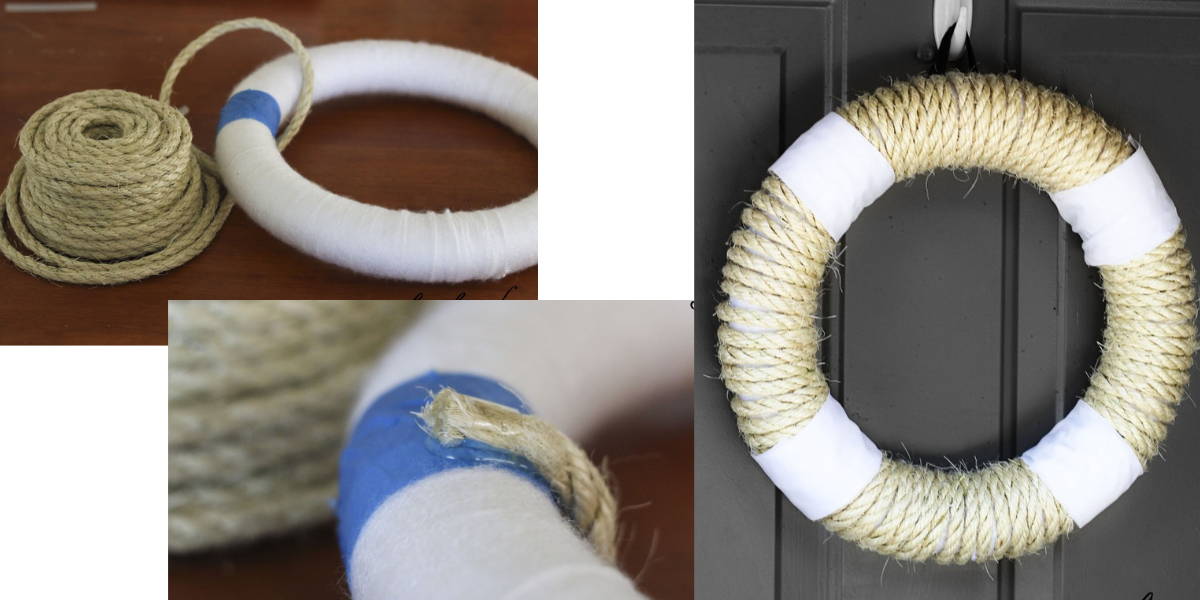
How to do it:
- Take the end of the rope, and glue it down before starting to wrap the wreath. Wrap the Styrofoam wreath with the rope, pulling as tight as possible. Try to avoid making unintentional gaps between the rope rows.
- When you are done wrapping the whole wreath, cut the rope where you started and glue it down again.
- Use fabric strips in colors of your choice to attach to the wreath with pins and voila! You now have a one of a kind nautical front door decoration.
11. Rope Wall Art
Use dog toys to create nautical wall art display by Fake It Frugal.
Materials needed:
- Distressed shadow boxes
- Hot glue gun
- Craft paint (optionally)
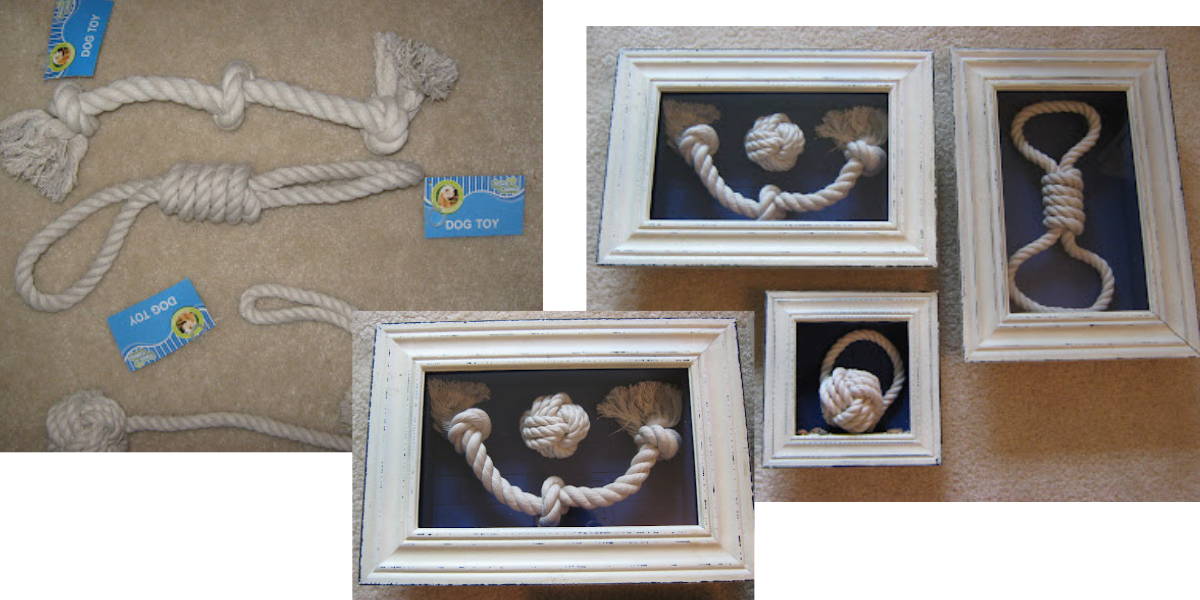
Directions:
- Optional: Paint the inside of the shadow boxes in color matching the interior of the room. Leave to dry.
- Position dog toys to your liking, and glue them inside.
- Close the boxes and mount to the wall.
12. Hanging Rope Shelf
Want to introduce a beautiful rustic minimalistic shelf? Then try this DIY craft by Sustain My Craft Habit .
Things you will need:
- 2 pieces of driftwood, reclaimed wood, or wood planks (approximately 15” – 20” long by 5” wide)
- Natural color rope (hemp, jute, or sisal)
- 1 x galvanized dock cleat (4”)
- Screwdriver, drill
- Sharp scissors
- Clear matte spray paint
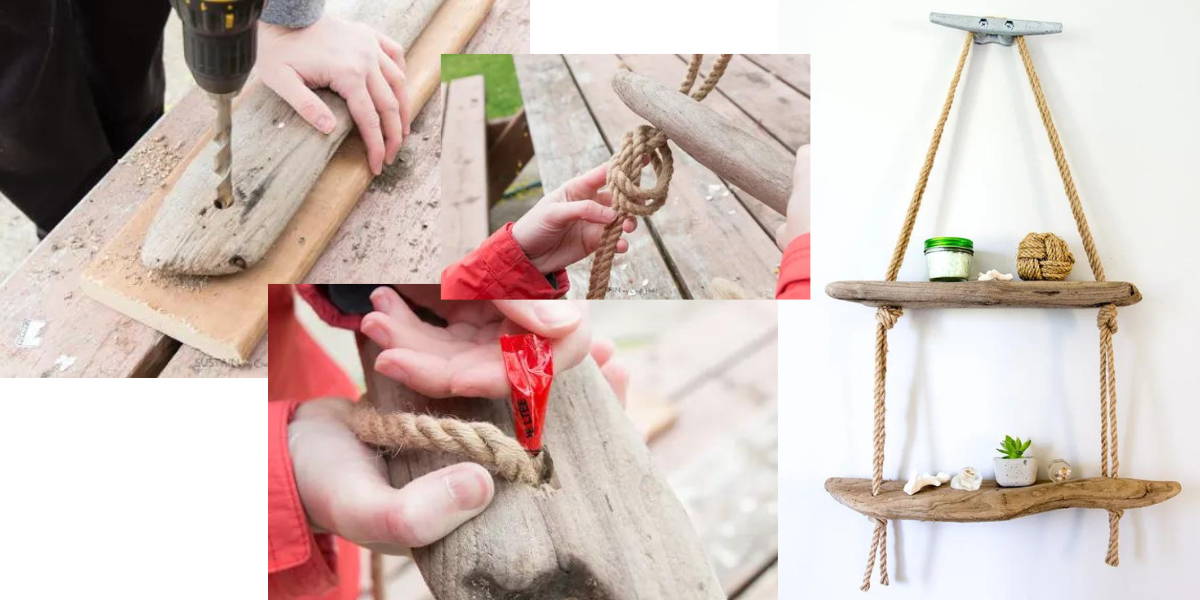
Directions:
- Preparation includes drying, cleaning, and/or sanding driftwood for rough edges. Use clear spray paint to seal all sides of wood.
- Take the longer (bottom) driftwood, and mark two holes on each end. Mark one hole on each end of the shorter piece of wood (top shelf).
- Drill the holes through the markings (rope diameter).
- Cut the ropes to the desired length. Wrap a piece of packing tape to the ends, so it is easier for you to push the rope through the holes.
- Starting underneath the bottom shelf, put two ropes through both holes on one side, with about 10” – 15” hanging freely.
- Approximately 10” above the bottom shelf, knot the two ropes together. This specific knot holds the top shelf in place.
- Put the two ropes together through one hole of the top driftwood piece.
- Pull rope over the to the other side, and repeat the steps in reverse. Two ropes together through the other side of the top driftwood, tie in knot, and then separately through the bottom holes.
- Make one knot on each side of the lower shelf, and attach boat cleat to the wall and hang your shelf.
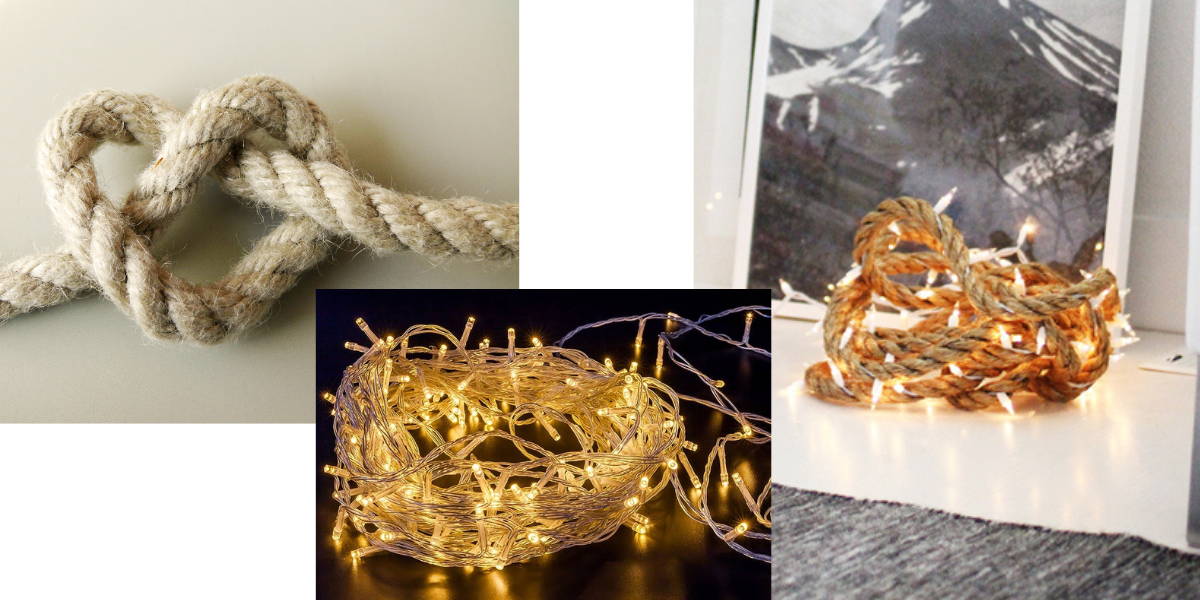
13. Rope Bookends And Doorstoppers
Completely Coastal has some wonderful tips on how to make household items using rope. One of them is tying the nautical monkey fist not with rope to make a doorstopper or bookends.
You will need only three things for this project:
- Rope
- Sharp scissors
- Heavy, round object (marble, rock, or tennis ball)
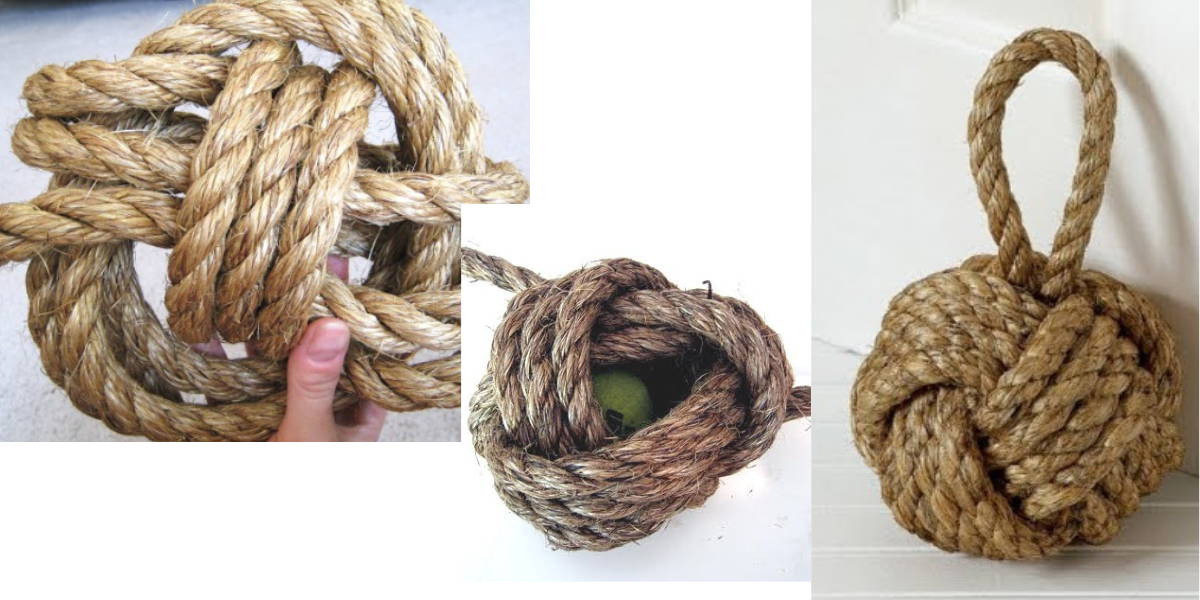
How to make:
- Firstly, learn how to tie the monkey fist knot.
- Tie the monkey fist knot, very loosely, so that you can insert a round object inside, such as a tennis ball or a rock.
- Tighten up the knot by pulling one loop at a time, and you’re done!
14. Photos On A Rope
Ravenox is showing us a great way to display photographs. It looks most effective with polaroids.
Materials:
- Rope
- Clothespins (wooden)
- Washi tape
- Photographs to display
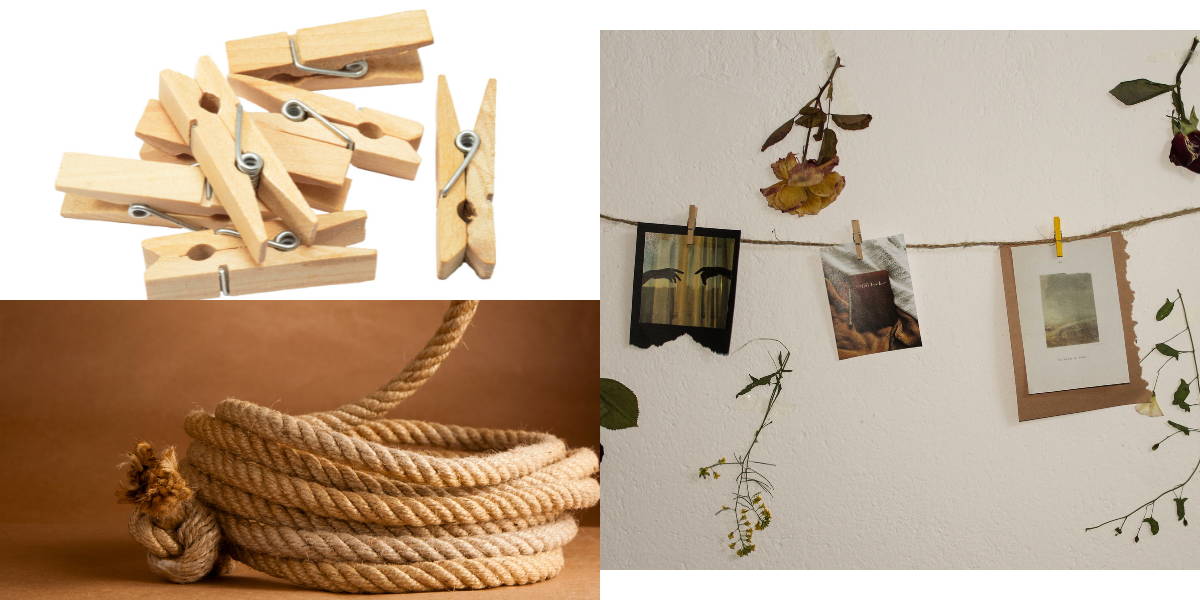
How to make:
- Cut the rope, taking into consideration the space between the photos, as well as the loose ends to hang
- Attach the photos with clothespins.
- Use Washi tape to attach the rope to the wall.
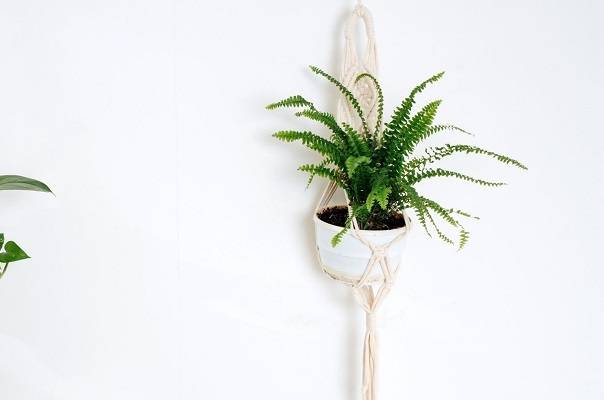
15. Decorative Rope Plant Hangers
If you want to add a bit of boho or rustic style to your outdoor space, just follow the Ravenox idea for a decorative hanging plant pot.
Supplies needed:
- Pots for plants
- 8 pieces of rope with a knot on one end (a few inches from end)
- Hook (screw)
- Scotch tape
- Scissors
How to make:
- Group ropes in two and put them in the middle of the bottom of the planter, and tie each pair into a knot at the sides.
- Use scotch tape to fix the ropes to the planter.
- Now tie a knot between 2 neighboring sets, alternating all the way to the top.
- When you are done, tie the one knot at the top and your planter is finished!
16. DIY Rope Vase
Turn any can or a jar into a beautiful décor piece by following these steps from HowtoNestforLess.
Things you will need:
- Can or a jar
- Rope
- Hot glue gun, scissors
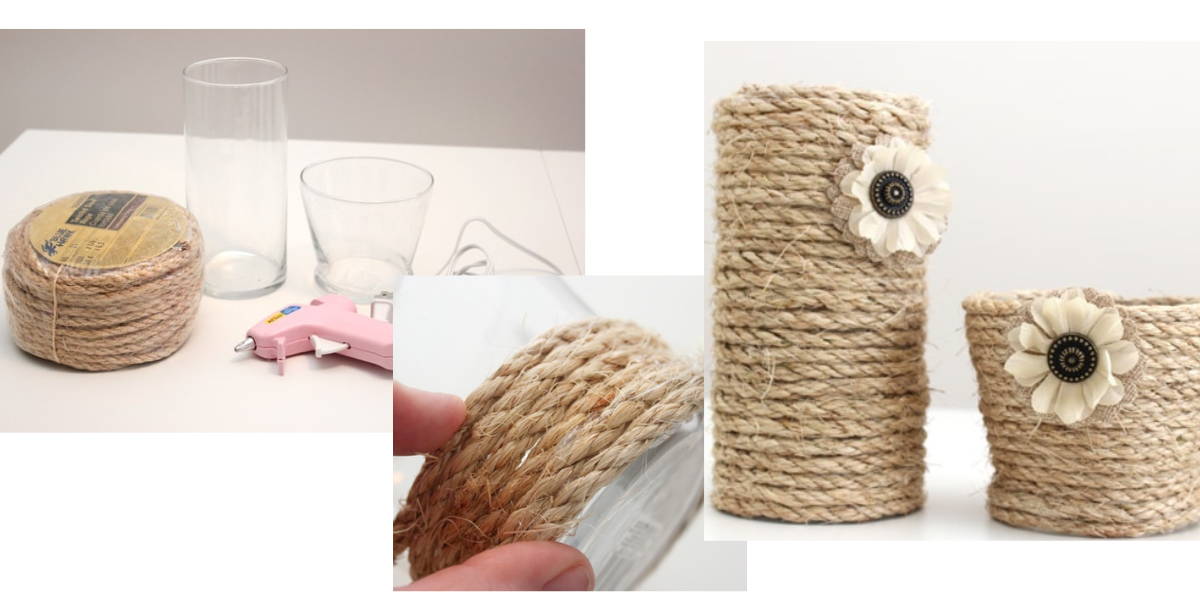
How its made:
- Starting from the bottom, wrap the rope. It is best to add glue every inch or so and press tightly.
- Cut the end with scissors and use glue to attach it securely in place.
17. Rope Wrapped In Christmas Lights
It can’t get easier than this. For a simple, yet very effective decorative piece, bundle Christmas lights together with several feet of rope and place it by the fireplace, in an empty corner of the room, or outside on the porch. Idea taken from Trendland.
Things you will need:
- Rope
- Christmas lights
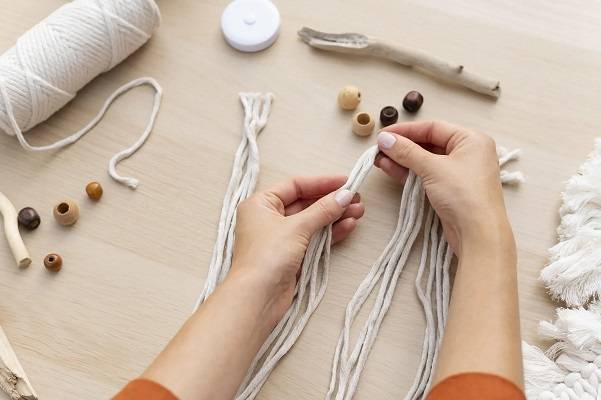
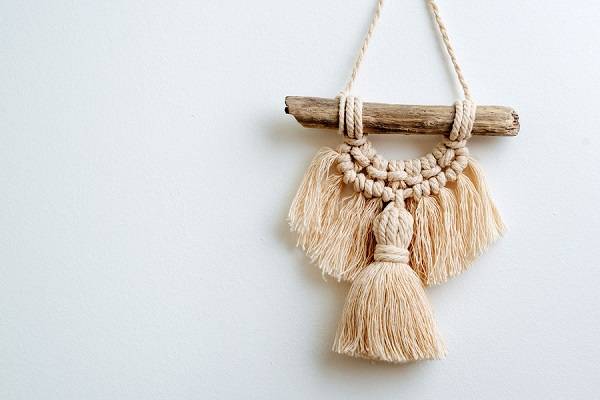
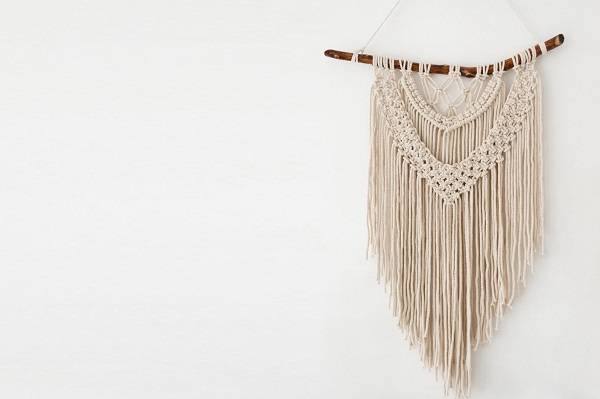
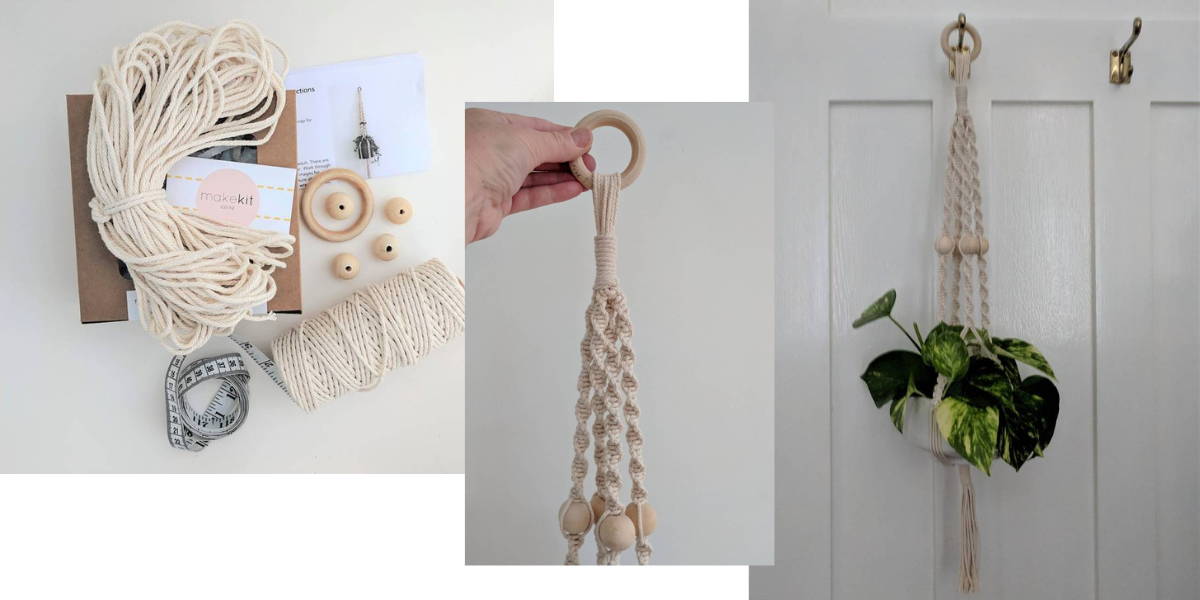
18. Bohemian Rope Wall Hanging
Oriental Trading has put together a gorgeous wall hanging using only 3 key supplies.
Material:
- Plain rope
- Beads
- Dowel rod
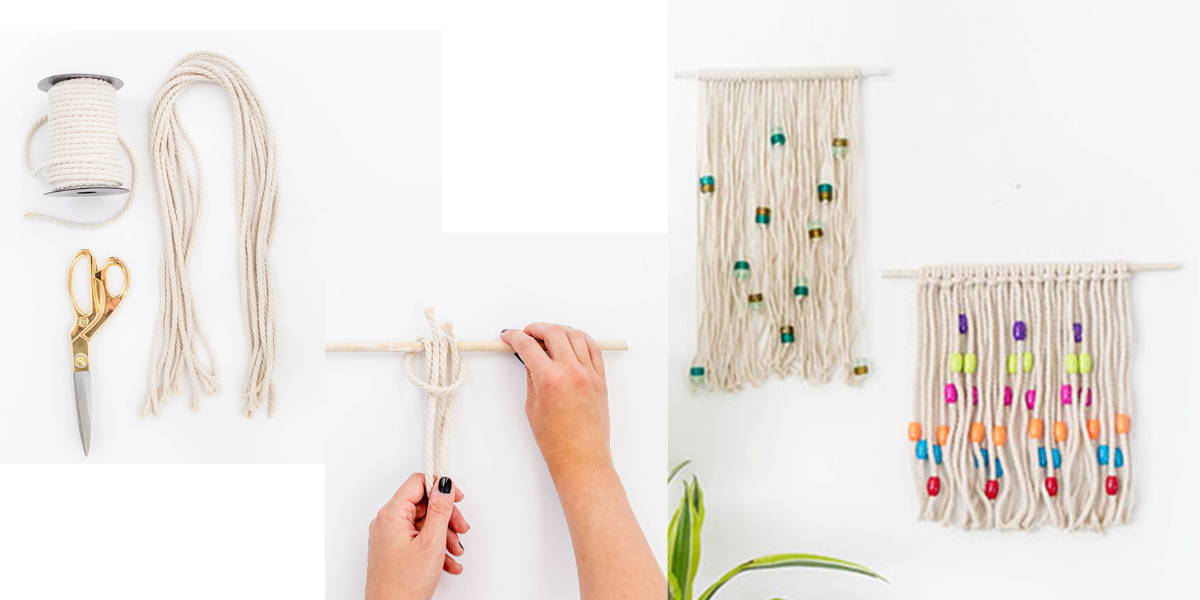
Instructions:
- Measure and cut the ropes to your preference.
- Tie the ropes to the rod using lark’s head knot.
- Gue the beads , or attach by tying the knots underneath.
- 4. Mount to wall and you are done!
19. Woven Rope Doormat
If you want to add a touch of uniqueness to your front door area, here is a DIY woven doormat from Gardenista .
You will need:
- 100 feet 1/2″ hemp rope
- Electrical (insulating) tape
- Garden gloves
- Hot glue gun (optional)
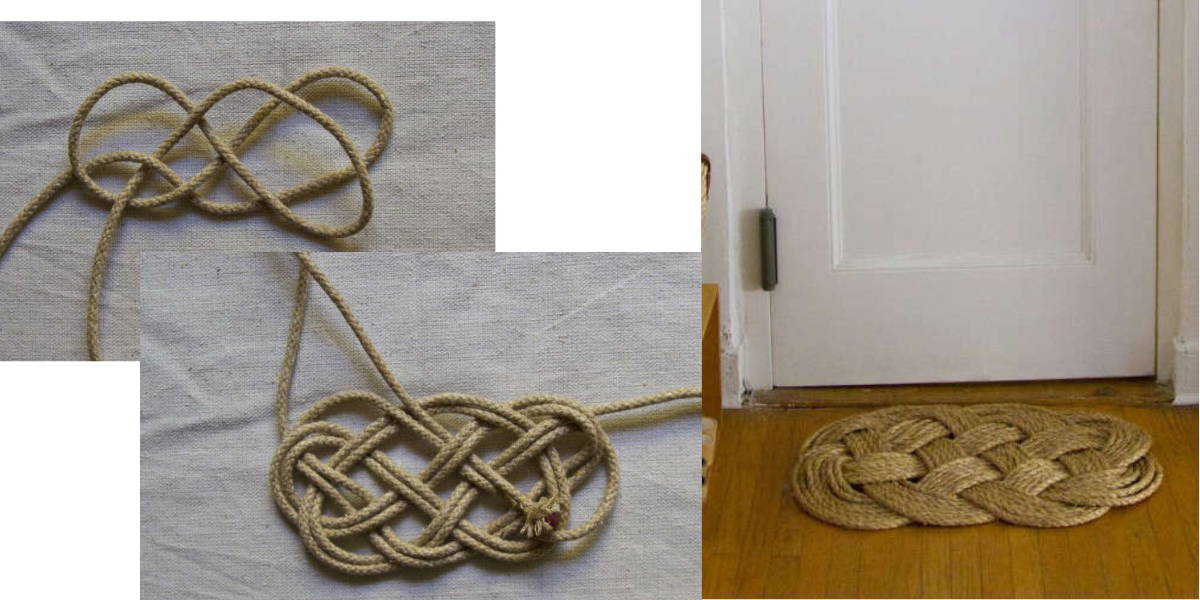
Instructions:
- Prepare the rope and put on the gloves to protect your hands.
- Follow the instructions for weaving the rope via Gardenista.
- Once you are finished weaving you will only need to tuck in loose ends and use hot glue to secure it in place.
20. Privacy Rope Screen
Rope can also be used to make privacy screens to section off areas of your home, as seen on Popular DIY Ideas. It takes a bit of skill to complete it properly, but it is not an overly hard craft to do.
Supplies:
- Custom built wood boxes
- Rope
- Drill
- Screwdriver ad screws
- Protective gloves

How to make:
- Drill evenly spaced holes in wood (top and bottom).
- Cut the ropes and place them through the holes, tied in knots at the bottom.
- Finally screw the open side of the box to hide the knots and you are done!
Rope: A Highly Versatile Material For Amazing Handmade Projects
As you can see, there are lots and lots of crafts you can make using ropes. Whether you want to make a functional or a decorative item, you can find a project just for you and your level of skills. Don’t wait any further, get creative and enjoy crafting with rope!