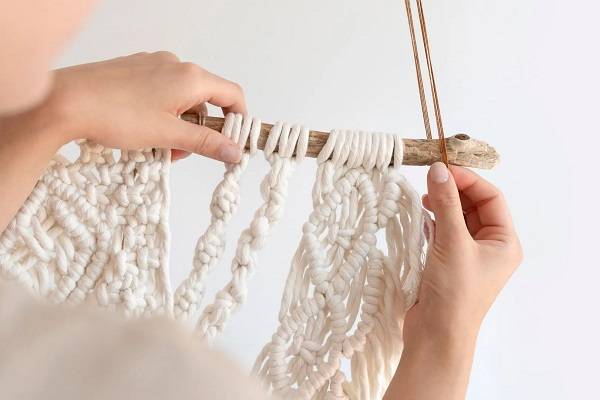
VIDEO TUTORIAL:
Easy String Art for Beginners
Boost Family Engaging, Children’s Development and Quality Family Time
Innovation & Quality
Developing and supplying premium-quality, sustainably grown, consumer products
100% Natural
Organically Grown and Ethically Sourced
hemp and other natural fiber products
Shipping
We offer fast shipping
Your order out within 1-3 days
Wholesale
Visit our wholesale portal to register or login to your account
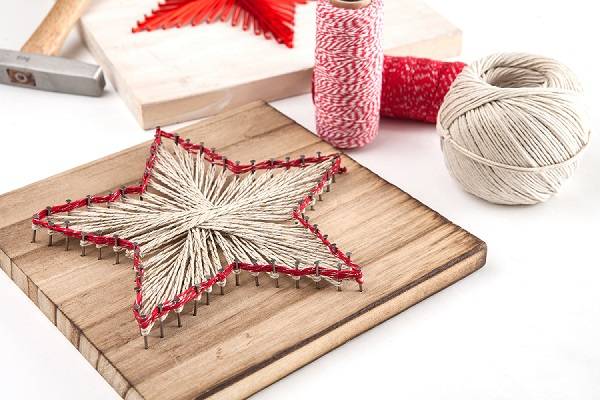
If you want to create DIY crafts and art with endless designs, patterns and colors, string art is a perfect way to do it. This is an easy, loving and fun project for the whole family that doesn’t require special skills, so it is suitable for all ages. Since the holiday season is knocking on the door, string art can be a perfect gift for loved ones or even for decorating our walls and rooms with it.
Materials and Supplies to Start With String Art
Since the possibilities of making string art are endless, so are supplies you can use in sense of color, strings, threads, wood boards, etc. We will list some of the materials, supplies and tips for beginner string artists.
1.Wooden Board
Wooden board is the basis for string art since it is the place where the final product is placed on. Make sure to purchase a solid piece of wood that isn’t open in the back. This can cause a problem because it will be hard to get the nails to go into the center. Also, if buying a wooden board at the DIY store, you can paint it in a different color depending on the project and make it look nicer. Color it with spray paint or use regular paint and brush.
2. Nails
Nails make inevitable part of string art and the number of nails you will use depends on the size of the project. Linoleum nails are a good choice for this type of DIY project, and it is also preferable to use shorter nails, 1 inch. Generally, we can use any nail size depending on how many times we wish to wrap our string. Sometimes longer nails can stick out in the back of the board or stick up on the front. We should pay attention to spacing the nails, so the string isn’t too apart or too close.
3. Scissors
They are part of most art projects, so it is no different with this one too. We use them to cut cords at the preferable size.
4. Pattern
String art pattern is basically the outline of the project. Search for the pattern online or draw it yourself, depending on the project type. For example, you can fold a piece of paper in half, draw half a heart, cut following the line and open it.
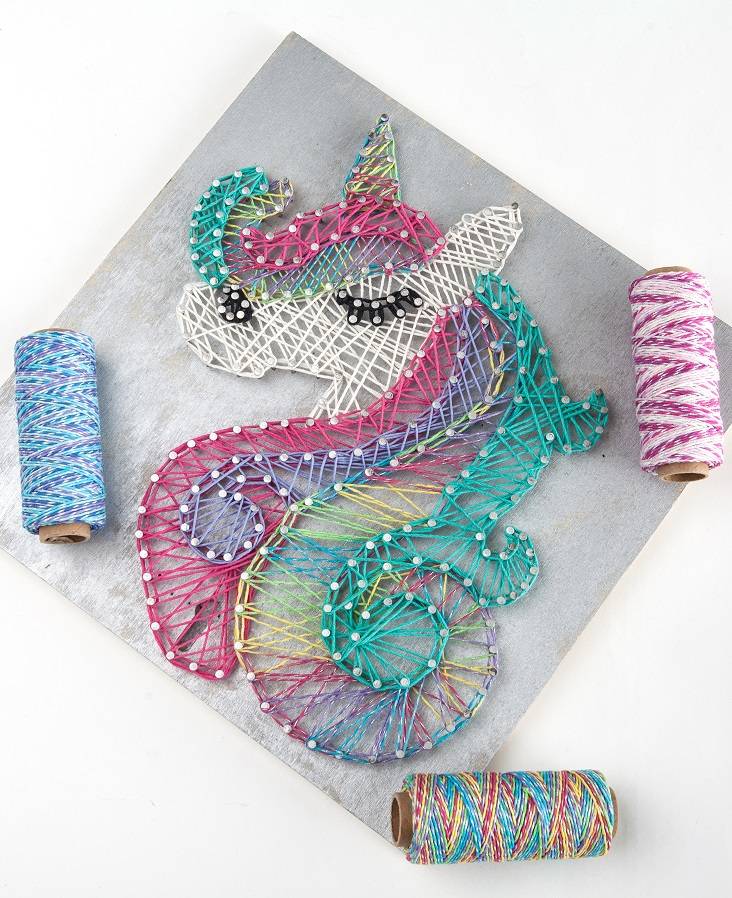
Some of the patterns and ideas for the project can include Christmas projects, Valentine’s Day gifts, Halloween elements, flowers, butterflies, animals, sunflowers, trees, etc. Many of these projects are great for kids since they don’t require special skills, are easy to make and are a great way to gather for quality family time.
Side note: Try to use patterns with simple and straightforward outlines.
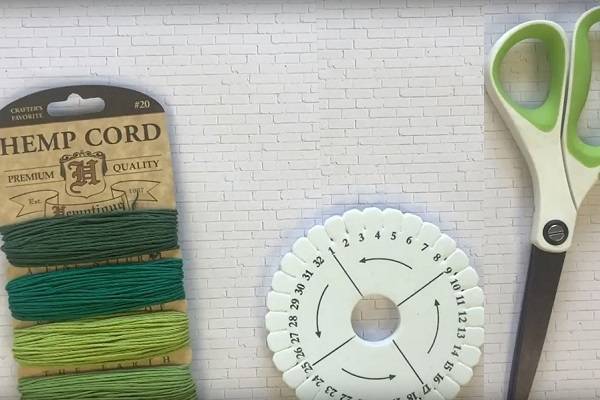
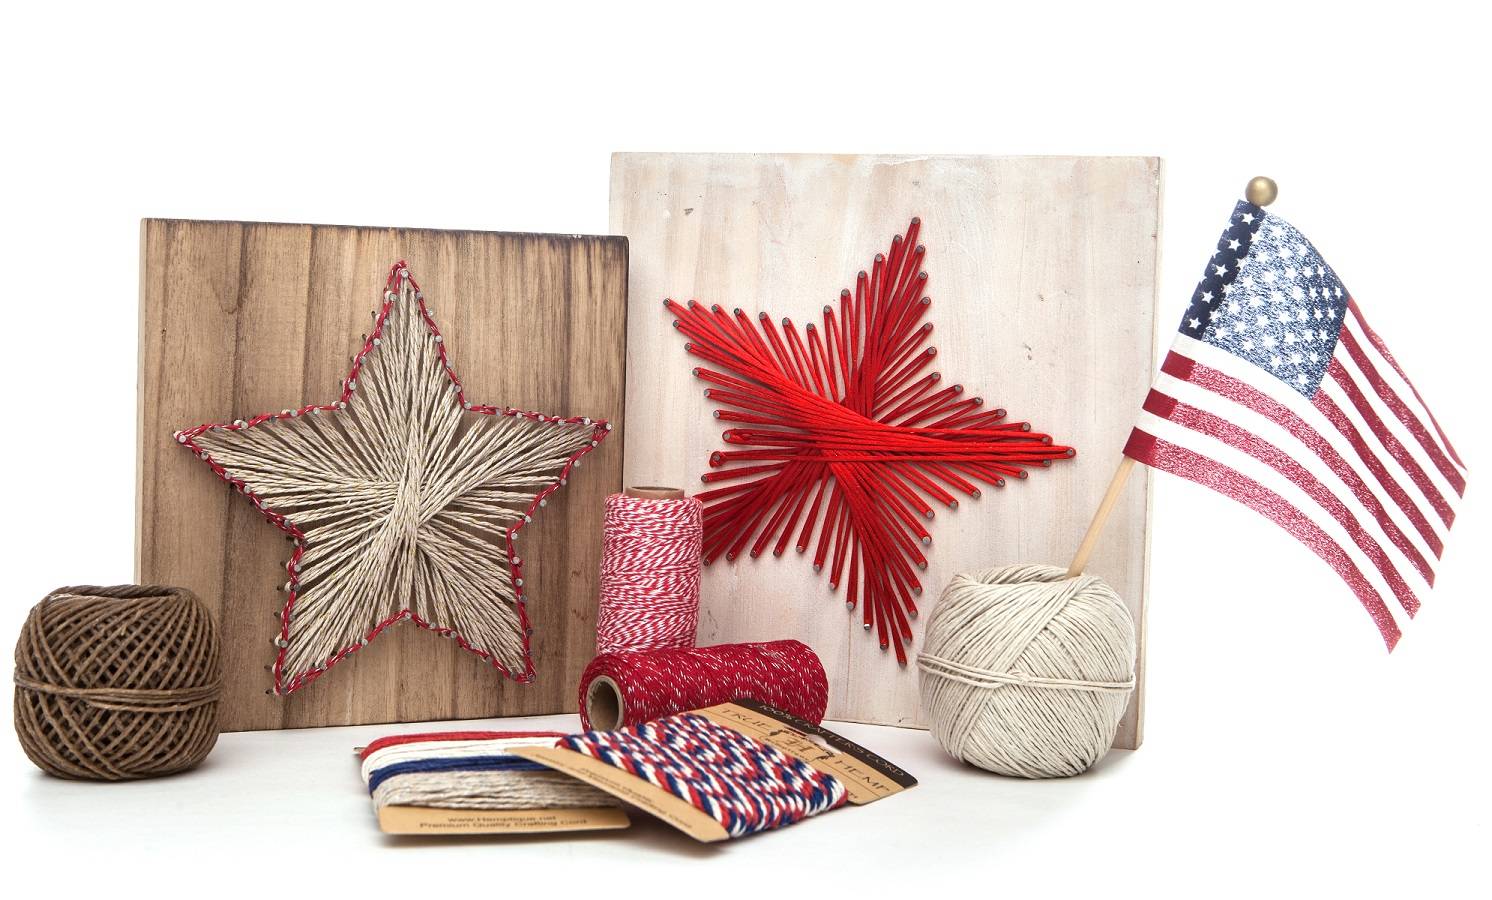
5. String
It is very hard to state which type of string should be used for creating string art. It depends mostly on the final look you want to achieve and on the pattern itself. People will usually use embroidery floss for delicate pieces, while yarn and thicker threads are used for fashion pieces and accessories. We would highly recommend 20-pound hemp cord spool. Hemp is known to be incredibly strong and easy to work with. It is a sustainable, biodegradable, and eco-friendly craft material.
Tip 1: You have the possibility to use more than one color of the chosen string to fill in the shape of the pattern.
6. Other Supplies
- Marker or pencil to make marks on the wood.
- The ruler should be wide as a wooden board.
- A small hammer is preferable. We don’t want to hurt our fingers since nails are usually small.

General Guidelines for Making String Art
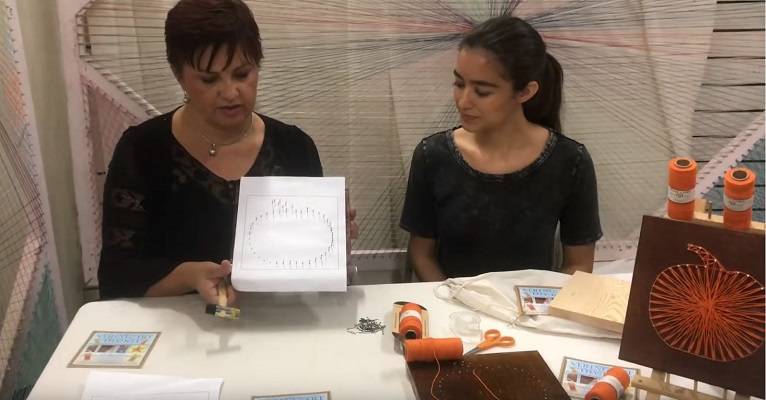
1. CREATE A PATTERN
Our first goal is to find the perfect image to use as a pattern. There is a broad range of patterns and designs online or you can draw one on your own. We should take the paper design and tape it to the wooden board to make an outline.
This will guide you when hammering nails around it.
2. HAMMER THE NAILS
Nails should be tapped very lightly and not all the way to the back of your board. How you’ll place the nails is a matter of choice, but some standard spacing is 0.64cm between nails. To prevent hammering our fingers we can use needle nose plier to hold the nails straight. There are also various nails designs, such as colored or gold nails and those with decorative tops.
3. TIE A KNOT ON THE FIRST NAIL
Now that all nails are hammered and in place, we should remove the paper pattern and start to string. Tie a knot on your first nail by simple overhand knot and leave a little tail to tie everything once you finish the whole design. Various techniques can be used, but if you are a beginner, start from the outline first and then fill in the pattern. If you encounter the corner, wrap the string tightly around that nail. If you want a smoother design, wrap the string around the nails in a clockwise direction.
4. FILL THE DESIGN
The next thing is filling the inside of your design. There is no specific technique used here. Move it as you like it. You can crisscross or wrap from nail to nail.
5. TIE OFF THE ENDS
Tie off the ends if finished and clip the tail, so the end is not visible. Glue the knot a bit if you worry about the knot unraveling.
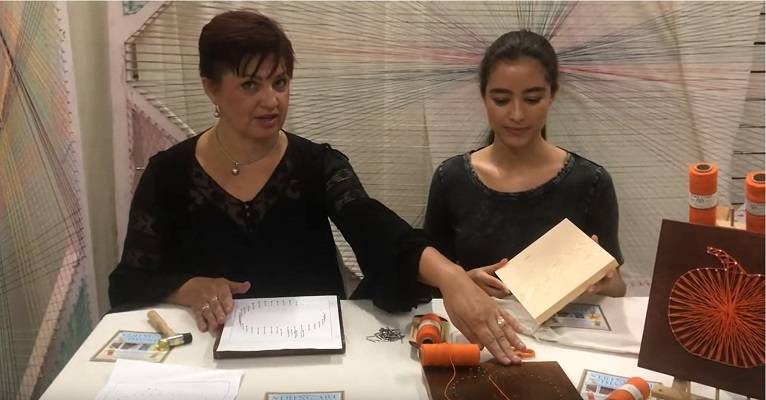
How To Do DIY String Art: Step-By-Step Video Guide and Tips
After we gather all necessary supplies, tools and materials, the real work starts. In the video we will present you with one easy string art project. We will make a famous Halloween pumpkin to decorate our home for the holiday.
- Level: Beginner
- Time needed: 30 minutes to 1 hour
- Technique: String Art
- Design: Pumpkin
1. Get a wooden board of any size you wish and paint it according to the project (we painted it in brown color to emphasize the harvest time and fall season).
2. Choose a design (we choose Halloween pumpkin) and print it or draw it on paper.
3. Use hammer and nails to outline the chosen pattern.
4. Tight the hemp cord to one of the nails and start moving it back and forth on other nails.
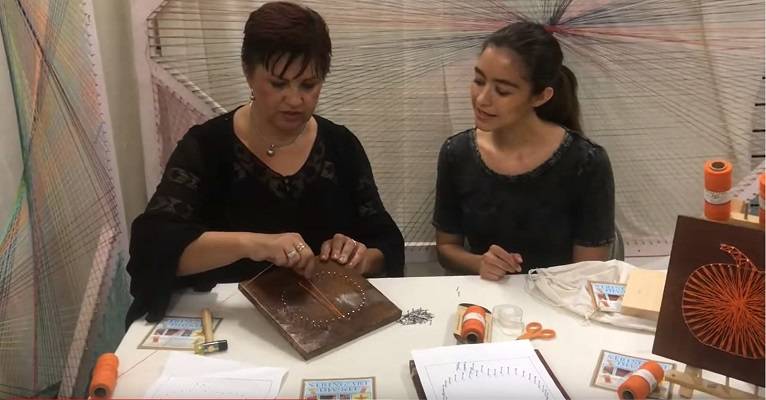
It doesn’t matter which nail you start on because it depends on the style and pattern used. In our guide we moved the string in the clockwise direction, but other options are zigzag or spiral. It all depends on the project, whether it is an easy pattern or a complicated one.
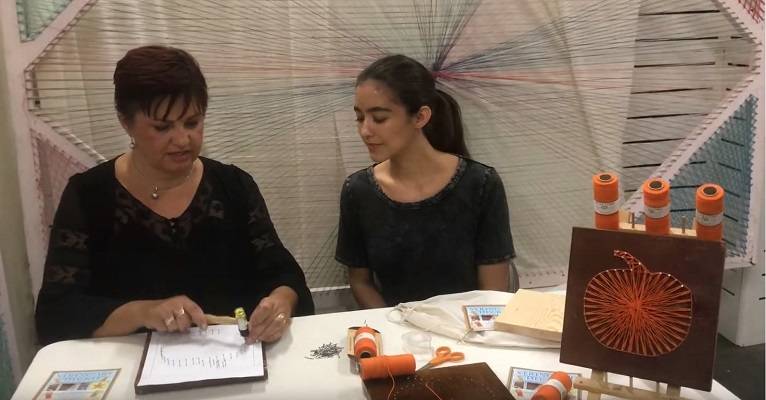
Palm Leaf Pattern String Art
Here is another video on how to practice string art. This time we used a leaf pattern which is again beginner-level. Enjoy!
Cord We Used for String Art Projects
We mentioned above that many kinds of threads could be used to make string art projects. In these two videos we used hemp cord.
Why is this one specific?
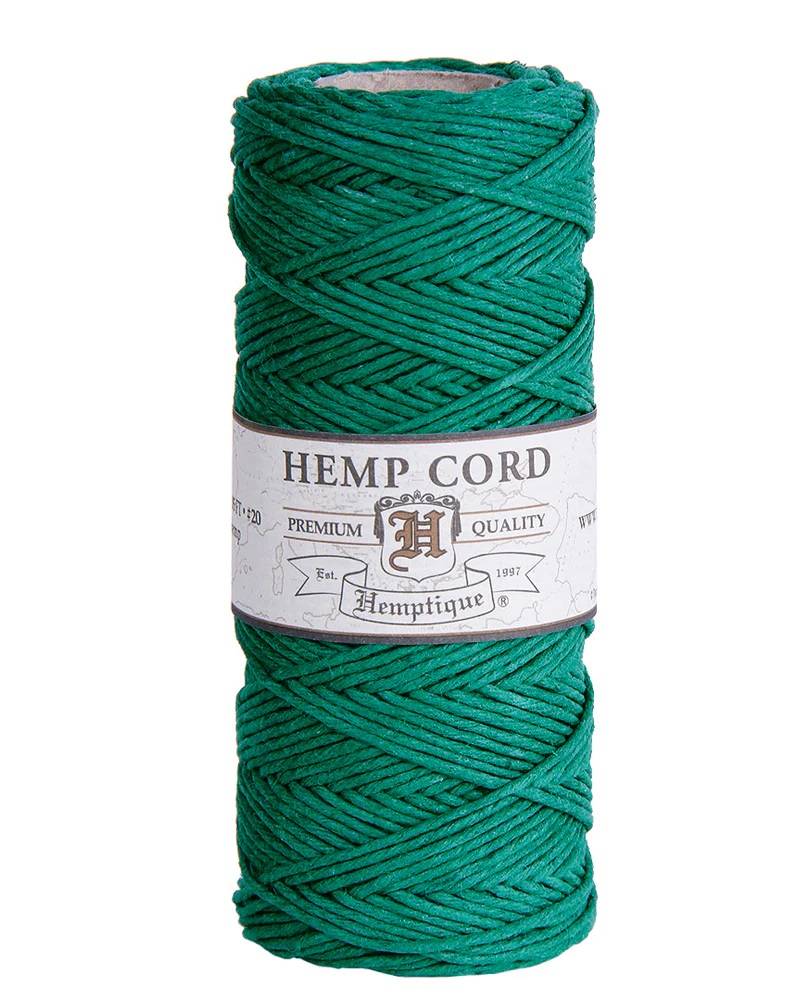
Why Hemp Over Other Types of Cords?
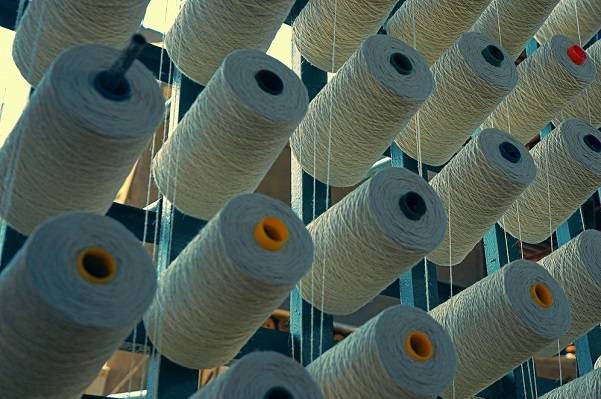
First, hemp is not just used as a cord for creating art, but its seeds and flowers benefit people’s health and are used in food and body care products. It has a few purposes, industrial, medicinal, and commercial, which people are known to have been using for years.
- Hemp can be cultivated on any soil, and at the same time, it produces oxygen while growing. The environment in which hemp grows regenerates while absorbing all toxins from the ground.
- Hemp is completely organic, and its growth doesn’t require usage of any pesticides and fertilizers.
- It is stronger than other natural fibers and UV resistant, which makes it perfect choice for manufacturing clothing, bags and shoes.
- It is biodegradable and can be composted.