Kumihimo Bracelet Instructions for Beginners
5 Minutes Traditional Japanese Bracelet Video Tutorial
Innovation & Quality
Developing and supplying premium-quality, sustainably grown, consumer products
100% Natural
Organically Grown and Ethically Sourced
hemp and other natural fiber products
Shipping
We offer fast shipping
Your order out within 1-3 days
Wholesale
Visit our wholesale portal to register or login to your account
In the next few sections, we will present you with state-of-the-art process of a beautiful craft coming from the land of the rising Sun, Japan. You will learn Kumihimo’s history and origin, and you’ll find video tutorial on how to make Kumihimo bracelets, which supplies you need to DIY and which cord to use.
What Is Kumihimo and Its History
Kumihimo is a handmade braiding technique originated from Japan.
The word itself is combined of two words kumi, meaning ‘thread’ and himo, meaning ‘handwork.’
Women originally used it to create beautiful cord patterns using silk threads. It was also used to decorate Buddhist scrolls and artifacts. Later, Samurai used it as laces to bind armor. Obi, traditional Kimono belt was once bound by obijime, a cord of kumihimo.
Kumihimo Patterns
Some of the patterns are easier to make and most people start with a round braid. But it is always good to experience the range of possibilities since the potential of design is huge.
- Round Braid – This is a quick and easy pattern for beginners. The good thing is it uses all sorts and thicknesses of cord. The bad thing is that it limits design possibilities.
- Half Round Braid – This one has a very interesting chevron design since it is flat on one and curved on the other side.
- Hollow Braid – It belongs to the round style too, but the braid does not twist as round braid does. In the middle there is a hollow core where cords and wires can be threaded.
- Spiral Braid – To make spiral Kumi braid you need 12 warps. These warps make spiral patterns and can be decorated with beads too.
- Seven Cord Braid – Even though this one isn’t a traditional Japanese braid, it is very easy to work on and it makes great plain braids and beaded braids.
- Box Knot Braid – This one is more of a knotting technique than Japanese braid. It works well on kumihimo disk, and it is mostly used as beaded braid.
Step-By-Step Beginners Tutorial for Making Kumihimo Bracelet (+Video)
This is one example of how to make a classical Kumihimo Bracelet. Enjoy the video and try this beautiful DIY craft!
Skill level: BeginnerTechnique: Kumihimo
Time needed: 30 minutes – 1 hour
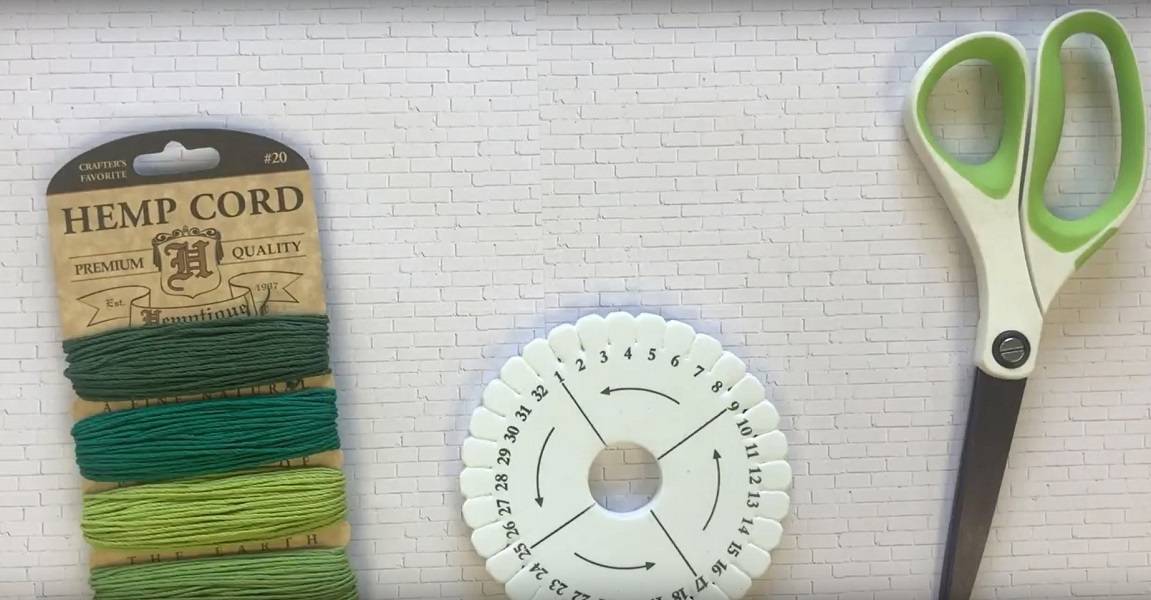
Supplies used:
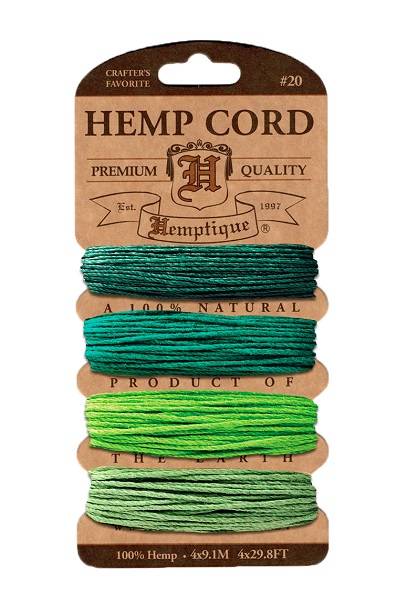
- #20 Hemp card in Emerald from Hemptique
- Kumihimo disk
- Scissors
- Metal clap
- Super glue
1. First choose the right cord (I used hemp) and get kumihimo disk
2. Cut the cord to 48 inches each
3. Fold in half and tie the overhand knot
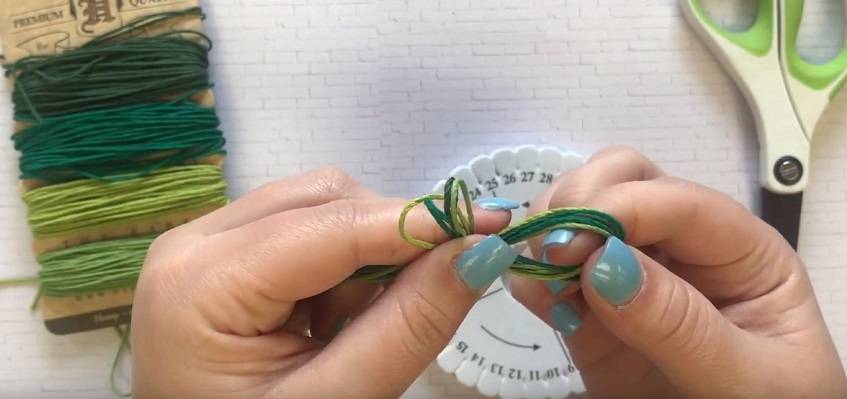
4. Put the knot into the disk
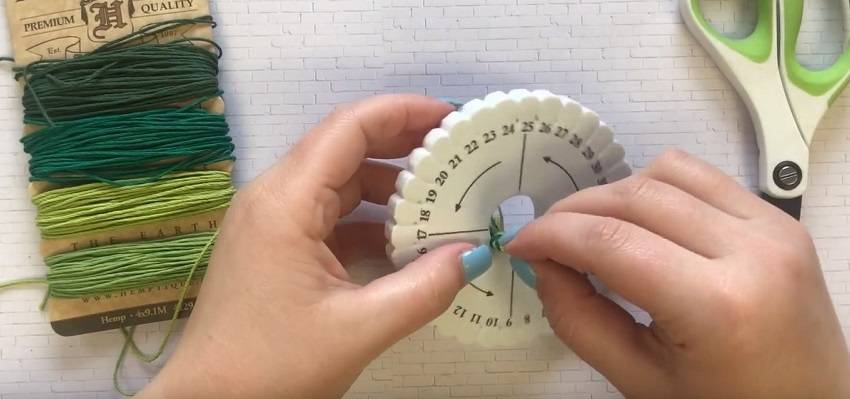
5. Separate cords around kumihimo disk in any pattern placing in each side of the lines numbered 1,9,17 and 25
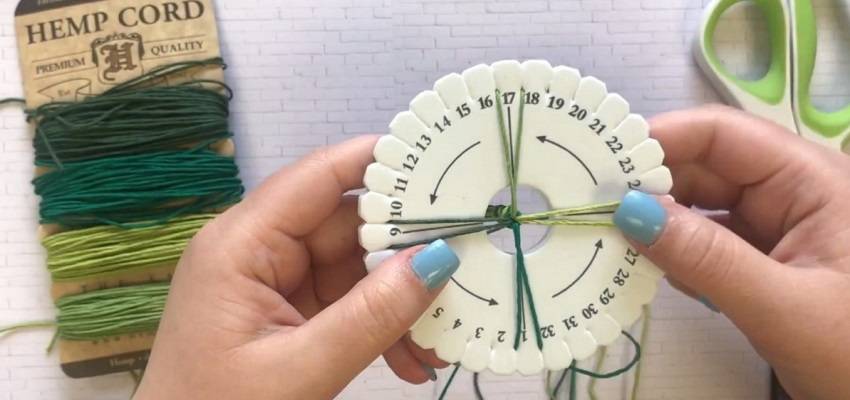
6. The knot must be disk centered
7. Start with #1 and move the top right cord down to the right
8. Then move the bottom left cord to the top left
9. Rotate following the arrows on the disk
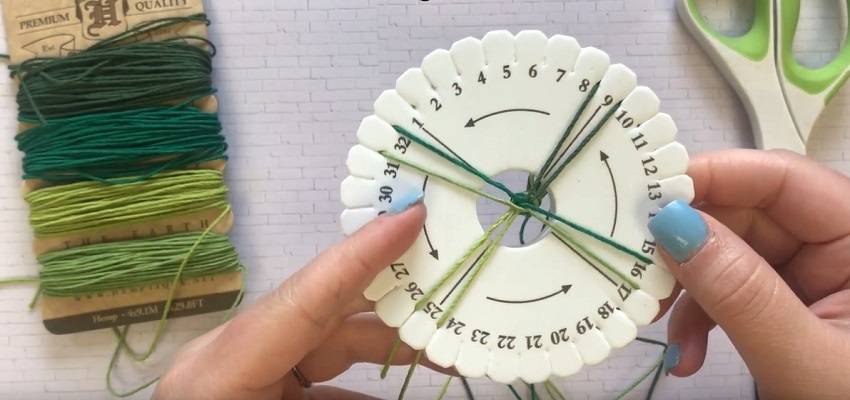
10. Repeat steps 7, 8, 9 until to reach 2-3 inches shorter cord
11. Leave three cords at the bottom and one at the top
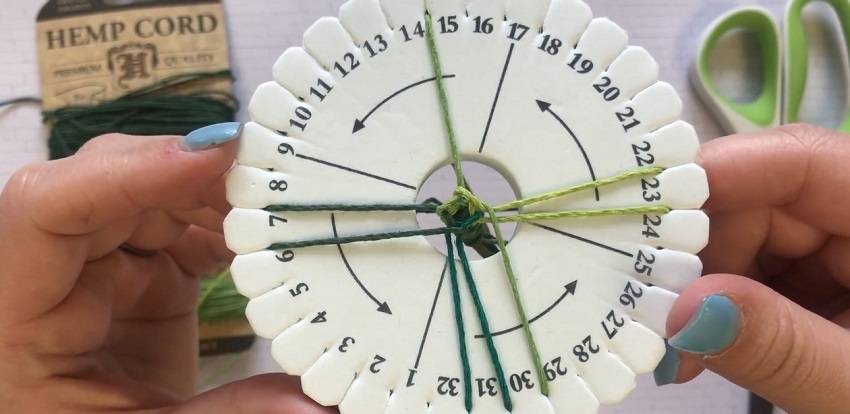
12. Take cords of the disk and stretch it
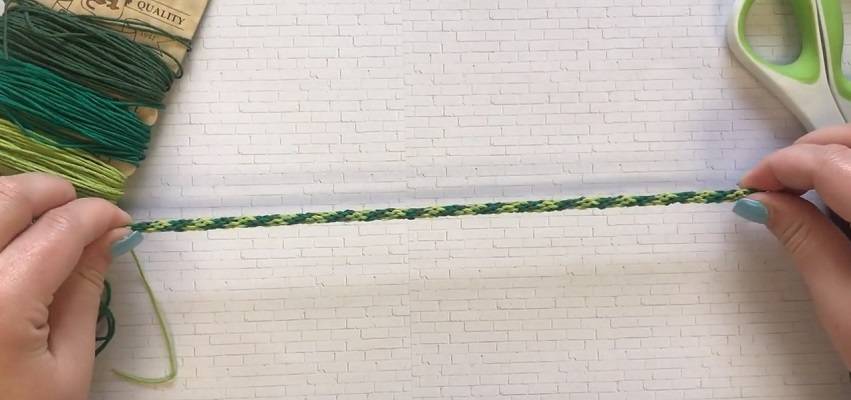
13. Closure with claps is optional. If you however decide to close the bracelet, use clap, and super glue and cut the cord on both sides, super glue both sides and place the clap.
Alternative Way to Calculate How Much Thread You Need
In the tutorial you can see that the cord is approximately calculated according to crafter’s wishes and to help us master this beginner phase. Of course, when leveling up in making Kumihimo art, you will know exactly how much we need without any calculation.
Here is an example of how to calculate the exact length of the cord.
At the beginning calculate how long you would like the bracelet to be. Multiply that number by 4 and add 12 inches. Cut 4 strands at that length and use two strands of each color.
You want 8 and ½ inches long bracelet – 8.5 *4=34 + 12 = 46. So, each thread we cut is 46 inches long.
Cord Is Used in the Tutorial and Where to Purchase It?
The hemp cord used in this tutorial comes from Hemptique. It is #20 Shades of Emerald hemp cord card. You can choose between many exciting-colored patterns according to your taste and needs.
Why this one?
Why Use Hemp Cords?
The usage of hemp has been very popular in recent years and people use it to make clothes, jewelry, and home décor. We will mention some important benefits of using hemp for DIY crafts.
- Hemp can be considered a plant of high sustainability since its massive planting can be beneficial for less CO2 release in the atmosphere. Also, it can grow in different environments and climates because it doesn’t need many resources. Another important fact of sustainability is the health of the soil where hemp grows. Hemp doesn’t require any fertilizer and it is resistant to pesticides, so the toxic chemicals won’t harm the soil.
- In times past, shipmen used hemp to make ropes for the ships. The reason for that is the durability and strength of the hemp fiber. Wearing hemp clothing can be affordable since it lasts longer, and is safe for the environment. The material is antimicrobial, so it won’t get moldy with a bad odor.
- Hemp is also hypoallergenic material, so it will be easy and smooth on the skin. It is an ideal material for summer clothing because it blocks UV light, and dries quickly, allowing the skin to breathe.
- Hemp cord is biodegradable, which makes it better to use than synthetic materials. It is advisable to use it if we want to lessen environmental impacts and improve the health of our planet Earth.


